1969 Imperial progress thread

Julian buddy. Look great. I honestly feel that there are only a limited amount of people in life that actually have the talent and k kw how that you do. Your a genius my man and I am so glad I sold my car to you. You are giving her the love she deserves. I will continue to follow the build. Looks awesome.
 
Thanks Dan! That's nice. She definitely gets what she deserves! Today I will wash off the Fertan that haven't react with the metal. I'm curious what it looks like when the excess is washed off! Yesterday the car turned from black to a black-purpleish color.
 
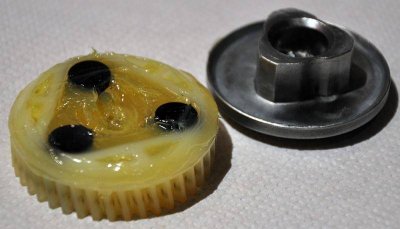
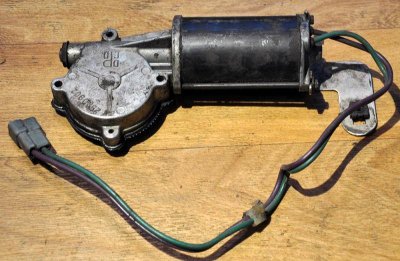
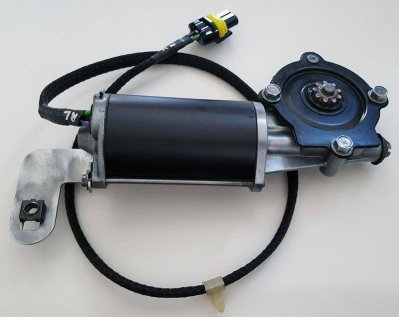
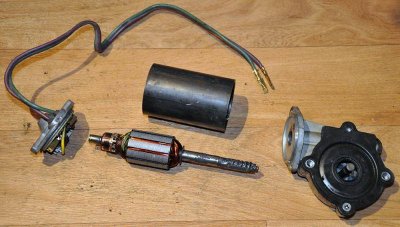
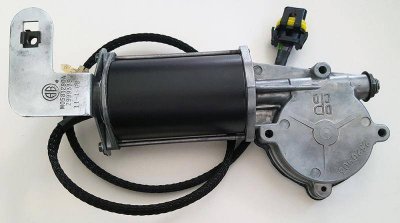
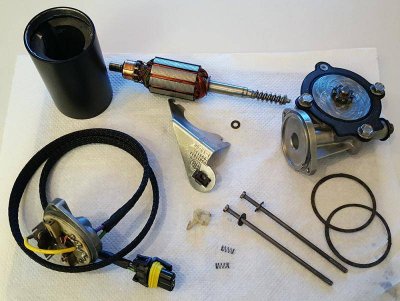
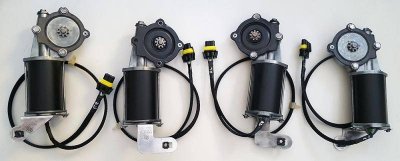
It took me a while because I had a few problems to sonve, but finally all 4 window lift motors are done.


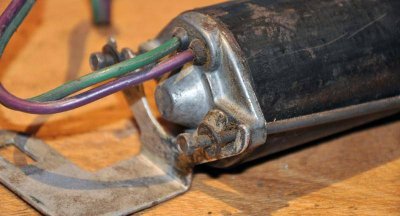
First, here is a stock configuration. Good to see what the base problem is on this motors.
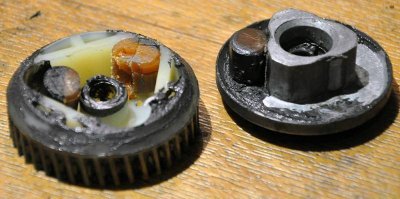
01.jpg

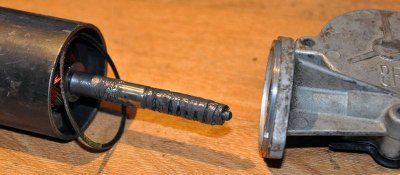
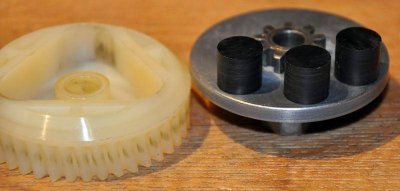
I used POM-C, which is a special thermoplast used on heavy duty industrial rollers, gears or guides etc.
I bought a 12mm stick of it on Ebay for under 2 bucks. The bummer was, that it actually was 12,6mm and would not fit. So I mounted it to my column drill and sanded it down to 12mm (+- 0.2mm). Voila, perfect fit.
02.jpg
03.jpg
04.jpg
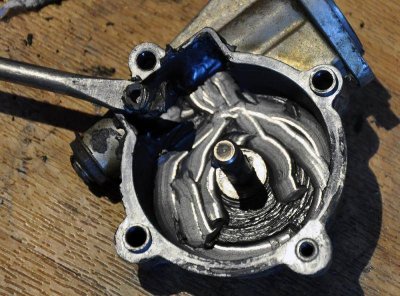
Nice, durable and easy solution to fix the broken Puks in the Front Window Lift Motors.

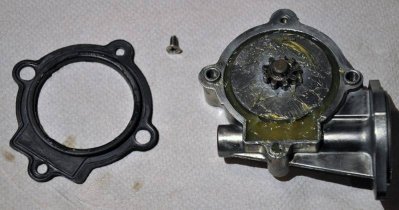
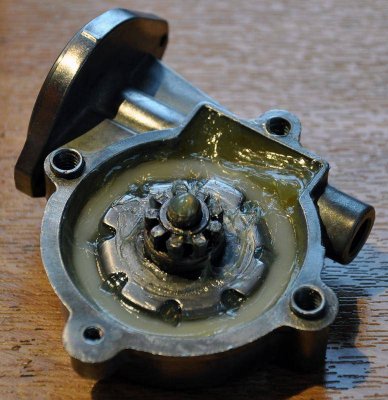
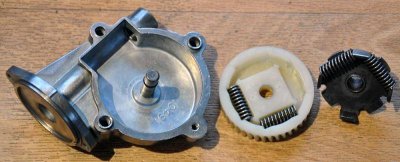
The two quarter window motors had different drives. So this part was easy.
05.jpg
06.jpg

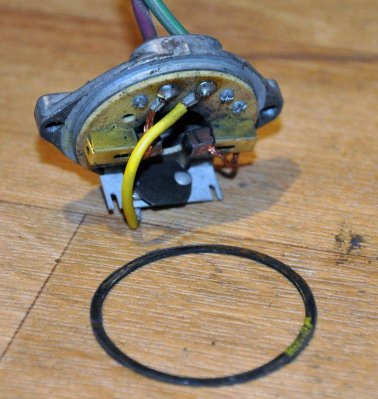
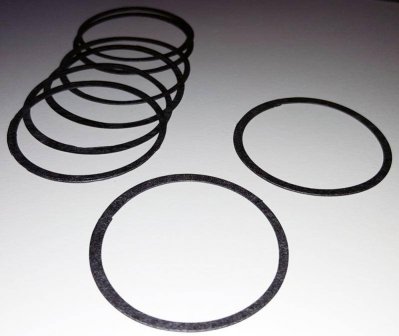
Of course, I had to make my own gaskets again, but these were simle to make with a circle cutting tool.
07.jpg


The rest was just cleaning, polishing, a little bit paint for the housings and a lot of grease removal.
08.jpg
09.jpg
10.jpg

01.jpg


02.jpg


03.jpg


04.jpg


05.jpg


06.jpg


07.jpg


08.jpg


09.jpg


10.jpg
 
11.jpg
12.jpg

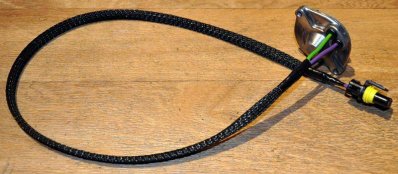
I soldered in new cables, added the superseal connectors and used braided sleeving to protect the wires against sharp edges in the doors.
13.jpg
14.jpg
15.jpg
16.jpg
17.jpg
18.jpg

11.jpg


12.jpg


13.jpg


14.jpg


15.jpg


16.jpg


17.jpg


18.jpg
 
Great job on the window motors! I think it's time for me to tackle mine too.

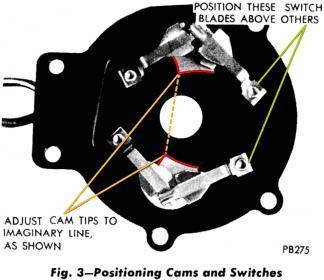
To step back a few pages.... I discovered that the 73 Dodge body FSM has more info on the headlight door motors and the cam switches then the earlier manuals. http://www.mymopar.com/index.php?pid=109
 
Thanks guys, I love all the small details and improvements I do on my restauration.

Next big things to do are the dashboard, HVAC box and the wiring harness.

To step back a few pages.... I discovered that the 73 Dodge body FSM has more info on the headlight door motors and the cam switches then the earlier manuals. http://www.mymopar.com/index.php?pid=109

Interesting, I will download it and take a look!
 
Now, that's exactly what I expected to find in my FSM!

Cam and Switch positions2.jpg

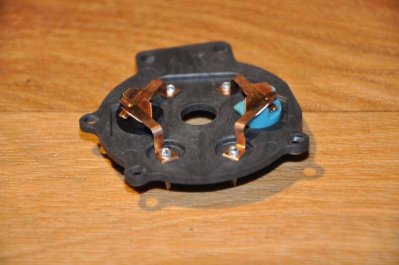
Thankfully, I figured it out correctly by myself.
Headlamps - Motor - 103.jpg

Headlamps - Motor - 103.jpg


Cam and Switch positions2.jpg
 
I'm surprised at how rust free the car turned out to be. From the pics, it looks like all you need is to do is stitch together the bottoms of the quarters. I've seen way worse from my rust belt days.
 
It's pretty good for a rust belt car, indeed! All rust of which I knew, when I bought the car was the lower quarter panels. But I found a few more spots. I have to replace both front floor panels, patch the right rear floor panel, the lower right corner of the windshield frame and the dutchman panel where the fiberglass inlet for the smaler LeBaron window sits.

It could be worse, but is enought to weld nevertheless...

It's because the car sat in a relatively dry storage since 82, I guess.
 
Thank you Georg, I'm looking forward to BBTR as well! It's always nice to meet new People! Especially when they are all C-Body guys!
 
Hey Julian! How much longer before you think your full Restoration will be complete?
 
Hey Dan, nice that you ask. I don't have a detailed plan, because it's all based on my budget and now the expensive things are coming like paint, engine and suspension, but I would like to drive the car on its 50th Birthday, 2018, or if this fails at least on its model years birthday, 2019.

Things are going slow this winter because of my new Job and the lag of time... There are not many things I can do at home this winter, because most things require media blasting and/or paint, but I did a lot of small parts during winter. I haven't post updates yet, because its just small parts of bigger, not finished things.

I did a lot of switches and dash parts, parts of the seatrails and other interior pieces, polished some trim and emblems. That kind of stuff.

Some small examples of seat rail parts for the picture addicted here ;)
01.jpg
02.jpg
03.jpg
04.jpg
05.jpg
06.jpg
07.JPG
08.JPG
09.JPG
10.JPG
 
Are you going to want to drive this car after its' completed??

You'll be freaking out if it gets any dirt on it!!!:steering:
 
Back
Top