You are using an out of date browser. It may not display this or other websites correctly.
You should upgrade or use an alternative browser.
You should upgrade or use an alternative browser.
What did you do to your C-body today....
- Thread starter thrashingcows
- Start date
Dsertdog
Old man with an old guitar, and a blue note.
Stripped the black paint off the last part of the console that needed to be redone, and painted it.
Waiting for it to dry so I remove the tape.
EDIT: I got tired of the the no feel brakes so I checked the adjustment on the fronts and they were plenty loose.
So I adjusted them and greased the front ball joints. I have to get things a bit higher to reach the steering linkage. Maybe tomorrow. Tonight, we cruise!
Last edited:
A lift followed me home on Friday and put it back together. My first 10 minutes I am pretty sure I found out why I get a vibration around 80 mph.
Vibration issue?
See it did follow me home.


Vibration issue?
See it did follow me home.
A lift followed me home on Friday and put it back together. My first 10 minutes I am pretty sure I found out why I get a vibration around 80 mph.
Vibration issue?
See it did follow me home.
View attachment 374535 View attachment 374536
Sure looks like it could be an issue, seems a bit surprising to not notice it below the speed limit tho........

Torsionally it is tight no play at all.Sure looks like it could be an issue, seems a bit surprising to not notice it below the speed limit tho........
It seems that last time I drove it. The vibration was starting around 60 or so.
I bought another U Joint, wii see what happens.
New U Joint in. I should have had a lift years ago.
Much smoother now the vibration must have been sneaking up on me.
I don’t have the vibration at 80 anymore. Now it seems like it is starting around 85 -90, but not as much resonance as before. I am sure the rock dings in my driveshaft don’t help.
Much smoother now the vibration must have been sneaking up on me.
I don’t have the vibration at 80 anymore. Now it seems like it is starting around 85 -90, but not as much resonance as before. I am sure the rock dings in my driveshaft don’t help.
3175375
Senior Member
Good work!New U Joint in. I should have had a lift years ago.
Much smoother now the vibration must have been sneaking up on me.
I don’t have the vibration at 80 anymore. Now it seems like it is starting around 85 -90, but not as much resonance as before. I am sure the rock dings in my driveshaft don’t help.
Now go get that driveshaft balanced!
Had a flat tire today  .
.
On a sunday in the middle of nowhere .
.
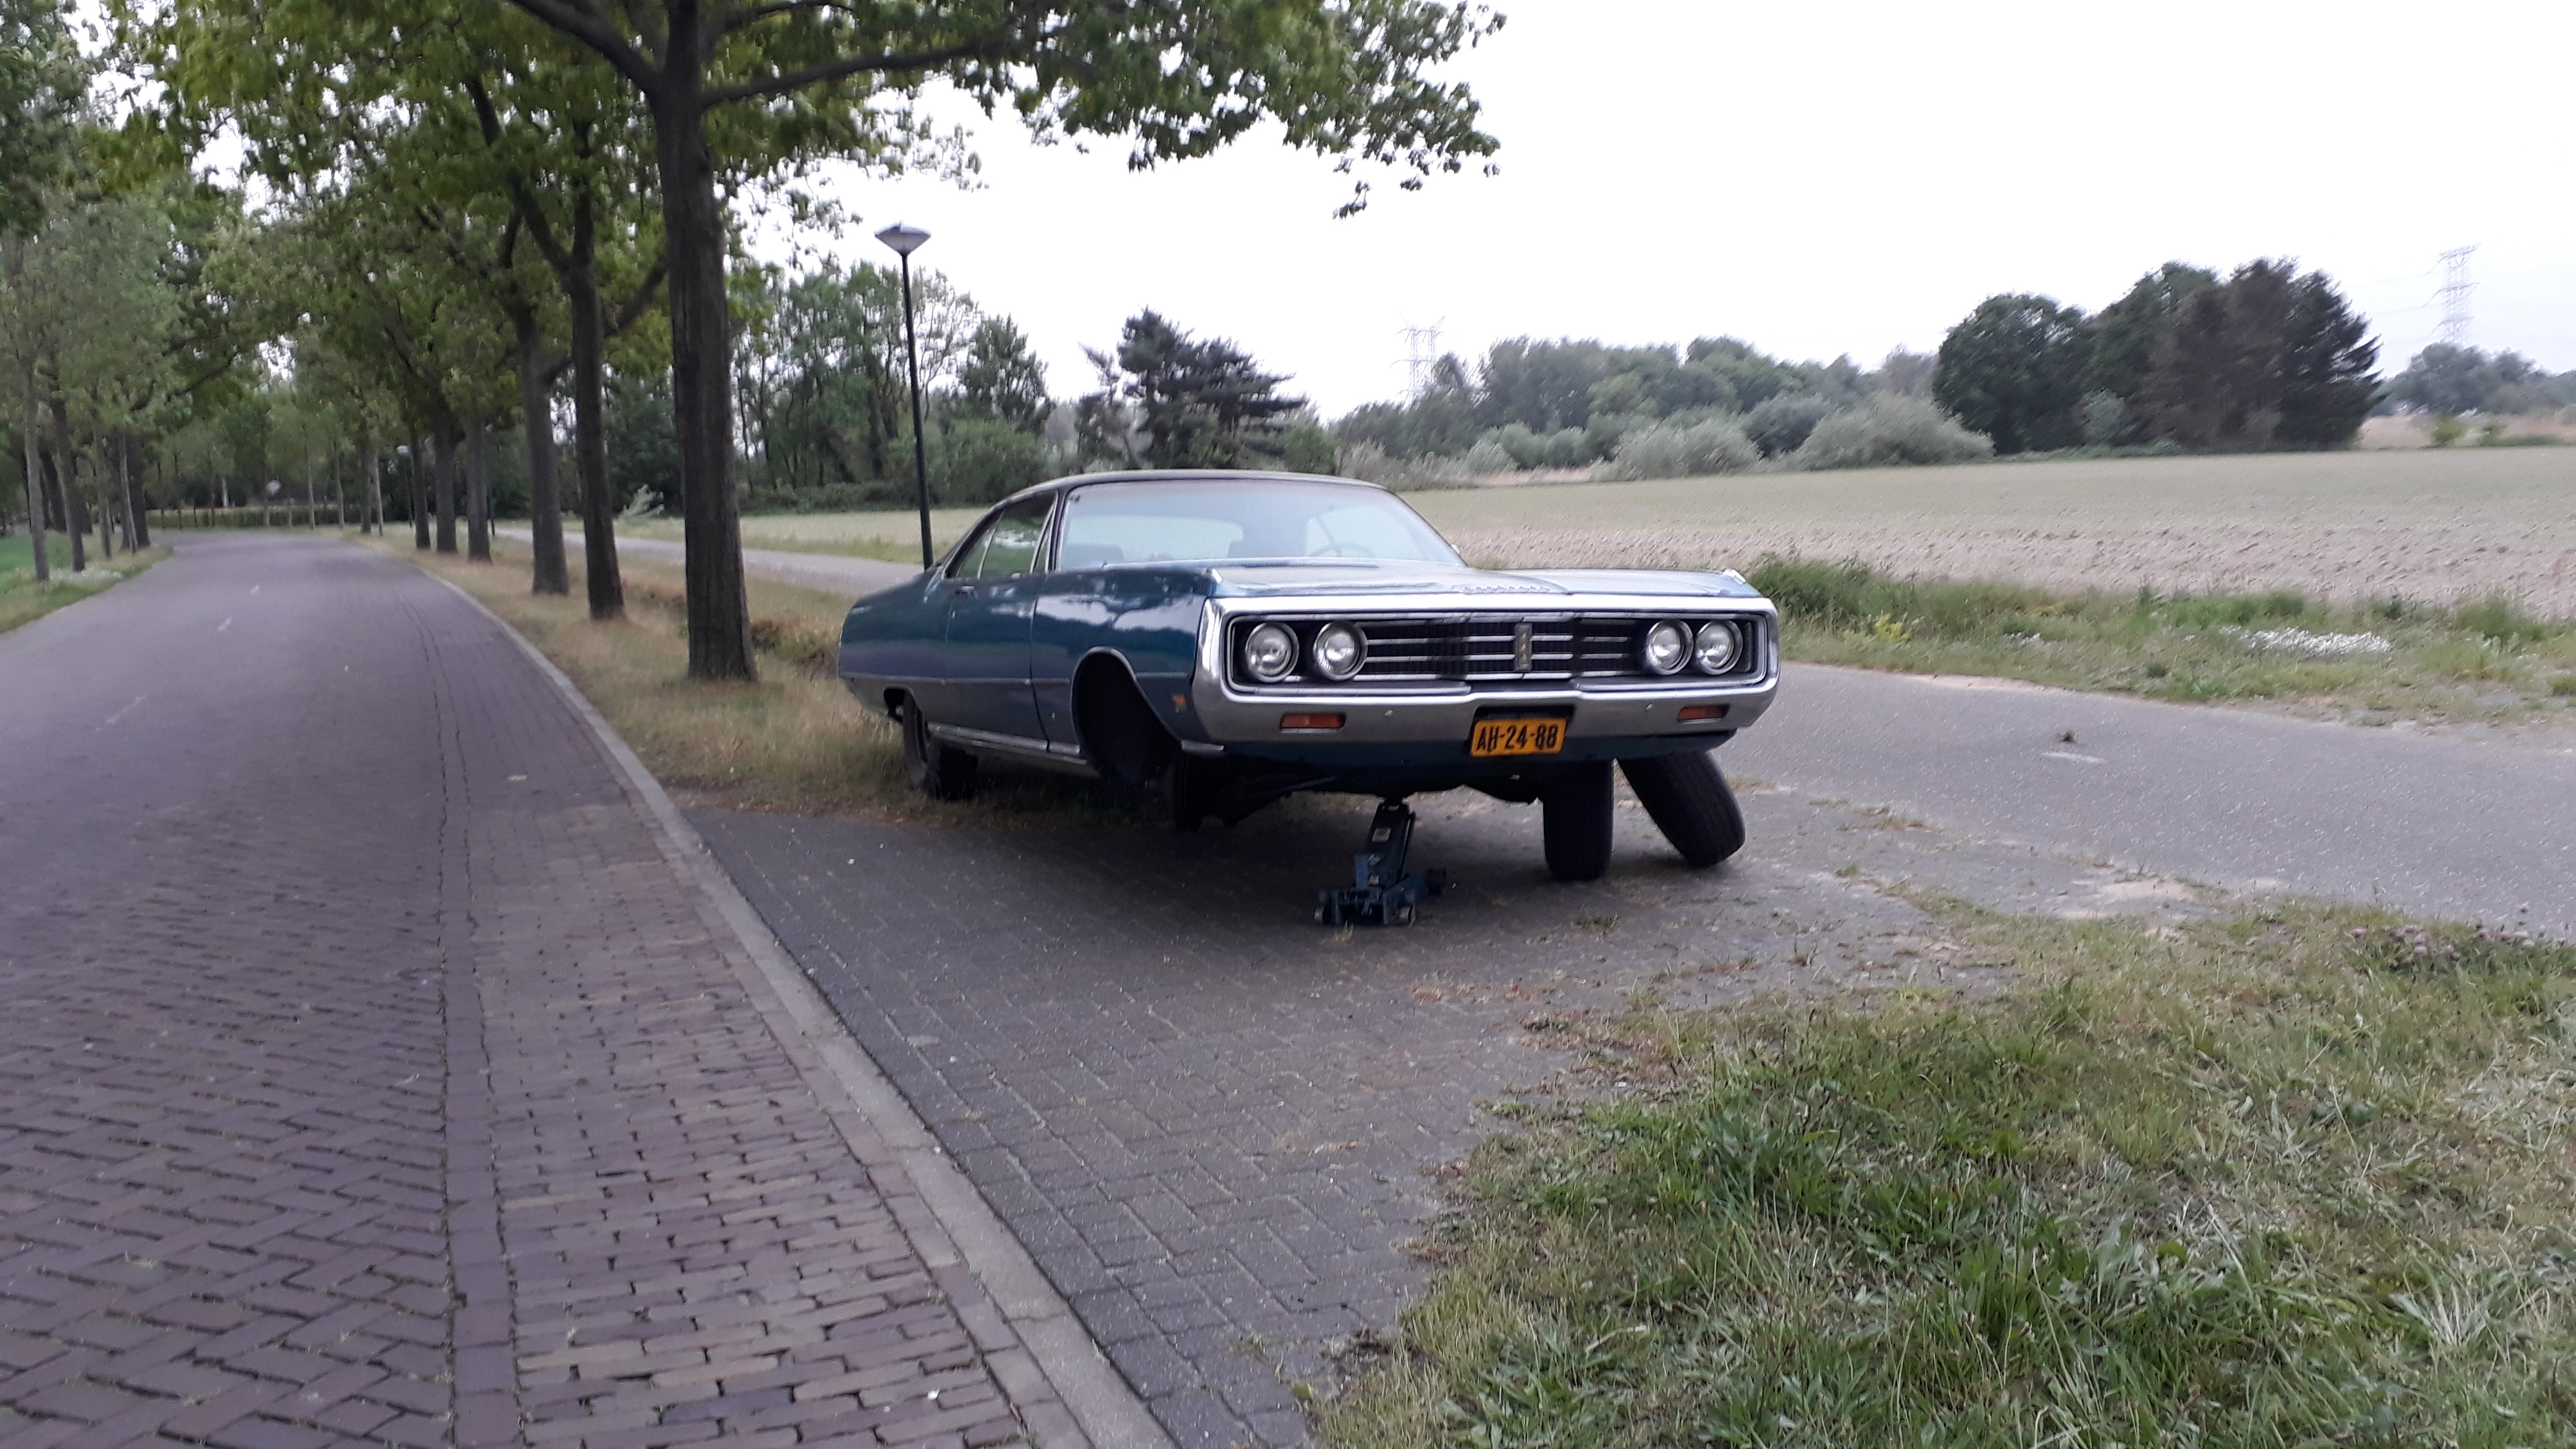
Did I already mention that I was already driving on my spare wheel?
So, I called a friend with an old Oldsmobile, guessing that his spare wheel might fit on my car...
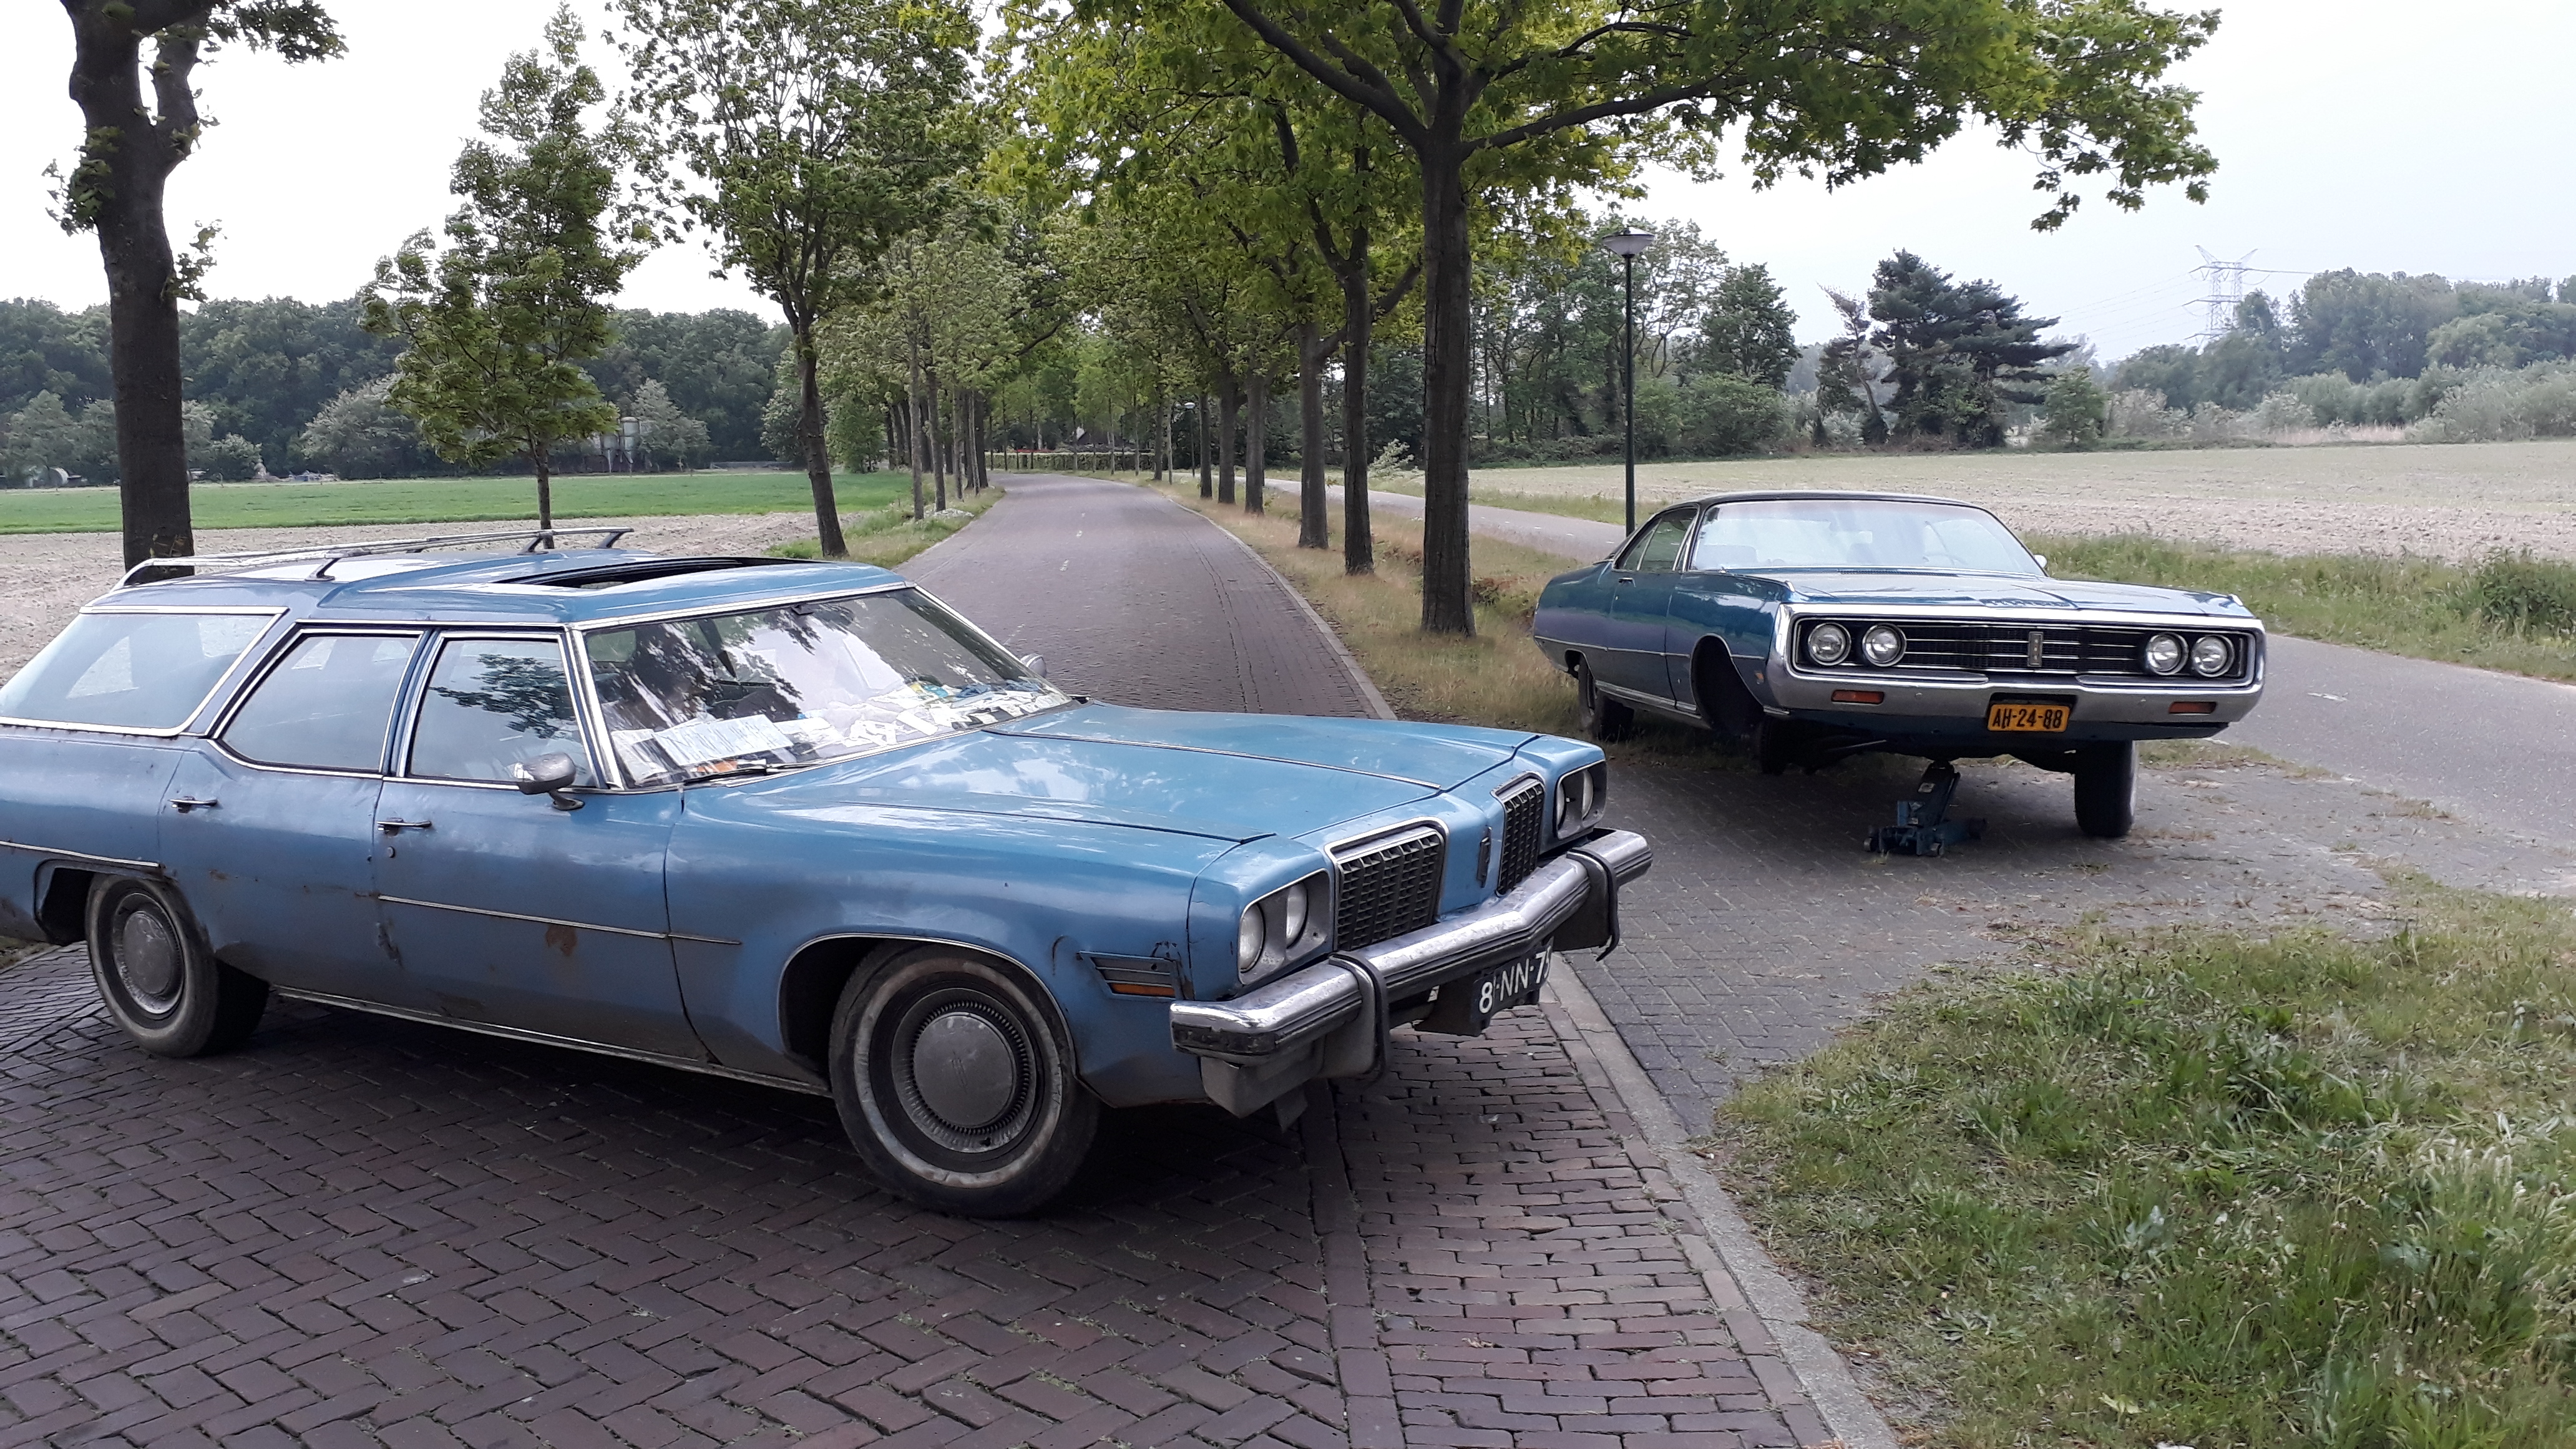
That's what I learned today: an old Oldsmobile wheel does not fit on a Chrysler .
.
So we had to take the Chrysler wheel to his workshop, where luckily he still had the correct size worn but airtight tire lying around that we could put on the Chrysler rim.
Good enough to get me going until some fresh rubber arrives
.On a sunday in the middle of nowhere
.
Did I already mention that I was already driving on my spare wheel?
So, I called a friend with an old Oldsmobile, guessing that his spare wheel might fit on my car...
That's what I learned today: an old Oldsmobile wheel does not fit on a Chrysler
.So we had to take the Chrysler wheel to his workshop, where luckily he still had the correct size worn but airtight tire lying around that we could put on the Chrysler rim.
Good enough to get me going until some fresh rubber arrives
Rustyrodknocker
Senior Member
That Olds is a battle wagon. I like it.
rags
Senior Member
a whole new world. congratulations!I should have had a lift years ago.
75LandYacht
Yank Tank
Good eye.. that’s a rare one for sure. To bad it’s seen better days.And with a sunroof...……….
My starter was a little slow, so I took it a part and started cleaning it up. I did find new bushings as there is a fair amount of wear in the armature bushings. Cleaned up the armature and brushes. Good continuity where it should. No shorts that I could find. I wish I had a growler to use but am pretty sure it is ok. Cleaned up the movable contact and terminals. Will give the housing a fresh coat of paint. I did break the small copper wire that goes from the windings to the brush shunt. I will have to try a splice.

GBsPanhead
Active Member
Finally, after almost a year of other car projects, (bought a SL55), rounded up all the parts I had bought for my drum to disc conversion. Found all the new bearings, seals, hoses, rotors, caliper rebuild kits and the OEM calipers/brackets etc. Was stored in my garage and storage shed. Now all in one location. Ordered a brake hone, want to clean up the calipers, (old pistons out). Deciding if I want to paint all the OEM parts, or leave alone with the nice patina. Already knocked off the heavy dirt/grime, and cleaned with brake cleaner. Now need to schedule some time off work to work on this.
Dsertdog
Old man with an old guitar, and a blue note.
This was Saturday when we were out cruzing on Peoria Ave in Tulsa. Someone snapped a photo of Miz Ruby sashayin' down the boulevard and put it on FB.

There's about 60+ lbs of air in the rear shocks and the *** is practically dragging. We're big people, but the rear springs are toast.
There's about 60+ lbs of air in the rear shocks and the *** is practically dragging. We're big people, but the rear springs are toast.
Ahh... Refreshing to see someone else actually take one of these starters apart. They are seem to be some sort of scary magic to most... Along with alternators...My starter was a little slow, so I took it a part and started cleaning it up. I did find new bushings as there is a fair amount of wear in the armature bushings. Cleaned up the armature and brushes. Good continuity where it should. No shorts that I could find. I wish I had a growler to use but am pretty sure it is ok. Cleaned up the movable contact and terminals. Will give the housing a fresh coat of paint. I did break the small copper wire that goes from the windings to the brush shunt. I will have to try a splice.
View attachment 374856
If you don't know already, that little guy in the circle is your friend for putting it back together.
Thanks. When I took it apart I wasn’t sure, but I caught it in the manual. It is pretty slick. It is difficult enough to install that little bugger, never mind the armature.Ahh... Refreshing to see someone else actually take one of these starters apart. They are seem to be some sort of scary magic to most... Along with alternators...
If you don't know already, that little guy in the circle is your friend for putting it back together.
View attachment 374896
Ahh... Refreshing to see someone else actually take one of these starters apart. They are seem to be some sort of scary magic to most... Along with alternators...
If you don't know already, that little guy in the circle is your friend for putting it back together.
View attachment 374896
The biggest challenge I have is finding replacement parts for these. I wanted a new battery terminal stud and contact rivet so I could change my brushes. (Mine are still less than 1/2 worn though) I emery clothed the hell out of both contact points and the moveable contact to flatten the contact area. There were some notable divots.
Solenoid is still good though.
I did find a 2007 catalog with starter parts, but not on their website any more. I wish I could find a source for this stuff. It is harder and harder to rebuild.
I tried to explain how to do that over the internet once. Yea, it's a slick way to do something that would be almost impossible to assemble otherwise.Thanks. When I took it apart I wasn’t sure, but I caught it in the manual. It is pretty slick. It is difficult enough to install that little bugger, never mind the armature.
View attachment 374982
IIRC, you can turn one of those contacts. I've seen them on eBay from time to time.The biggest challenge I have is finding replacement parts for these. I wanted a new battery terminal stud and contact rivet so I could change my brushes. (Mine are still less than 1/2 worn though) I emery clothed the hell out of both contact points and the moveable contact to flatten the contact area. There were some notable divots.
Solenoid is still good though.
I did find a 2007 catalog with starter parts, but not on their website any more. I wish I could find a source for this stuff. It is harder and harder to rebuild.
Similar threads
- Replies
- 2
- Views
- 517
- Replies
- 45
- Views
- 4K
- Replies
- 2
- Views
- 618


