New (to me) '59 Imp

Brought a trunk load of parts home, blasted & coated them. Some are now installed. Last trip I brought another trunk full home. Just ordered belts, WC & MC kits, rad cap, t-stat, water pump, U-joints, Gen & starter brushes (to rebuild them), air & fuel filters, fuel pump, wiper blades, and carb kit. Made a list (incomplete I admit) of bolts, nuts, & washers I would need & hit Tractor Supply. That ought to keep me busy for awhile.

Ebrake1.jpg


Ebrake2.jpg


Engine1.jpg


Engine2.jpg


Bolts1.jpg


Parts1.jpg


Parts2.jpg


VacuumTank1.jpg
 
Looks like you're doing a great job on her! Good luck and keep plugging along! It will be worth it in the end!
 
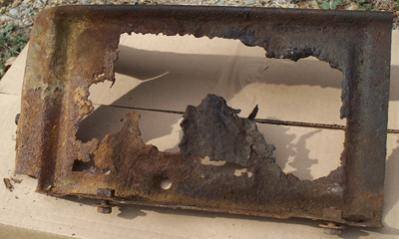
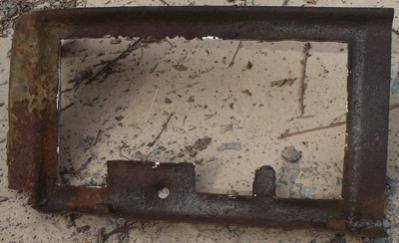
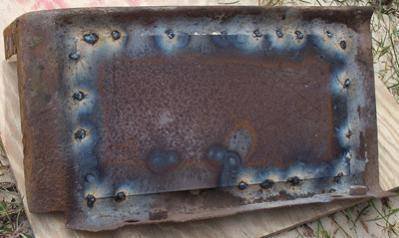
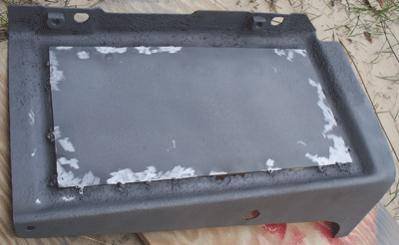
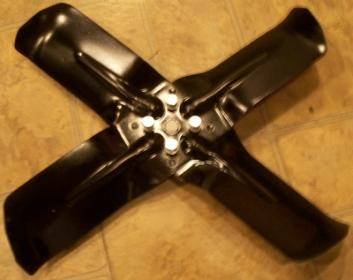
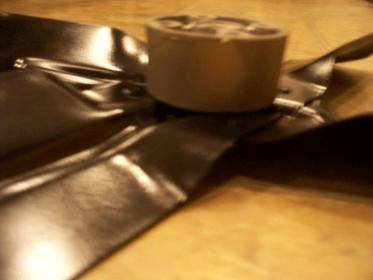
BatteryTrayBefore1.jpgBatteryTrayBefore2.jpgBatteryTrayBefore3.jpgBatteryTrayAfter1.jpgFanAfter1.jpgFanAfter2.jpgGot a few more pieces processed. Repaired the battery tray and reconditioned the fan. Still have to powder coat the battery tray.

BatteryTrayBefore1.jpg


BatteryTrayBefore2.jpg


BatteryTrayBefore3.jpg


BatteryTrayAfter1.jpg


FanAfter1.jpg


FanAfter2.jpg
 
Last edited:
After I replace a few worn parts on my sand blaster, I'll be back at it again. The dried hose kept blowing through, and it just ate through a brass ball valve I replaced 2 days previously. Have a shopping list of parts coming to recondition the starter, generator, rebuild the carburetor, plus fuel pump, water pump, filters, and some other goodies.
 
Got a few more parts reconditioned. I'll post pics later.

If you purchase a vehicle that's over 55 years old, you can pretty much assume the interior needs redone. You could spend over $2500 for someone else to stitch it for you, or you could...


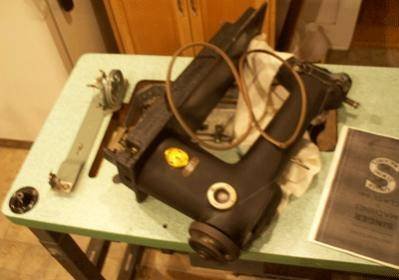
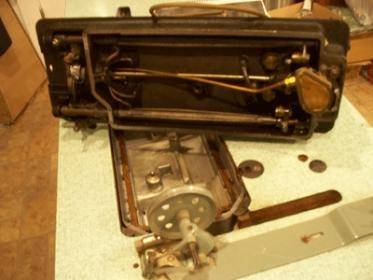
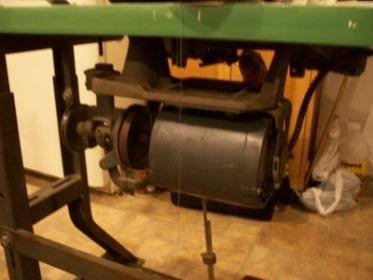
Do it yourself. We just acquired a 1940-ish Singer Military issue sewing machine capable of sewing parachutes, duffel bags, or even saddles. It has an oil pan, oil pump, updated industrial motor, and is fully functional. I've seen them in the past for at least 2X the price (without the upgrades). We now have the tool to create our own interiorSinger1_Web.jpgSinger2_Web.jpgSinger3_Web.jpg!

Singer1_Web.jpg


Singer2_Web.jpg


Singer3_Web.jpg
 
Cool, but can you sew? :D
My first attempt at a vehicle interior was a '73 Plymouth Satellite Sebring Plus, about 28 years ago. Just replaced the inserts leaving the borders stock. Next came an '80 Ramcharger; just the seats (no panels). Third was the car I owned when I met my wife, '70 Duster. Have been working on my '84 Rampage interior by hand, but haven't gotten very far that way.

Previously I'd use a sewing machine for the insert stitching, but hand stitch through the heavy stuff. It should only take about a day to stitch a whole interior together now (once I have the individual pieces cut & pinned). Still cleaning out a spot for the thing. Right now it's in the middle of the kitchen floor.
 
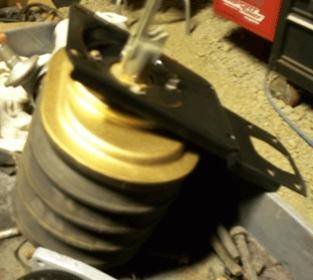
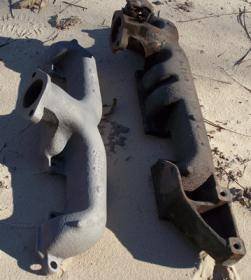
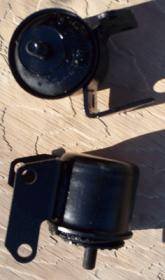
Booster1.jpgExMan1.jpgMotorMounts1.jpgGot a bunch of blasting & coating done today. Here are a few pics, I will post more as I can.

Booster1.jpg


ExMan1.jpg


MotorMounts1.jpg
 
From the guy WITHOUT an Imperial in his garage... I'm jealous. I can't wait to see pictures when its back on the road.
 
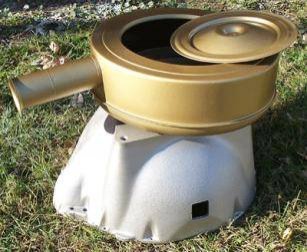
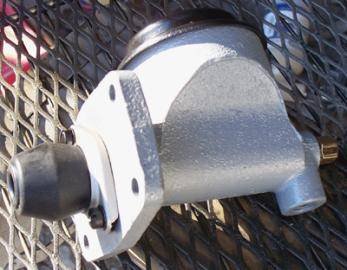
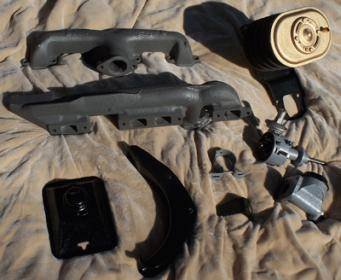
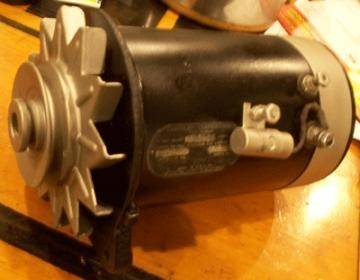
Got some more parts processed today. Bell housing is blasted & painted. Air cleaner is blasted & powder coated. Exhaust manifolds are blasted with a 2-part coating process. Distributor hold down bracket & coil bracket blasted & powdered. Master cylinder is blasted, powder coated, & rebuilt. Distributor is blasted & coated (still need service parts; points, condenser, cap, & rotor). I also blasted & powder coated a few pieces for the jack.
BH_AC1.jpgMC1.jpgParts3.jpgGenerator1.jpg

BH_AC1.jpg


MC1.jpg


Parts3.jpg


Generator1.jpg
 
If using Silicone brake fluid get a Harley Davidson brake light switch. It is exactly the same in appearance but different threads so you will need an adapter. Silicone distorts the inside of the switch and you will have no brake lights in 2-3 years. I learned this on my '59 Imperial. The H.D. switch is compatible to both brake fluids.
 
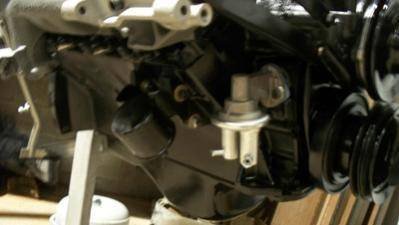
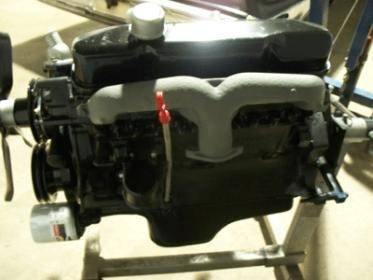
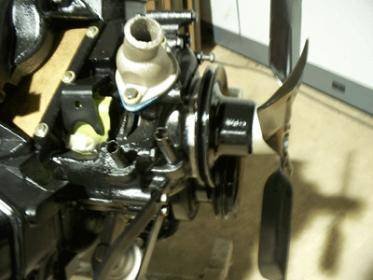
Got a visit with the Imp today. Mounted the fuel pump, water pump, thermostat, fan, exhaust manifolds, motor mounts, dip stick tube, and even loosely mounted the coil bracket.
Engine3.jpgEngine4.jpgEngine5.jpg

Engine3.jpg


Engine4.jpg


Engine5.jpg
 
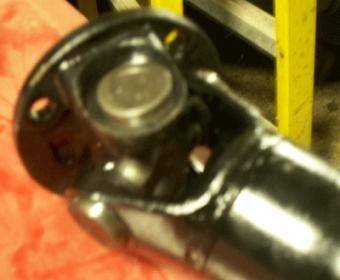
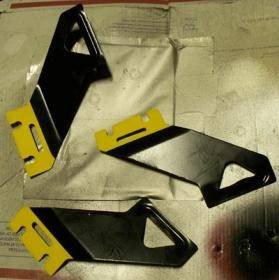
DS2.jpgIgnWirSep1.jpgGot the driveshaft disassembled, blasted, painted, and reassembled with new U-Joints. Got a few small brackets blasted & painted; of note are the ignition wire separators. Originally they were black with a black "plasti-dip" type coating on the ends. I used yellow.

DS2.jpg


IgnWirSep1.jpg
 
I would ditch that single pot M/C for a car that gets driven alot.


100% agree... the whole reason the dual master cylinder was mandated is if it fails half your brakes don't work. Single chamber systems are all or nothing. By the way, I would advise against silicone brake fluid (DOT5). Standard high quality brake fluid absorbs water and should be flushed every 2 years to prevent corrosion. silicone does not adsorb water and is famous for causing the water to collect at low points in the system. I also would not buy at the cheap parts store, I would comparison shop based on wet boiling point because every time you open the lid of the master new air/moisture gets in. If you wanted to keep rare and hard to get brake parts in top shape, flush annually and internal corrosion issues should not be a problem.
 
LeBaron1973, yes it needs body work & paint. Just started assessing hidden areas today.

70bigblockdodge & cantflip, I agree overall. Our initial intent is to get the car drivable first. We want to drive it, pull it off the road for a day or 3 and rebuild/upgrade something, then drive it again. Over time we can upgrade brakes, suspension, engine parts & systems, maybe add overdrive, and so forth. For now, if it works, or can be made to work quickly and cheaply, that's the chosen route. Later, all options are on the table.

My wife & I made an agreement concerning the car. In the past we bought a '71 Demon that was supposed to be a quick fixer-upper that turned into a full restoration, which turned into selling the car when we lost our son. The goal for this '59 Imp is to be able to enjoy it to the fullest. Our interpretation of that means get it drivable as quickly & cheaply as possible, then upgrade & recondition as we go. At some point in time, virtually everything that bolts on will be like new. The body & frame will be 1959 showing its age. A full-on restoration can then be a much shorter endeavor.

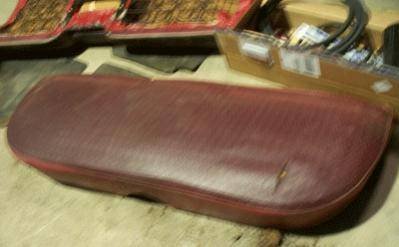
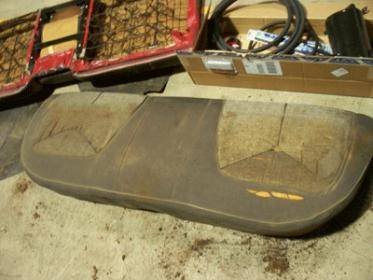
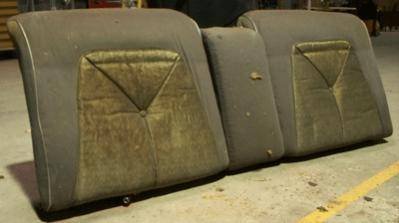
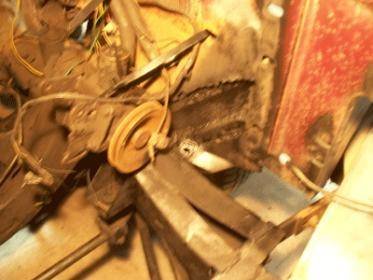
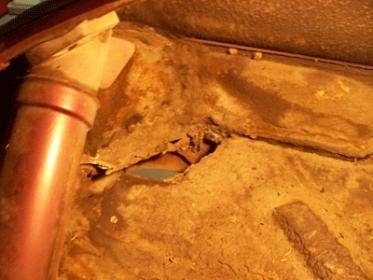
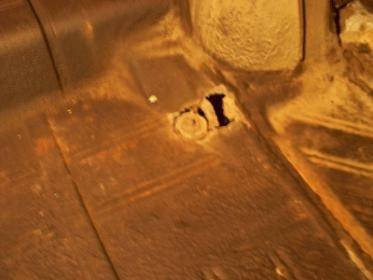
Spent a couple hours with the Imp today. Bolted on a few reconditioned items. Removed everything from the trunk; parts, carpet, & trim panels. The floor has a few bad spots, but is better than many of the pictures I see posted on these era cars. Removed the rear seat and removed the aftermarket seat cover. Of course, one would hope the cover was installed over a mint seat. This was not the case. It has a 2-tone cloth interior (604 code). I'll have to do some research. It is supposed to be a Crown, has all the markings of a Crown, but I've never seen a Crown without at least leather borders. Maybe it's a base Imperial? The floor under the rear seat needs a few minor patches, but looking good otherwise.


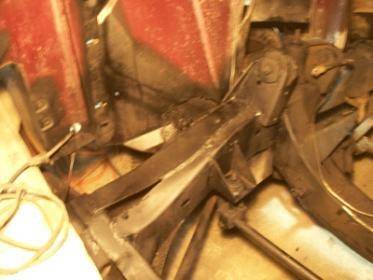
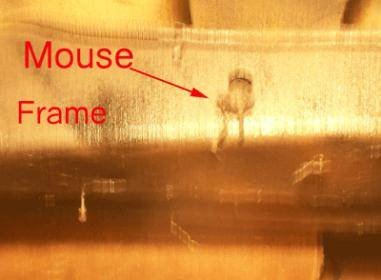
Although I hate painting over rust, I bought 2 cans of Eastwood's Rust Encapsulator and shot the frame & seams under the hood and body. Found a mouse that was like Egyptian mummy half way into a hole in the frame. It amazes me how many hours go into "very little to show" (and I've done this sort of work before!).
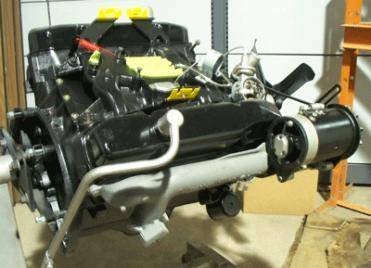
Engine6.jpgBackSeatAfterMarketCover1.jpgBackSeatBottomStock1.jpgBackSeatBackStock1.jpgFrame1.jpgFrame2.jpgMouse1.jpgTrunkFloor1.jpgTrunkFloor2.jpg

Engine6.jpg


BackSeatAfterMarketCover1.jpg


BackSeatBottomStock1.jpg


BackSeatBackStock1.jpg


Frame1.jpg


Frame2.jpg


Mouse1.jpg


TrunkFloor1.jpg


TrunkFloor2.jpg
 
Back
Top