MrMoparCHP
Old Man with a Hat
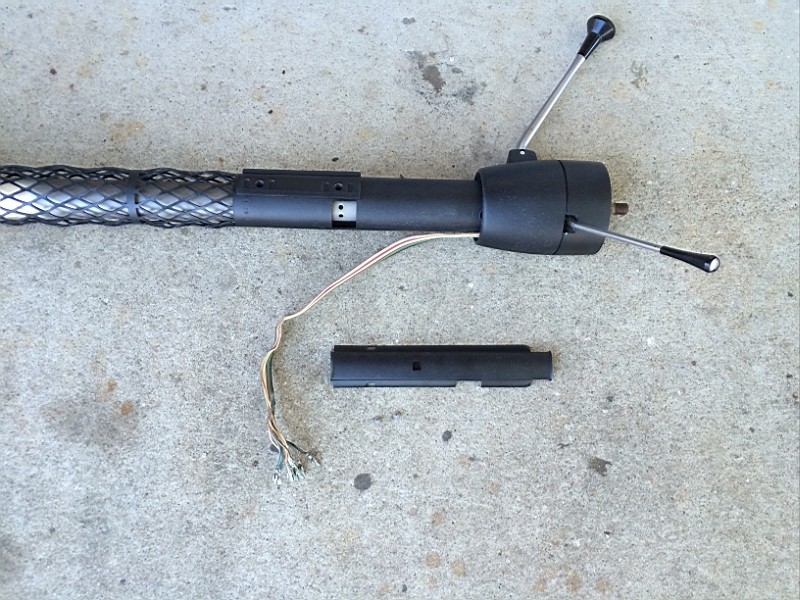
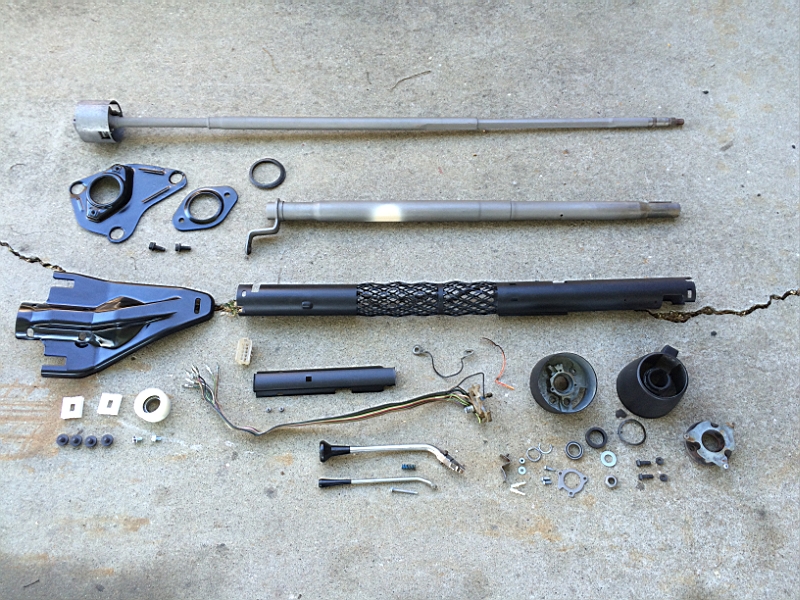
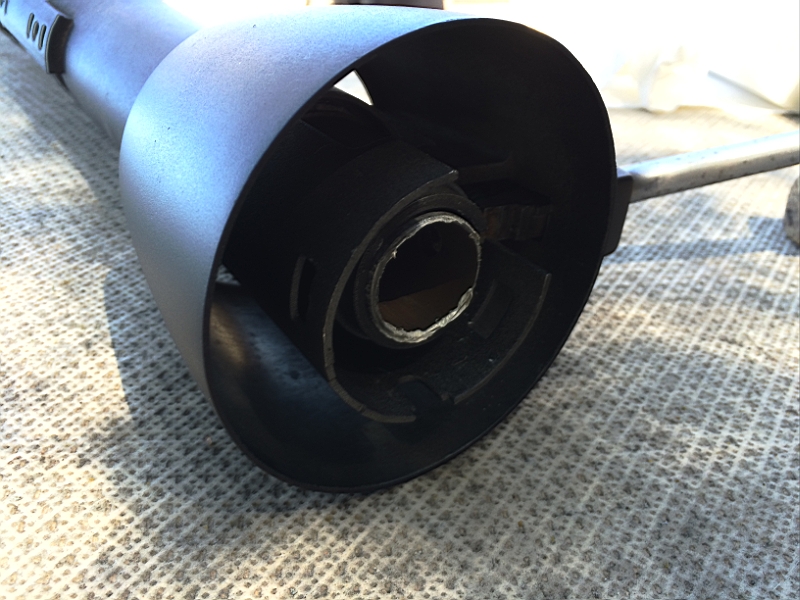
I thought I'd outline how to put a steering column back together, along the way I may make comments about the disassembly but for the most part you can just start from the bottom and work up. For starters this column had surface rust inside and out, every little part needed cleaning weather it was blasting or soaking in vinegar.
For those who may be interested here are some links to the before pictures.
http://www.mrmopar.com/1969PolaraCHP/Gallery/150809.htm
http://www.mrmopar.com/1969PolaraCHP/Gallery/150810.htm
http://www.mrmopar.com/1969PolaraCHP/Gallery/150813.htm
http://www.mrmopar.com/1969PolaraCHP/Gallery/150816.htm
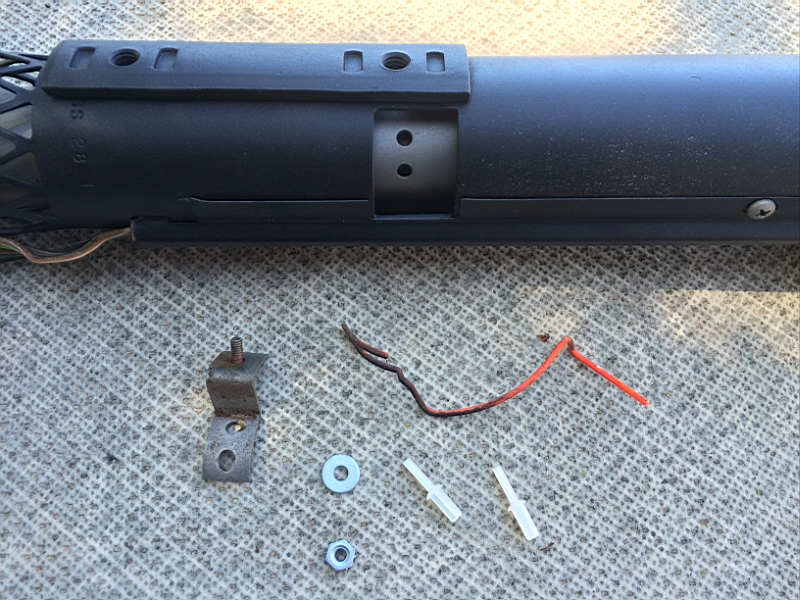
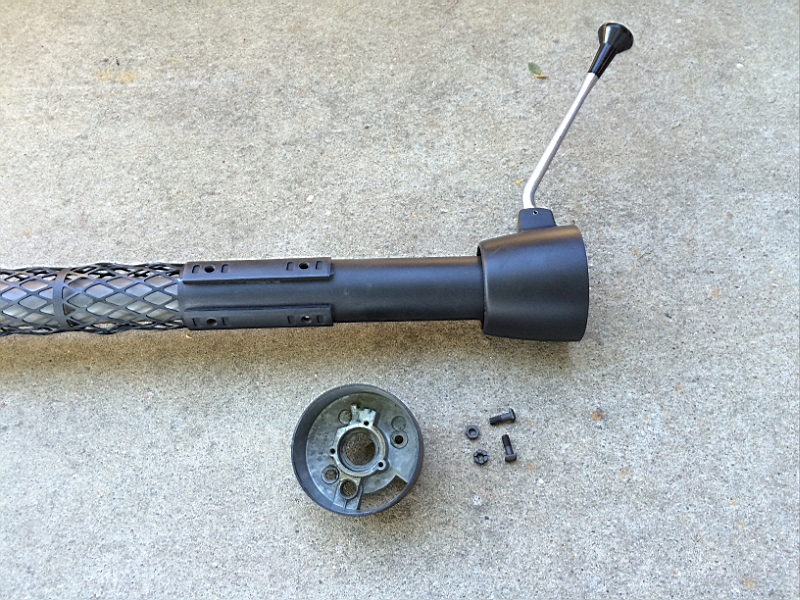
1. Slide 2-hole plate onto jacket
2. Slip O-ring onto jacket
3. Slide 3-hole plate onto jacket
4. Bolt pates together (placement not important, more to protect paint)

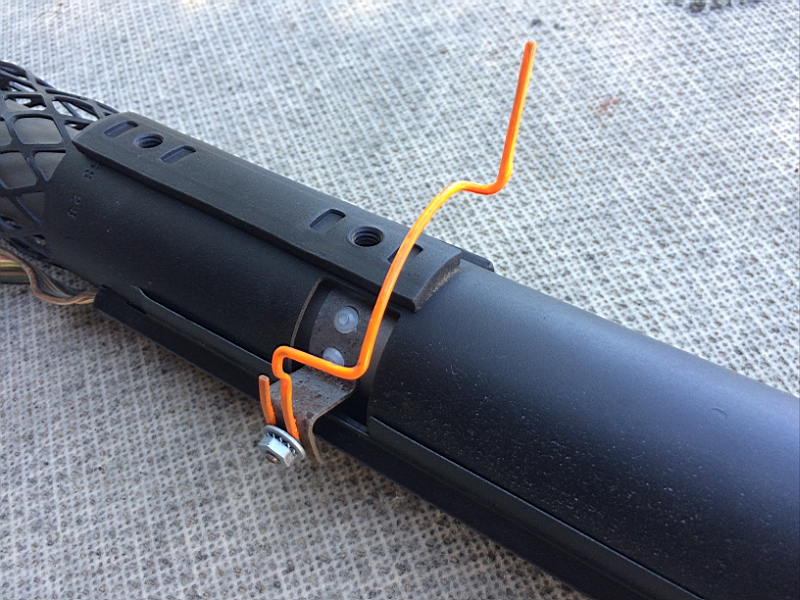
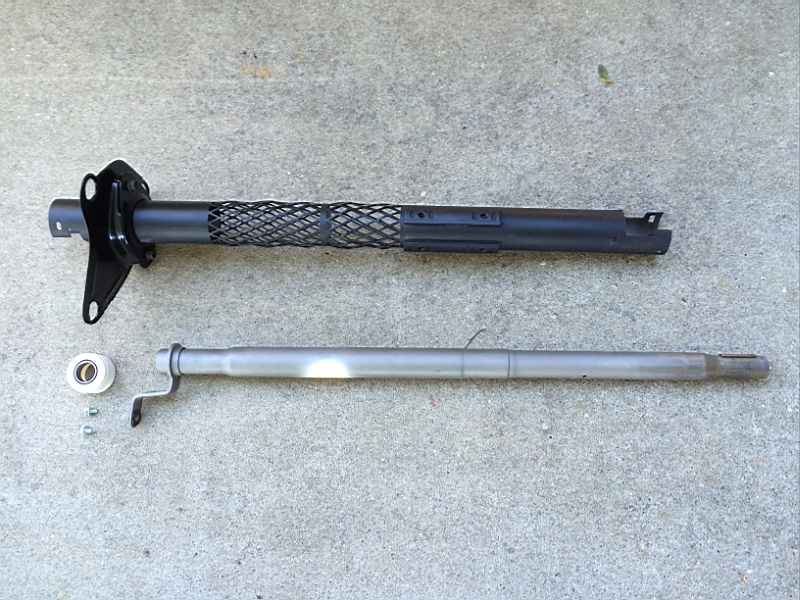
5. Insert shift tube into jacket
6. Grease and install lower bearing with 2 bolts
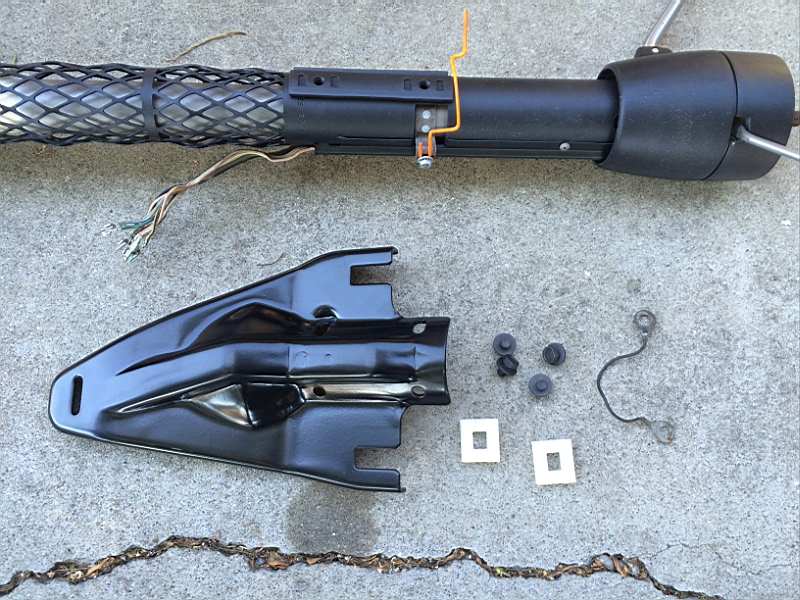
7. Insert shift spring in housing
8. Insert lever and press in pin
9. Install spring washer
10. Install shift housing, lube the inside of the housing where it meets the tube
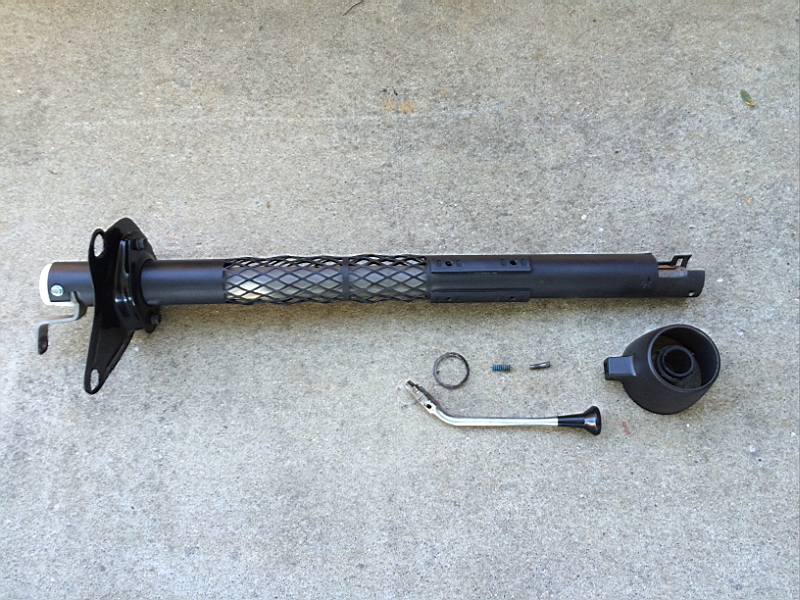
11. Install gate on upper housing with 2 screws (mine never came apart)

12. Put housing mounting studs (square head bolts) through holes and install nuts loosely (like only a couple threads)
13. Install housing, hold both nuts down and work both studs in place. I fount it easier to stand the column up, the side of the heads of the studs lock into the square pockets on the side of the column housing. This is a three handed job as you also need to hold the shift lever up
14. Lock down nuts, check shift for rotation
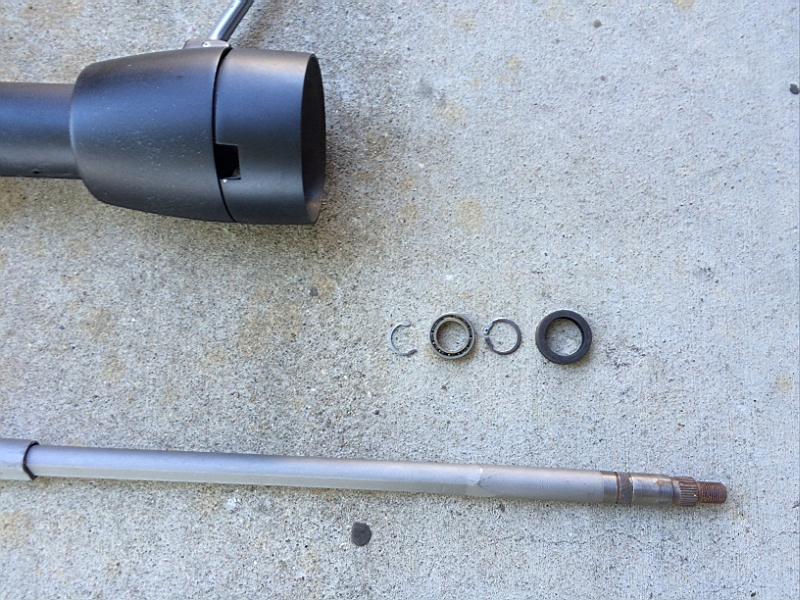
15. Slide steering shaft in, enough to expose both clip grooves
16. Install lower clip
17. Grease and install bearing
18. Install snap ring (I was able to push it on with a deep socket, no snap ring tool needed)
19. Install insulator
20. Slide shaft down to seat bearing
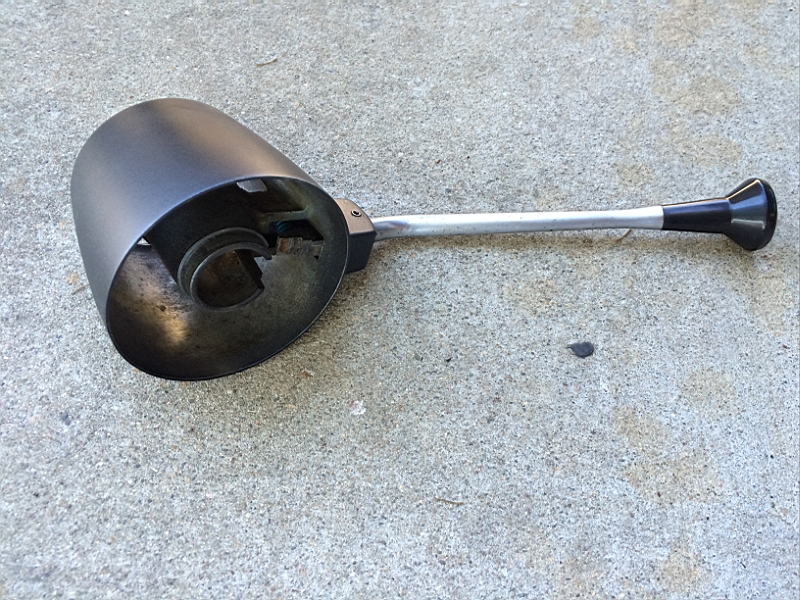
21. Install turn switch
22. Install turn switch plate with 3 screws
23. Install turn signal lever and screw, check operation

For those who may be interested here are some links to the before pictures.
http://www.mrmopar.com/1969PolaraCHP/Gallery/150809.htm
http://www.mrmopar.com/1969PolaraCHP/Gallery/150810.htm
http://www.mrmopar.com/1969PolaraCHP/Gallery/150813.htm
http://www.mrmopar.com/1969PolaraCHP/Gallery/150816.htm
1. Slide 2-hole plate onto jacket
2. Slip O-ring onto jacket
3. Slide 3-hole plate onto jacket
4. Bolt pates together (placement not important, more to protect paint)
5. Insert shift tube into jacket
6. Grease and install lower bearing with 2 bolts
7. Insert shift spring in housing
8. Insert lever and press in pin
9. Install spring washer
10. Install shift housing, lube the inside of the housing where it meets the tube
11. Install gate on upper housing with 2 screws (mine never came apart)
12. Put housing mounting studs (square head bolts) through holes and install nuts loosely (like only a couple threads)
13. Install housing, hold both nuts down and work both studs in place. I fount it easier to stand the column up, the side of the heads of the studs lock into the square pockets on the side of the column housing. This is a three handed job as you also need to hold the shift lever up
14. Lock down nuts, check shift for rotation
15. Slide steering shaft in, enough to expose both clip grooves
16. Install lower clip
17. Grease and install bearing
18. Install snap ring (I was able to push it on with a deep socket, no snap ring tool needed)
19. Install insulator
20. Slide shaft down to seat bearing
21. Install turn switch
22. Install turn switch plate with 3 screws
23. Install turn signal lever and screw, check operation