The Horvaths
Young man with a cowboy hat
440SourceThose seem to be decent prices where are you getting these parts?
The shipping was free too.
440SourceThose seem to be decent prices where are you getting these parts?


Sure. Car should be back home sometime next week. I'll do it ASAP.Looks great.
Can you do me a HUGE favor??
Can you snap me a good sharp pic of the frame mounted z-bar bracket?
For the book I'm writing..
No.Do you really need that much carb spacer?


 The red circles represent where the bolts went.
 It measures: 2.5 in. (length) by 9/16 in. (height). Length and height relative to picture.


 WooHoo! If I am unclear about something, please let me know, and I will do my best to clarify.
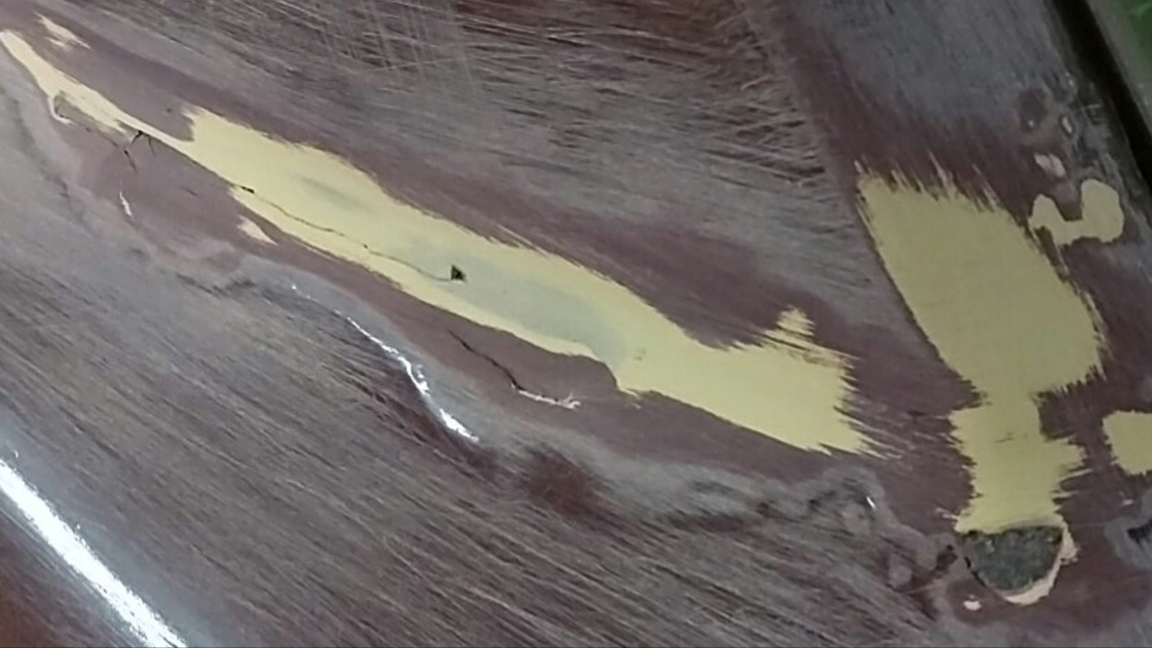


Love it... excellent use of the college fund...Special surprise today:
And the completed wheels. (Thanks again, Bryan)
And some more parts:
View attachment 92942

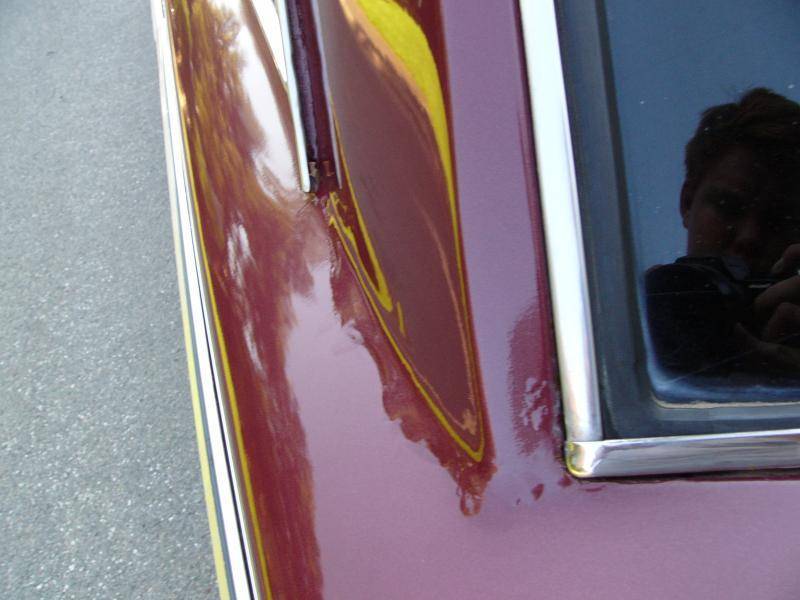
The C Pillar discovery:
So I decided to face my problems head-on last night and remove some of the paint to let whatever was under the bondo on my '66 rear it's ugly head. I used 80 grit sandpaper, a sanding block, and a little elbow grease to work my way through a QUARTER INCH of bondo! The pictures I took tell the story.
This is what I started with:
When I got the base coat of paint off, I could peel the bondo off in chunks! Gross!
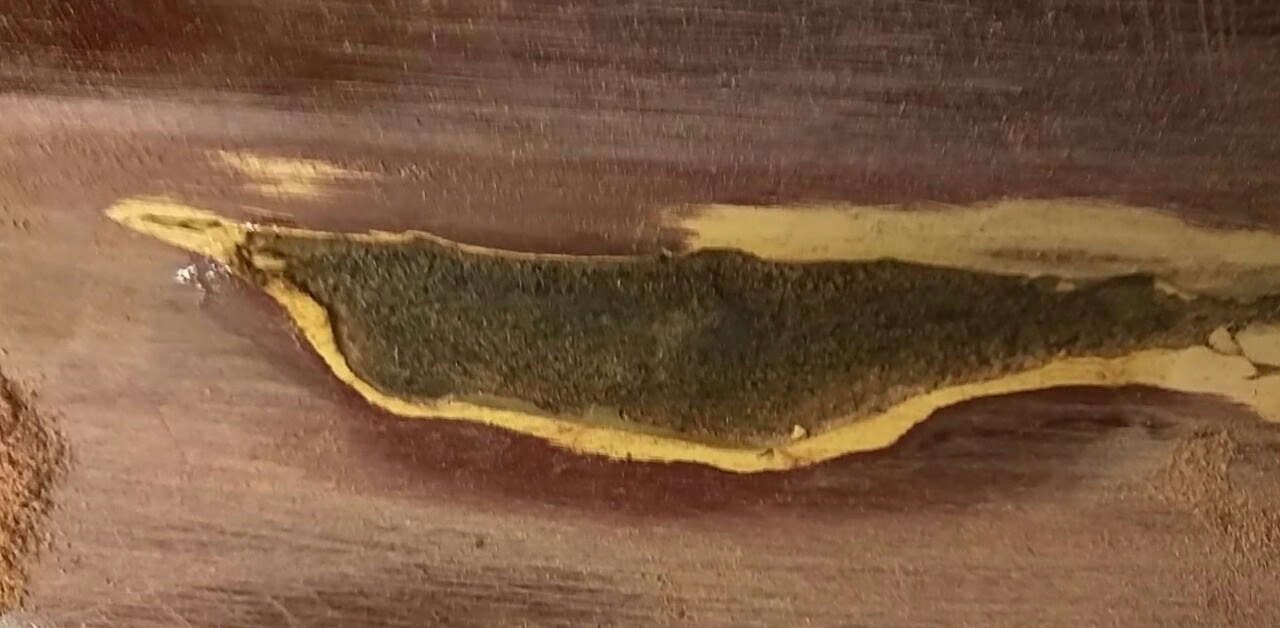
I thought this was rusted, but...
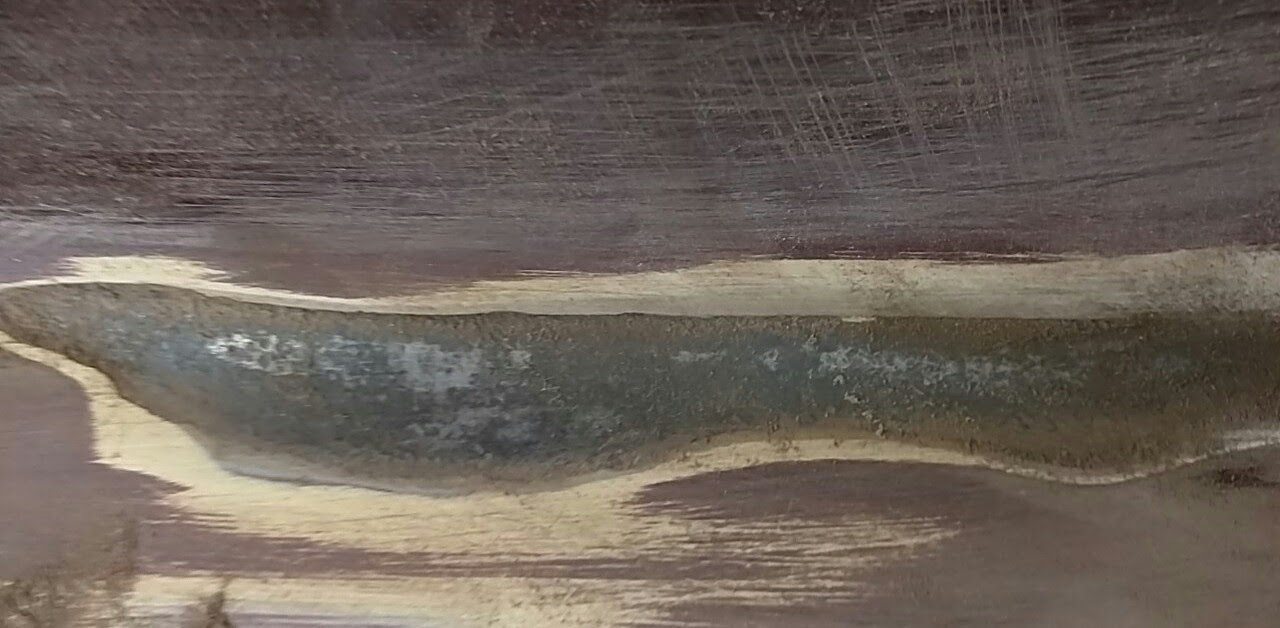
Nope! I did some more sanding towards the top of this area and it was clean as well! There wasn't even surface rust. My phone died before I could take pictures of that.
My guess is that a previous owner did not like the body line, and decided to bondo over it in the most sloppy manner possible.
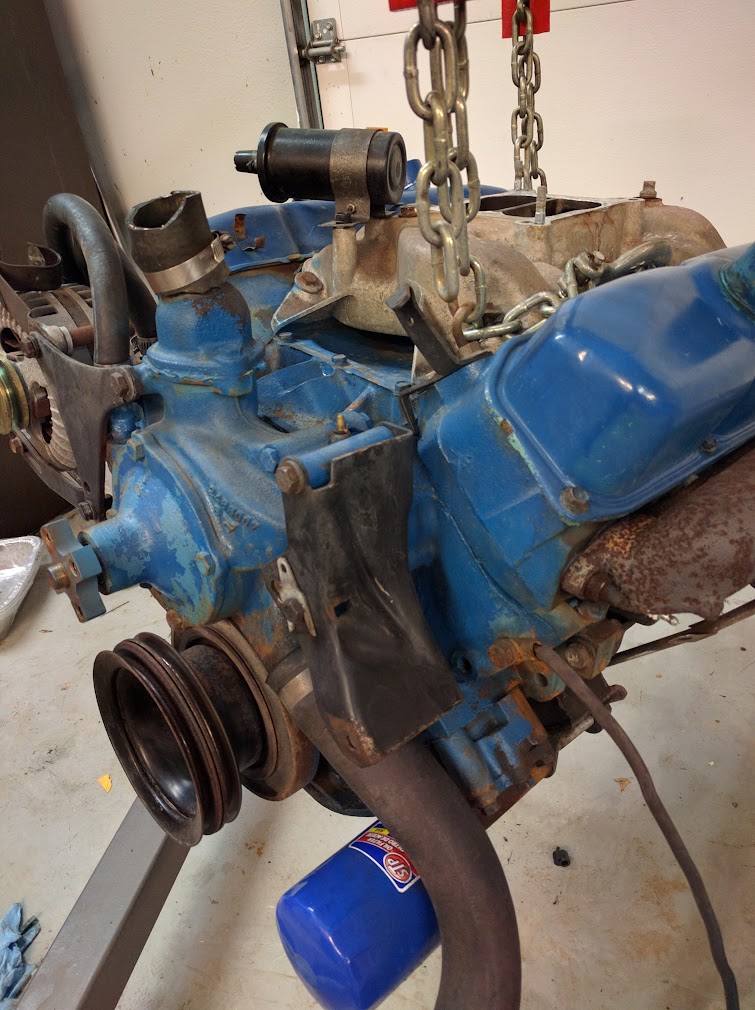
After finishing all this sanding, I coated the bare metal with a substance similar to Ospho (I can't recall the name off the top of my head) to protect it. I will be taking the car to the body shop after I finish removing the engine and the rest of the driveline (yes, there will be a thread on this, and some more on rebuilding the transmission!). Anyways, I thought I would share my progress.


