Top Cat
Member
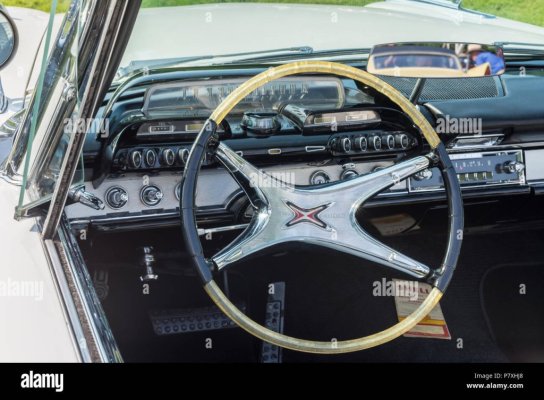
The frosty white finish on the 1960 Dodge Scope-Sight "see through" speedometer lens is very fragile. If you Google search "1960 Dodge Speedometer" or "1960 Dodge Dashboard", you will see that many of these speedometer lenses have the white frosting smeared or worn away. My '60 Dart had this problem, so I painted the back of the lens white (see previous post). This was a BIG MISTAKE because when bright sunlight shines through the lens, everything will look splotchy. The lens was ruined.
Luckily, Forum member "SIXPACTOGO" sold me a nice replacement speedometer. However, it too was a little smeary, so I went to Michael's (craft store) and bought thin frosty translucent sheeting. Using my old lens as a template, I cut the sheeting into the shape of the lens (including a precisely cut hole for the odometer). I slipped the cut sheet behind and against the NEW speedometer lens (now installed on car), and discreetly attached it with frosty scotch tape.
The end result is that the speedometer now looks almost new, with no glare, darkness, or smears from any sun angle or shade condition. The frosty plastic gives the white background a uniform appearance, and still lets light through. I wish I thought of this before I painted the back of my original speedo, which resulted in a splotchyness that the frosty plastic couldn't correct.
I am providing this post as a public service because most '60 Dodges have this smeary lens problem to one degree or another, and this method solves the problem and gives your speedometer that bright, uniform, translucent glow it was meant to have.
The photos show:
1) Typical 1960 Dodge speedometer with white finish mostly worn away. Lens is clear, not frosty white.
2) My painted lens which looks splotchy when bright light is shown through it.
3) Label on translucent plastic sheeting I bought at Michael's.
4) Using razor blade (or scissors) to cut plastic, using the original speedometer lens as a guide.
5) Precisely cutting hole for odometer.
6) Speedometer should now look like this, with cut sheet fastened on the back of the lens. Uniform and bright without glare.
Somebody probably just gave up and wiped all the coating away.
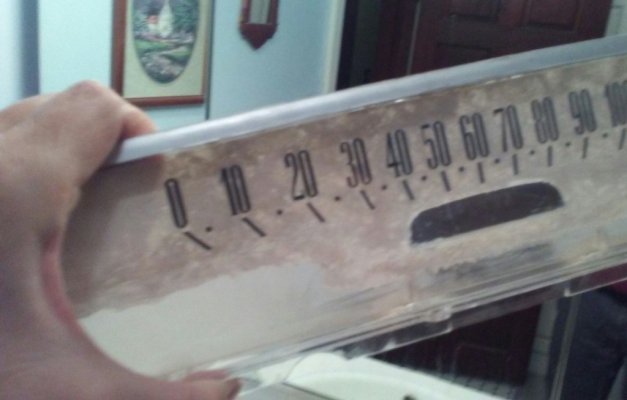
My painted lens--no longer usable. Luckily I was able to obtain another.

This is what I bought--thin translucent plastic sheeting. The label says "transparent" but it's really frosty translucent.
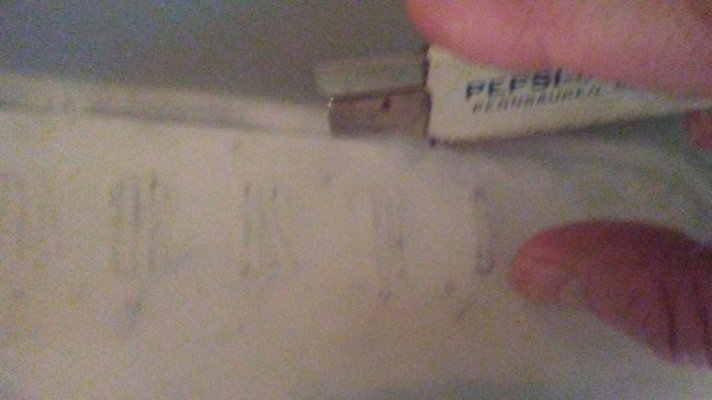
Cutting the sheet using old lens as a template.
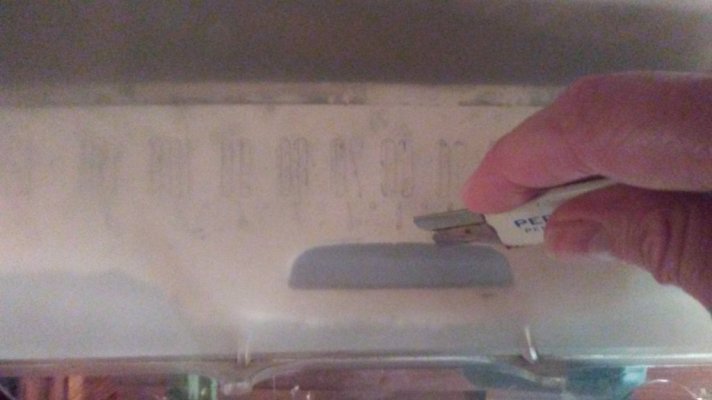
Cutting hole for odometer.
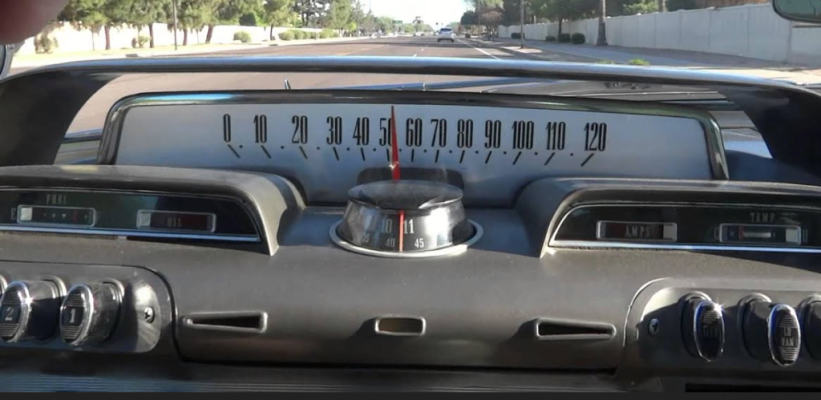
With cut sheet in place, gauge should look nice like this.
Luckily, Forum member "SIXPACTOGO" sold me a nice replacement speedometer. However, it too was a little smeary, so I went to Michael's (craft store) and bought thin frosty translucent sheeting. Using my old lens as a template, I cut the sheeting into the shape of the lens (including a precisely cut hole for the odometer). I slipped the cut sheet behind and against the NEW speedometer lens (now installed on car), and discreetly attached it with frosty scotch tape.
The end result is that the speedometer now looks almost new, with no glare, darkness, or smears from any sun angle or shade condition. The frosty plastic gives the white background a uniform appearance, and still lets light through. I wish I thought of this before I painted the back of my original speedo, which resulted in a splotchyness that the frosty plastic couldn't correct.
I am providing this post as a public service because most '60 Dodges have this smeary lens problem to one degree or another, and this method solves the problem and gives your speedometer that bright, uniform, translucent glow it was meant to have.
The photos show:
1) Typical 1960 Dodge speedometer with white finish mostly worn away. Lens is clear, not frosty white.
2) My painted lens which looks splotchy when bright light is shown through it.
3) Label on translucent plastic sheeting I bought at Michael's.
4) Using razor blade (or scissors) to cut plastic, using the original speedometer lens as a guide.
5) Precisely cutting hole for odometer.
6) Speedometer should now look like this, with cut sheet fastened on the back of the lens. Uniform and bright without glare.

Somebody probably just gave up and wiped all the coating away.

My painted lens--no longer usable. Luckily I was able to obtain another.

This is what I bought--thin translucent plastic sheeting. The label says "transparent" but it's really frosty translucent.

Cutting the sheet using old lens as a template.

Cutting hole for odometer.

With cut sheet in place, gauge should look nice like this.
Last edited:


