'66 Imperial Lower Control Arm Bushing

Joined
Jun 15, 2020
Messages
119
Reaction score
103
Location
Køge, Denmark
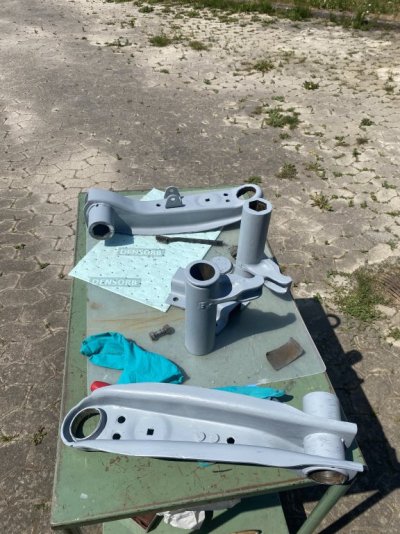
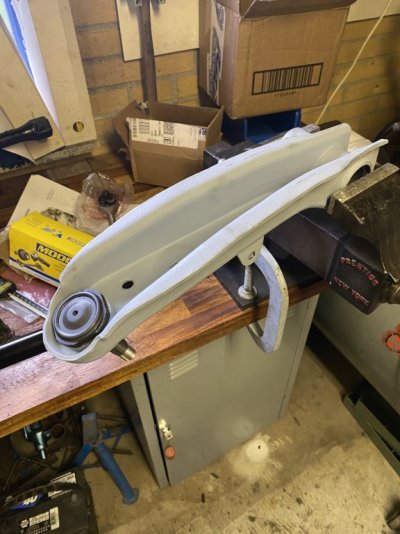
Instead of getting caught in the facebook feed I thought I would post some pictures from my ongoing project; Changing the lower control arm bushings in my incomparable Imperial.
Maybe someone preparing for the same job can benefit from it. Helpful tips from "old men with hats" (and others) will be much appreciated! I have never done this before.

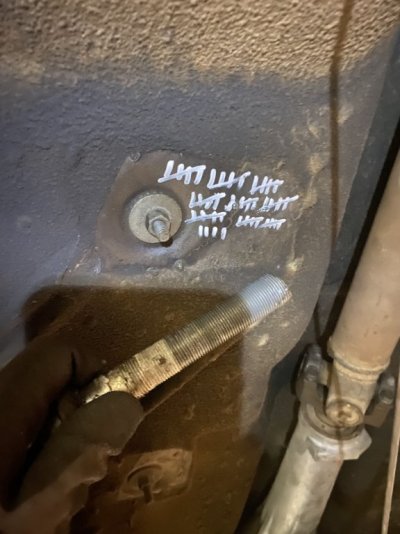
Counted the number of turn before the bolt in the rear anchor came out (unloading the torsion bar). Seems like et was bottoming out in the "cover" (?):

IMG_9537.jpg IMG_9540.jpg IMG_9548.jpg

I took this whole assembly out rearwards:
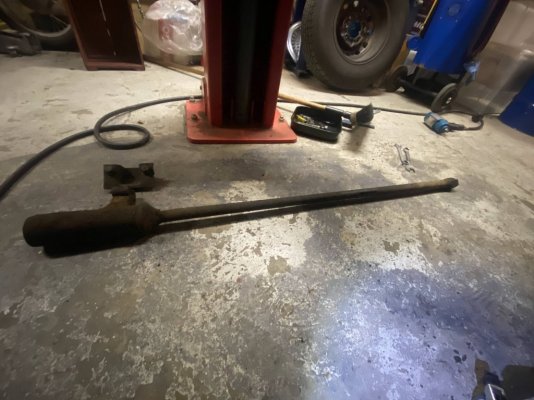
IMG_9549.jpg

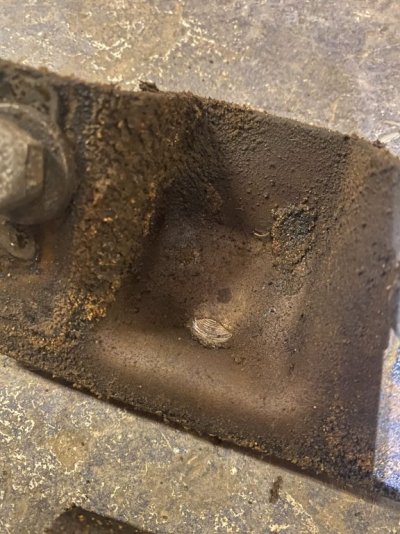
The car is full of red sand. I assume this is how the soil looks in Arizona and/or California? It is bonded to large parts of the underside of the car with presumably leaked out and dried up power steering fluid:
(this is the attachment point for the rear anchor)
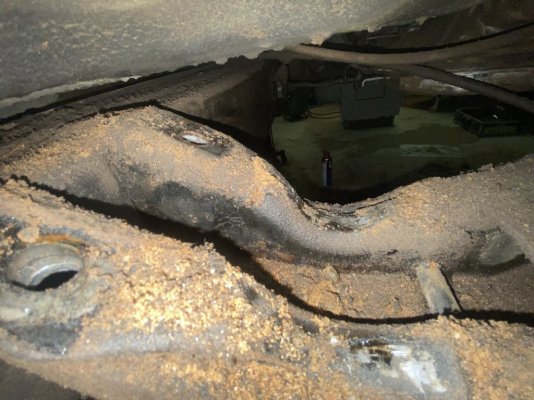
IMG_9551.jpg

Rear anchor was still full of grease:
IMG_9553.jpg

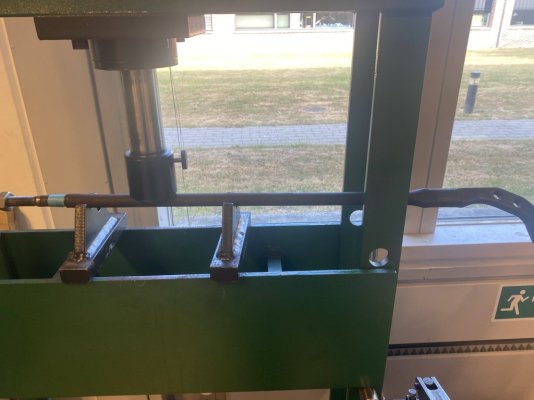
I made my own very crude version of the ball joint press tool from a "nut buster" (for the strong fine thread with long engagement length), a socket and inner races from bearings:
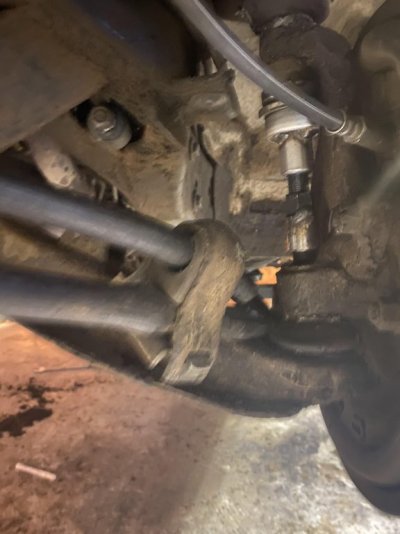

IMG_9560.jpg

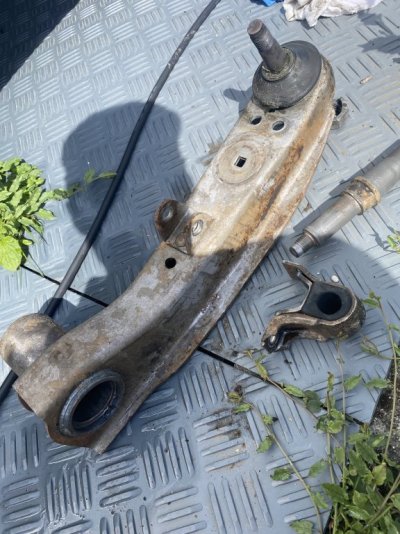
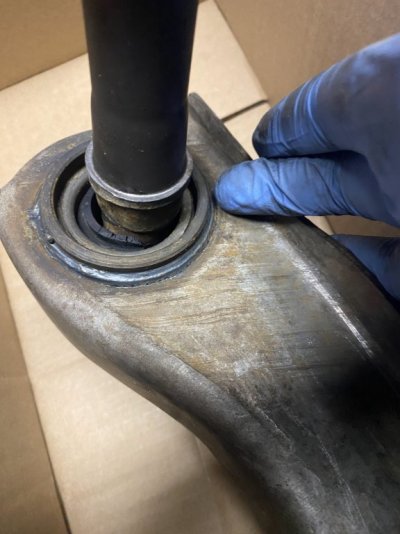
The rubber in the old bushing was almost gone:

IMG_9565.jpg IMG_9568.jpg

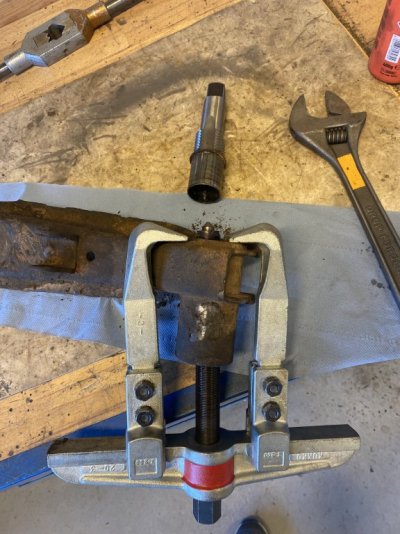
Instead of welding in a washer as I have seen youtubers do to get the outer sleeve of the bushing out, I threaded in a M42 tap and pressed on that. Of course this only makes sense if one has access to an appropriate tap. The inner diameter of the sleeve is 1.57".
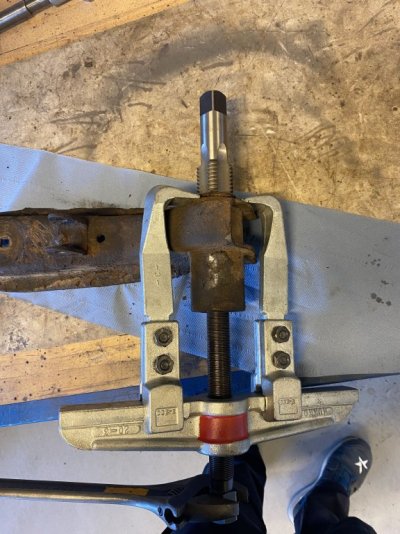
IMG_9572.jpg
 
Last edited:
I have done the tap method many times, works great, until a friend wants to do his bushings and breaks the tap. Auuugghhh. Reminds me, I need to source a tap.
 
I have done the tap method many times, works great, until a friend wants to do his bushings and breaks the tap. Auuugghhh. Reminds me, I need to source a tap.
I did consider the (borrowed!) tap being hard and brittle. But I did not have to tighten the puller a lot before the sleeve came loose. That is a very big (i.e. expensive) tap to have around just for control arm sleeves!

I think this project has developed into a full front end rebuild, which I should have done in the winter instead of now in the driving season. In my defense I did order the LCA bushings in February but they arrived last week. Actually 4 bushings arrived, because I thought the first place I ordered was a fraud (European reseller of Bernbaum's assortment), so I also ordered 2 directly from Andy Bernbaum 2 weeks ago. Lesson learned; If I can figure out who the supplier in US is, I should order there and have a forwarder ship them overseas using a well known parcel service which can collect import fees beforehand. I have also lost a distributor and PS pump seal kit from Ehrenberg, when a Dutch customs broker went bankrupt.

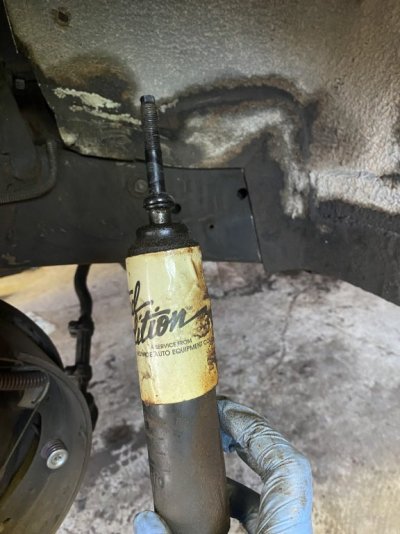
Took a shock out yesterday and am very surprised how small it is to this big car. Does anybody want to take a guess of how old it is? USA made Monroe "The Limited Edition" series.

IMG_9691.jpgIMG_9692.jpg
 
The project was going too well.... I have cleaned the driver's side control arm and everything came apart easily.
Started on the pass. side and less than half way out the torsion bar adjustment bolt gets stuck. It is not rusty at all (cleaned and lubed the visible threads anyway). I wonder if it could be bent?
It is starting to twist the cylindrical nut out of its "seat"/cradle, so I believe the torsion bar is relatively unloaded, but it is not a very desirable to start cutting or heating when under tension. And there is very little room to get to the nut. I can get an adjustable wrench on it, but can't really hold on to it. The easiest would be to cut the head off the bolt while having some blocks of wood between the floor and the rear anchor to take the hit. Any tricks for this situation much appreciated!

IMG_9709.jpg

IMG_9694.jpg
 
To anyone with a similar problem reading this in the future: The bolt was not bent. I managed to screw the stuck bolt back in, so the threads were exposed behind the nut. Degreased and cleaned the threads excessively with a wire brush and oiled them again. Then the bolt came right out. Upon inspection; there is absolutely no play in these threads (I believe the thread is 3/4" - 18 tpi), so it does not take a lot of foreign matter to get them stuck. I have never seen such a tight fitting thread before. So the root cause for the stuck bolt was very small white and hard deposits in the thread. Oxidation of the zinc coating I presume.
 
Yesterday I managed to assemble the car with new LCA bushings, KYB shocks, front strut rubber and lower ball joints (upper control arm bushings and ball joints still pending).
What a difference in driving experience. Before the car pulled to one side when braking. That is gone now. I am wondering if some people are converting to disc brakes to remedy uneven braking, when they really should be changing LCA bushings. I will post some before and "during" pictures (not a "how to").

IMG_9782.jpg

Pass. side ball joint took heat and 3/4" impact gun to come out:
IMG_9797.jpg
70869500949__170ABA5F-6178-45BB-8913-4AD178B7C6A5.jpg
New ball joint:
IMG_9861.jpg
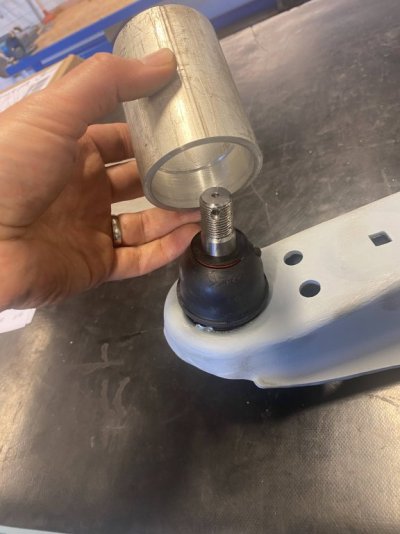
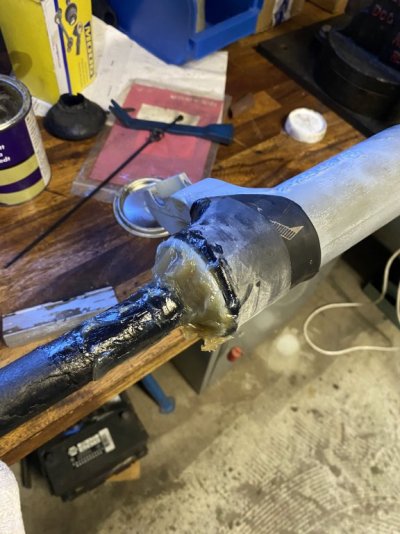
Using a suitable pipe to press on the outer sleeve of the LCA bushing when pressing in pivot shaft with new bushing. On an Imperial the inner sleeve of the bushing is not pressed on the pivot shaft, but secured with a nut.
IMG_9866.jpg
Aluminium pipe with rounded edges to press on rubber grommet:
IMG_9867.jpg

IMG_9871.jpg

One of the front struts was slightly bent:
IMG_9872.jpg

Packing the rear torsion bar anchor with grease:
IMG_9877.jpg
 
Missed including a picture of pivot shaft with new bushing:
IMG_9859.jpg

Also: It is possible to avoid taking off the entire brake assembly, but the 4 bolts on the backing plate has to be loosened to get the ball joint stud out of the spindle:
IMG_9876.jpg

Part numbers were:

Lower Ball joints: MOOG K727
Shocks: KYB KG4507 (lower bushing has to be shortened slightly to fit in control arm)
LCA bushings: No brand name, Andy Bernbaum part no: D-271
 
Back
Top