Day 7
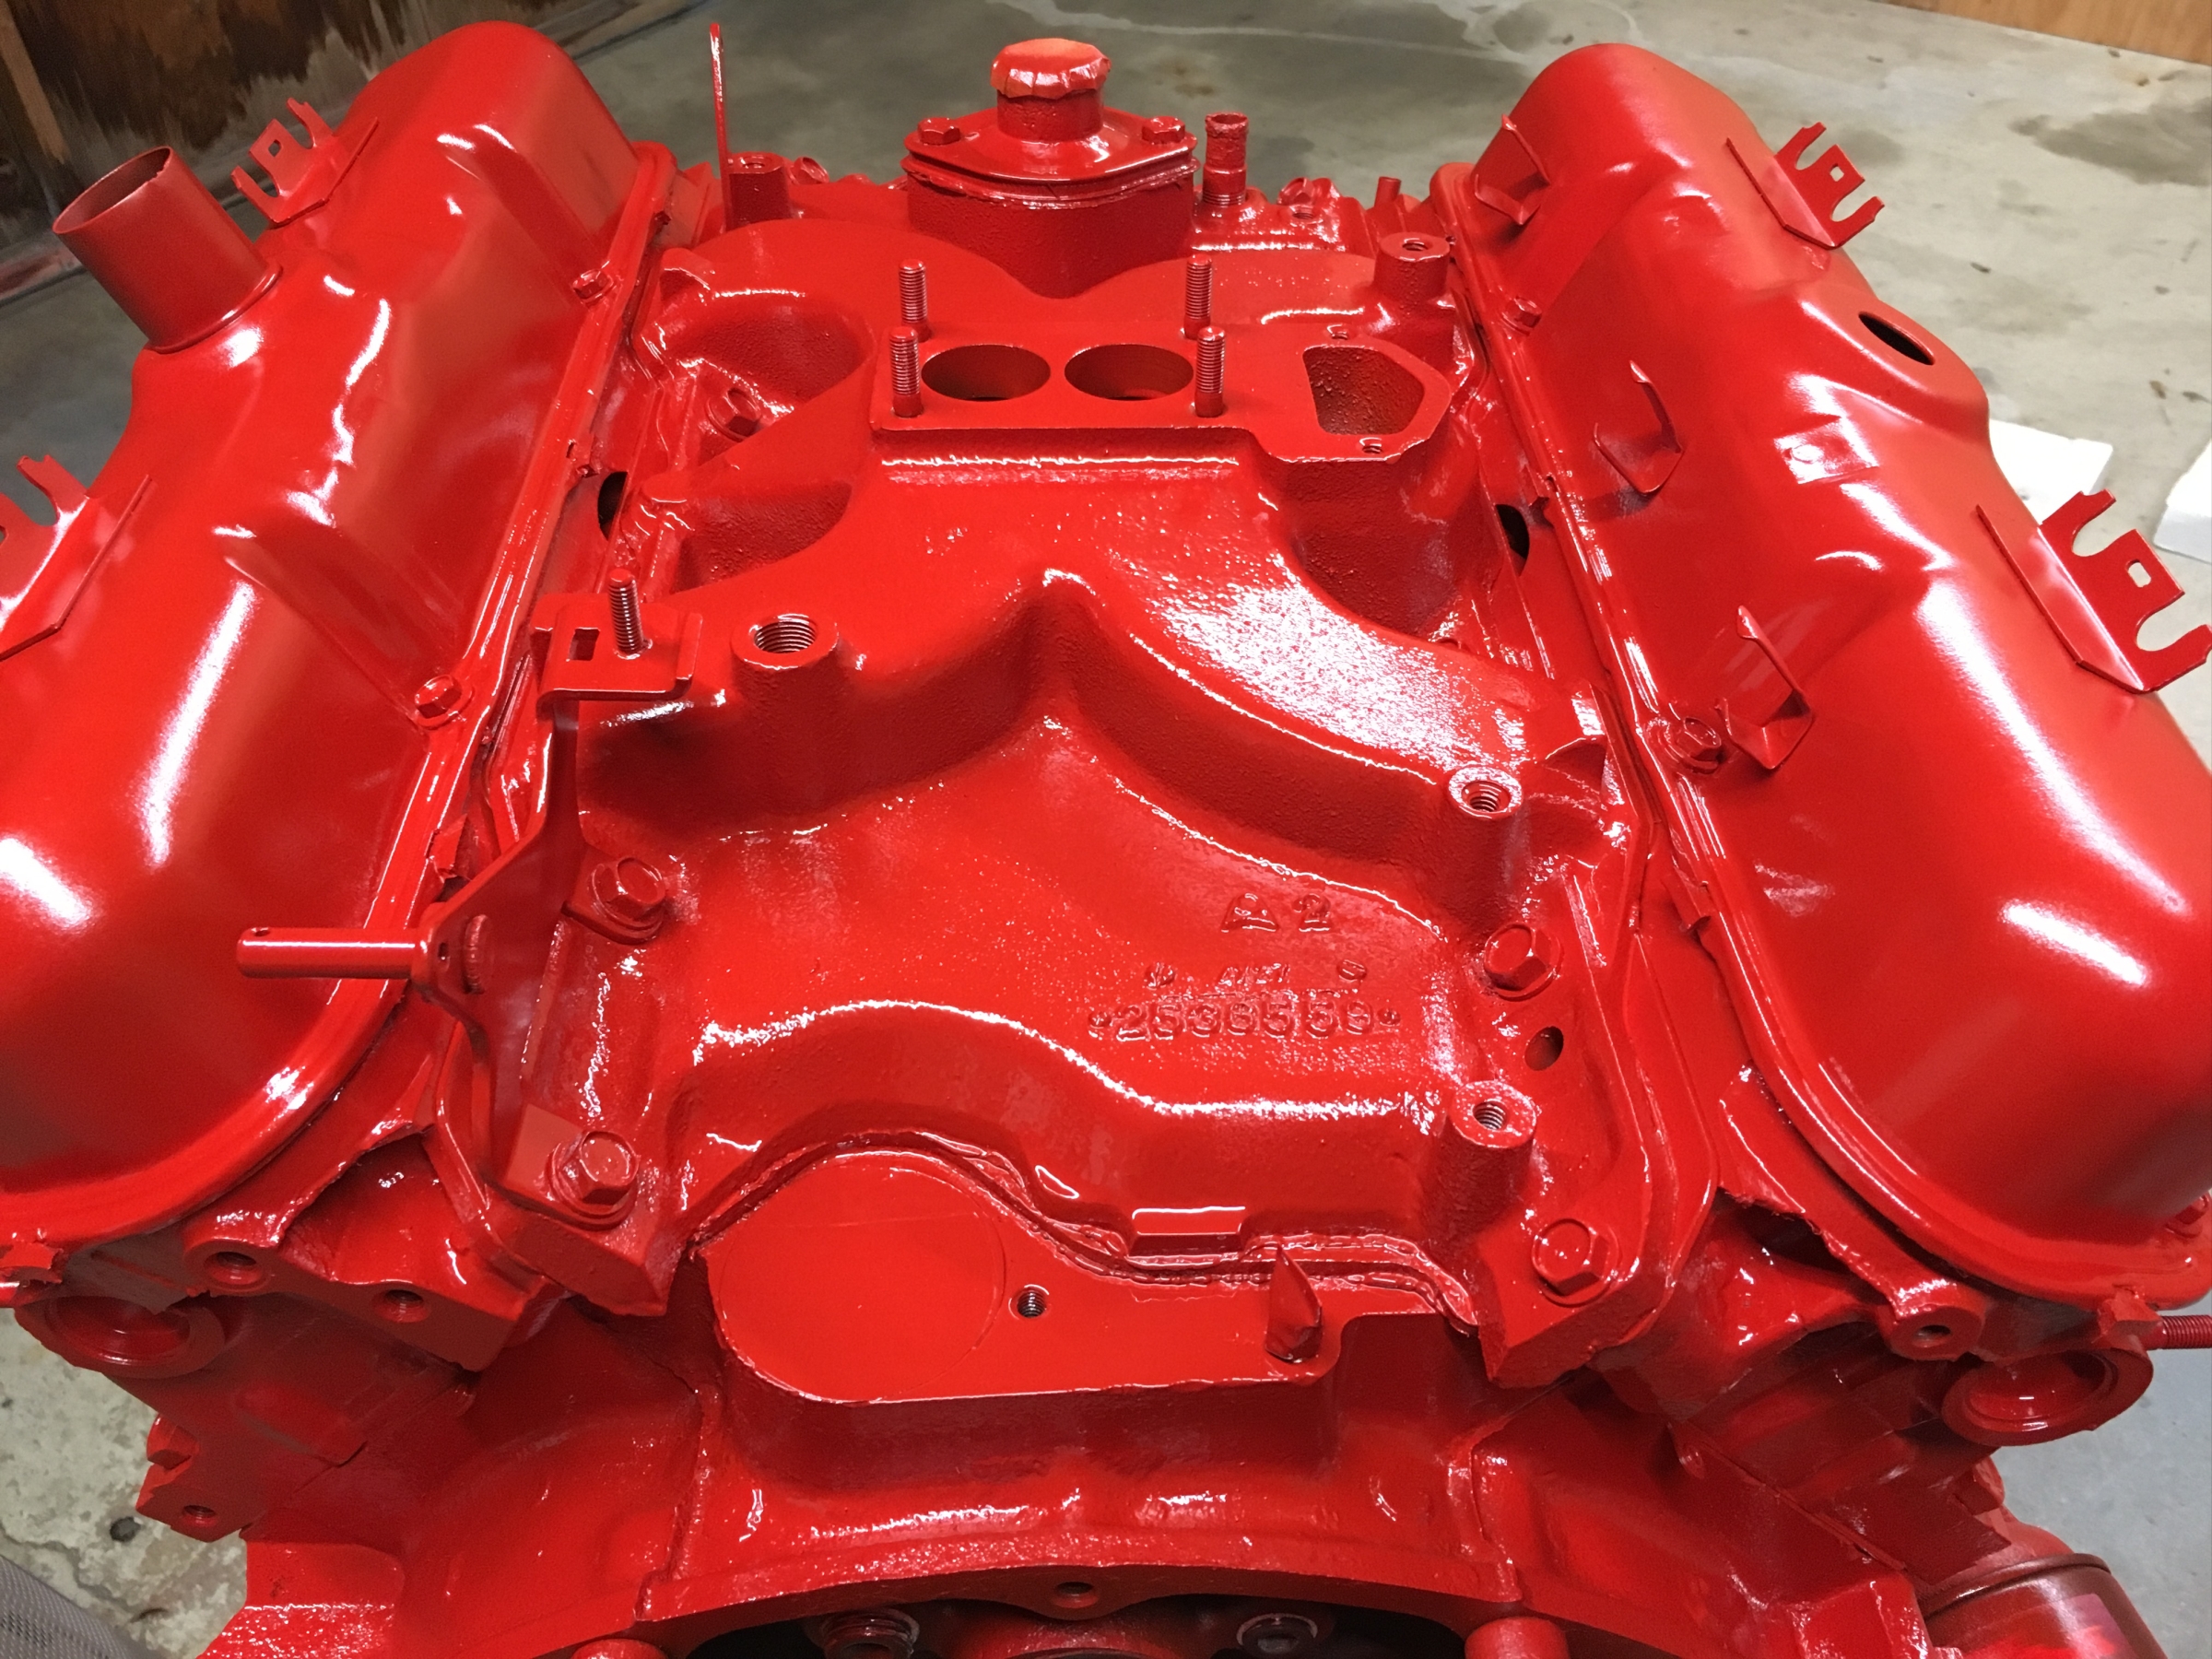
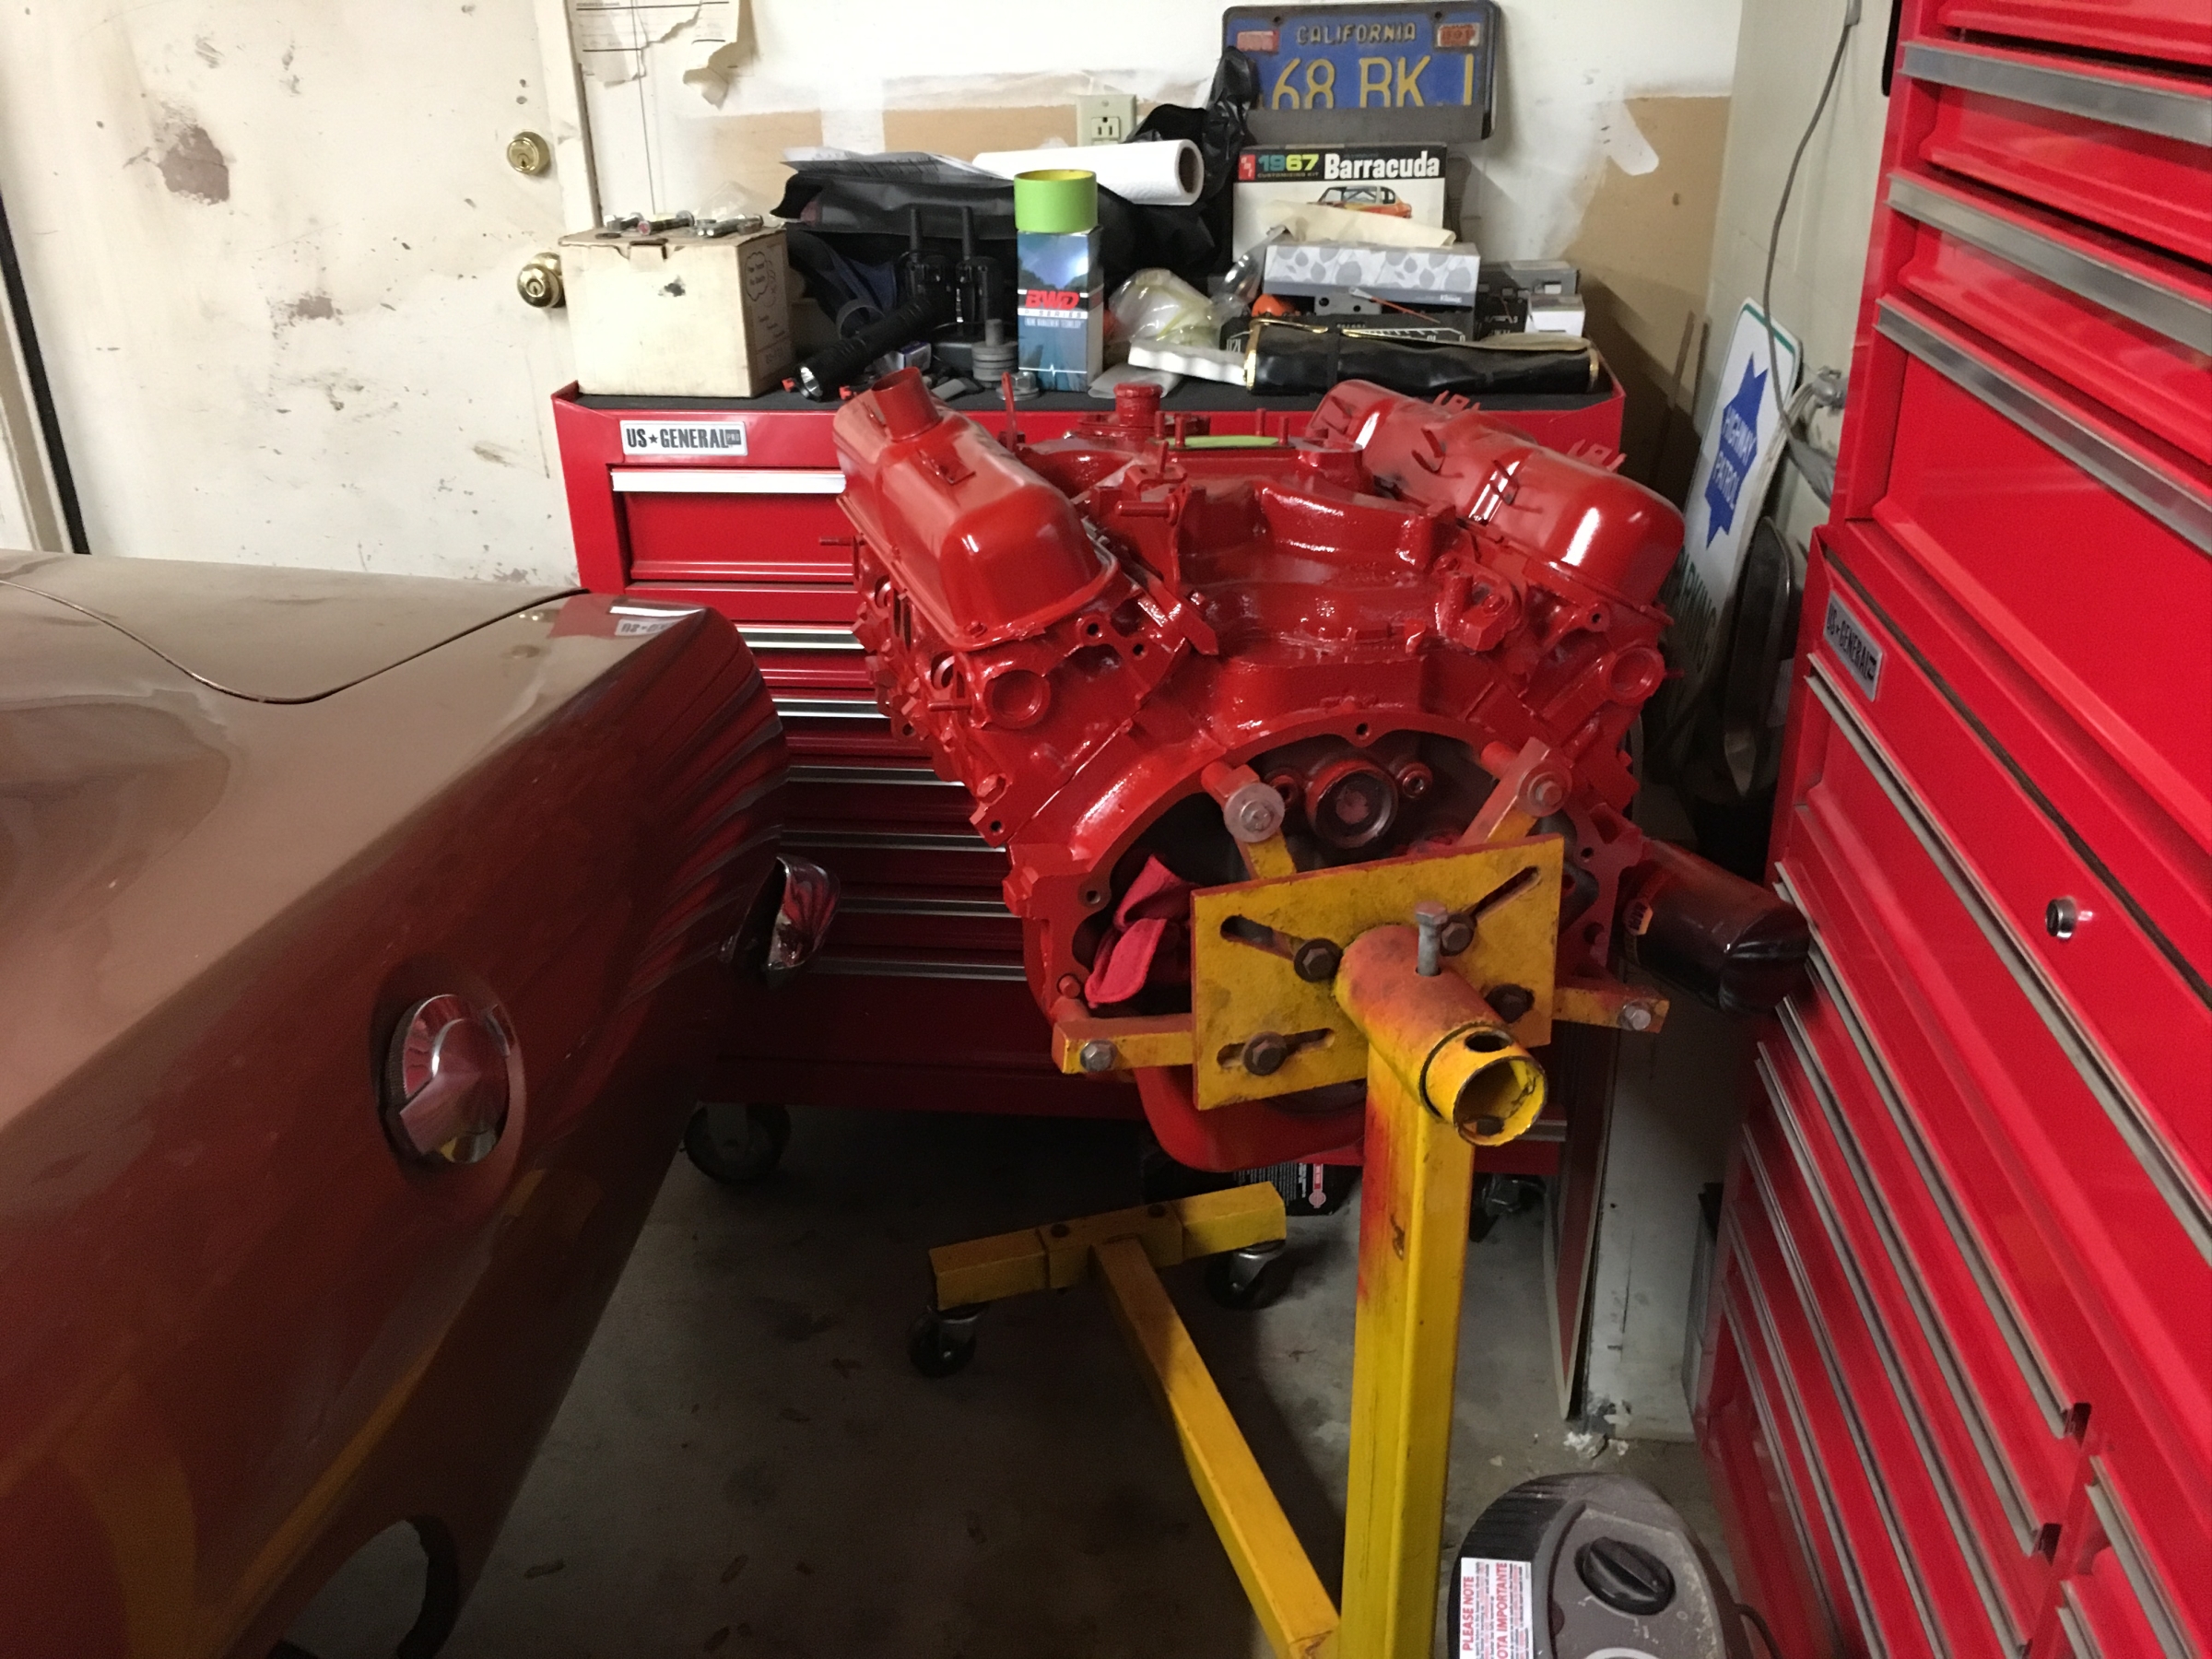
The day started with verifying the valve rocker geometry, once we were happy the Cometic head gaskets were copper coated. While we waited for the gaskets to be ready the head gasket surfaces were cleaned and the block surface. Once the gaskets were ready the heads were put on.
View attachment 184358
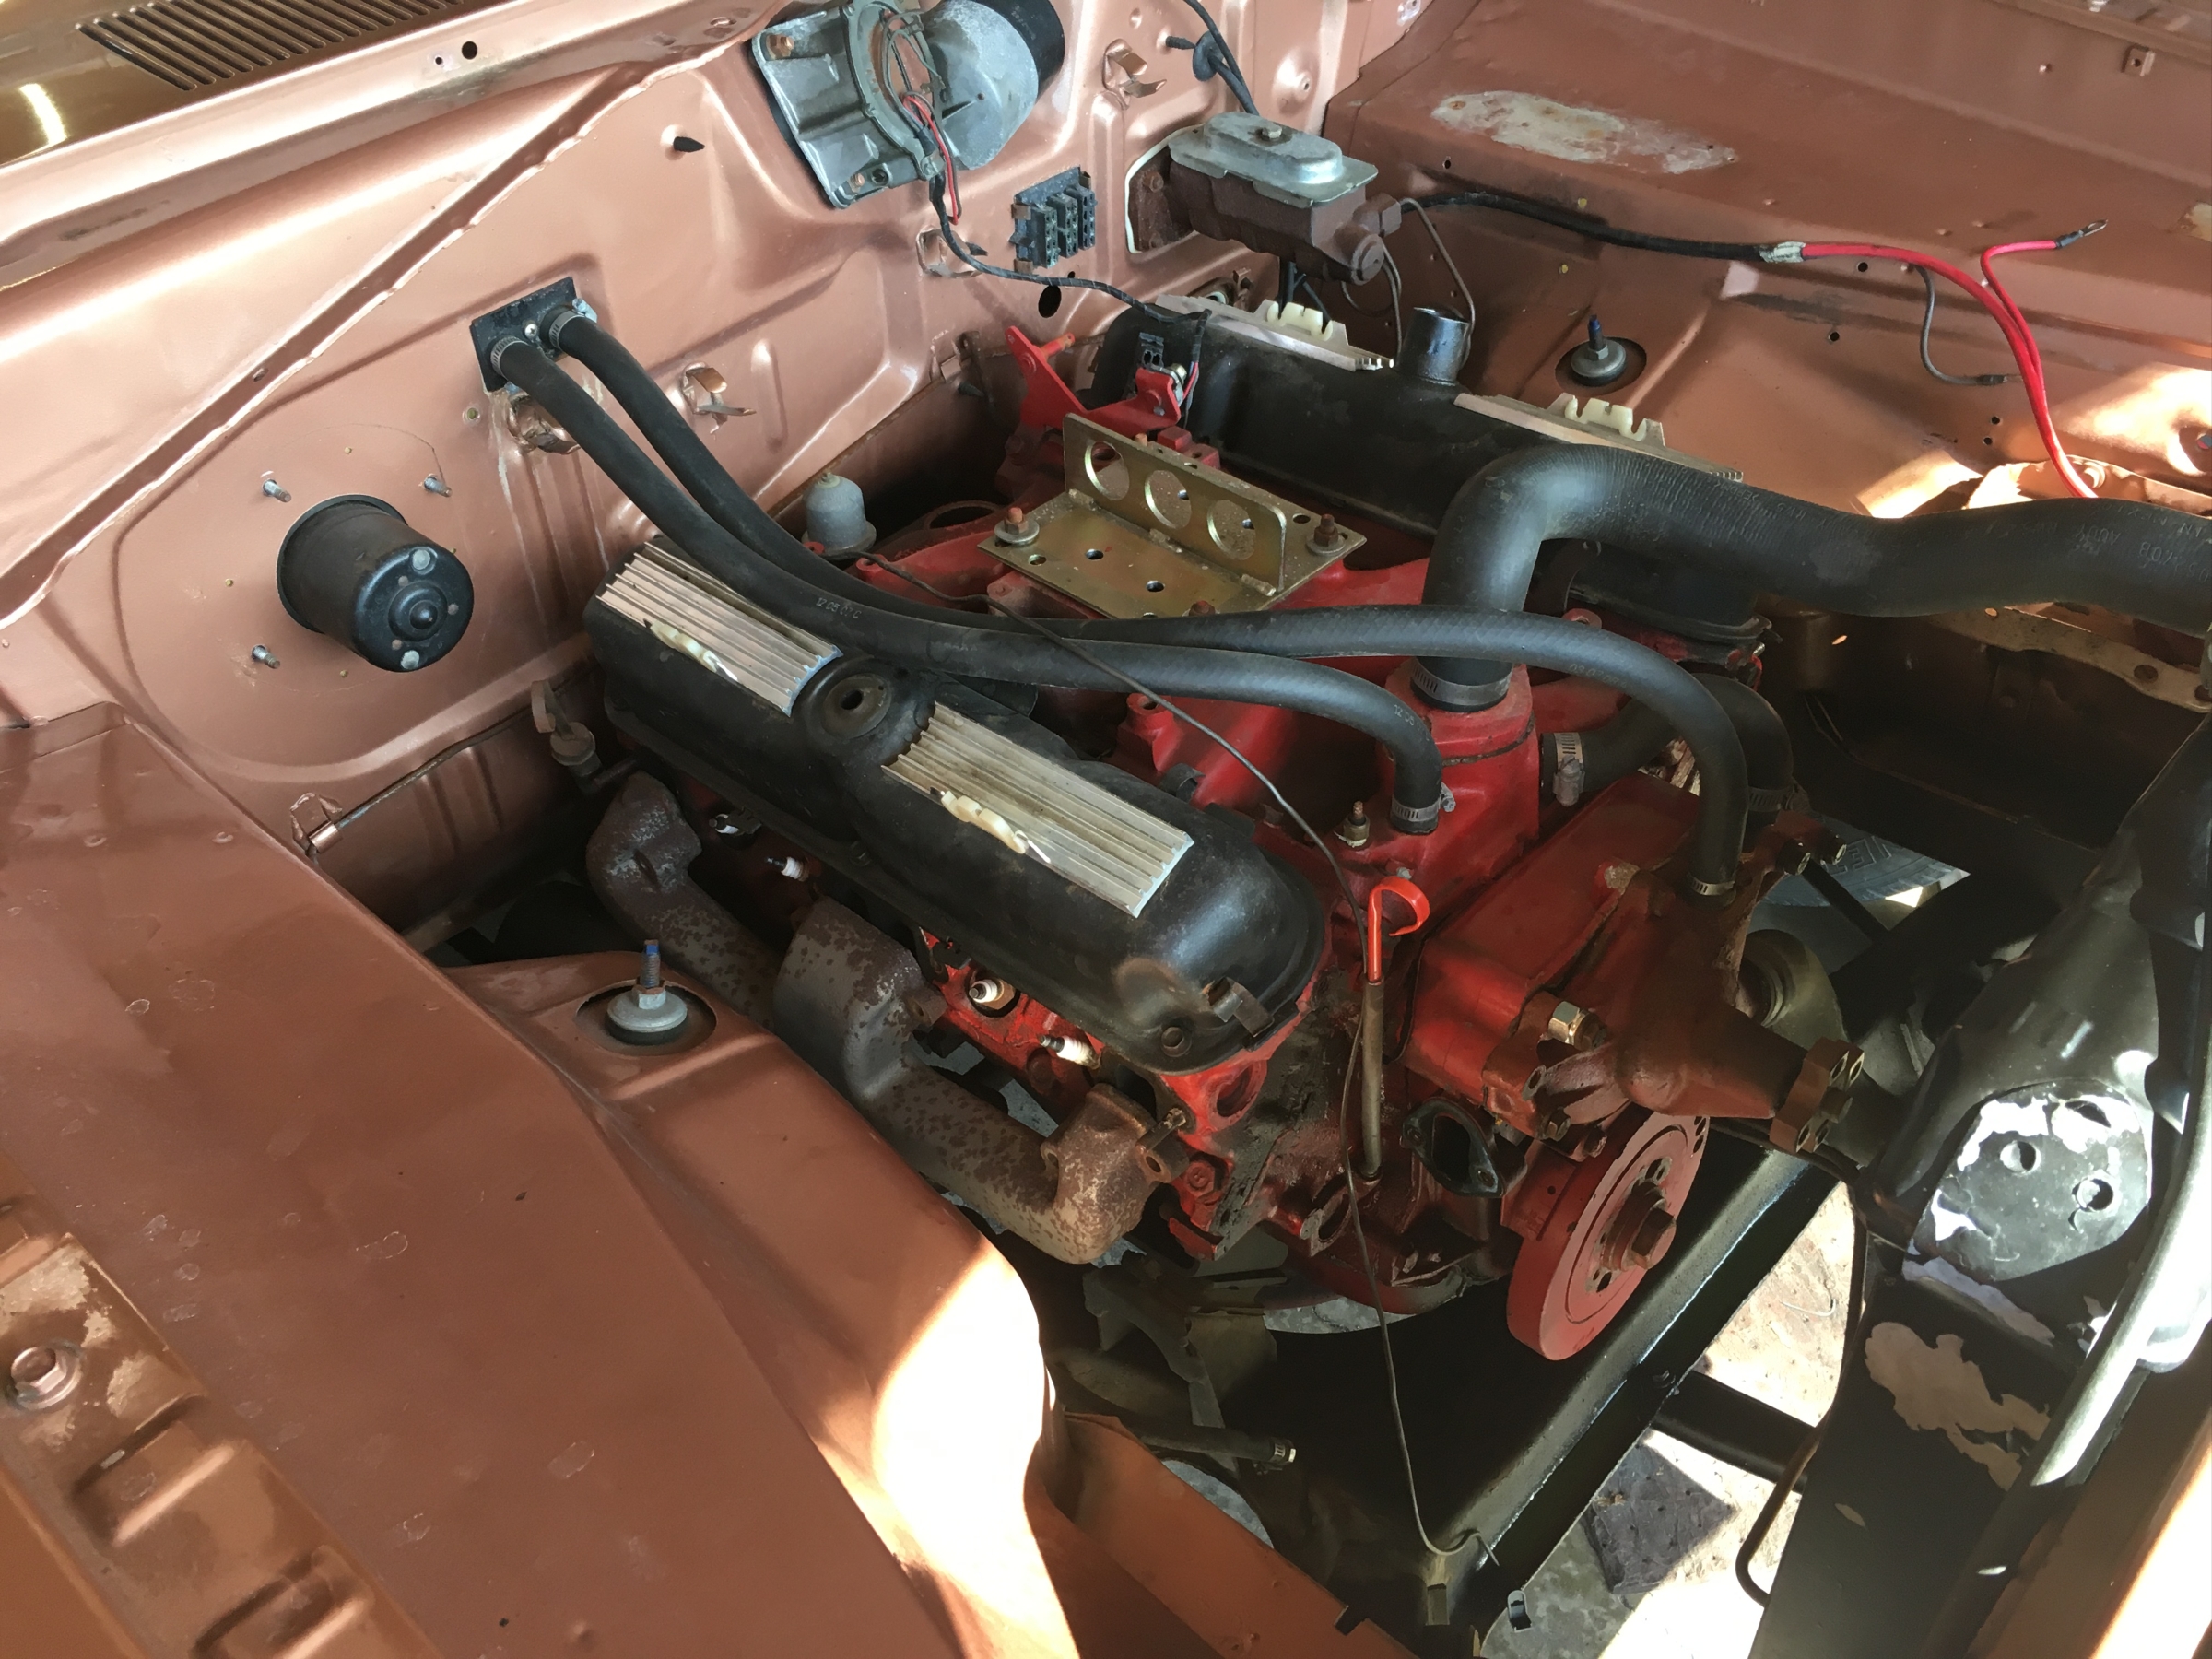
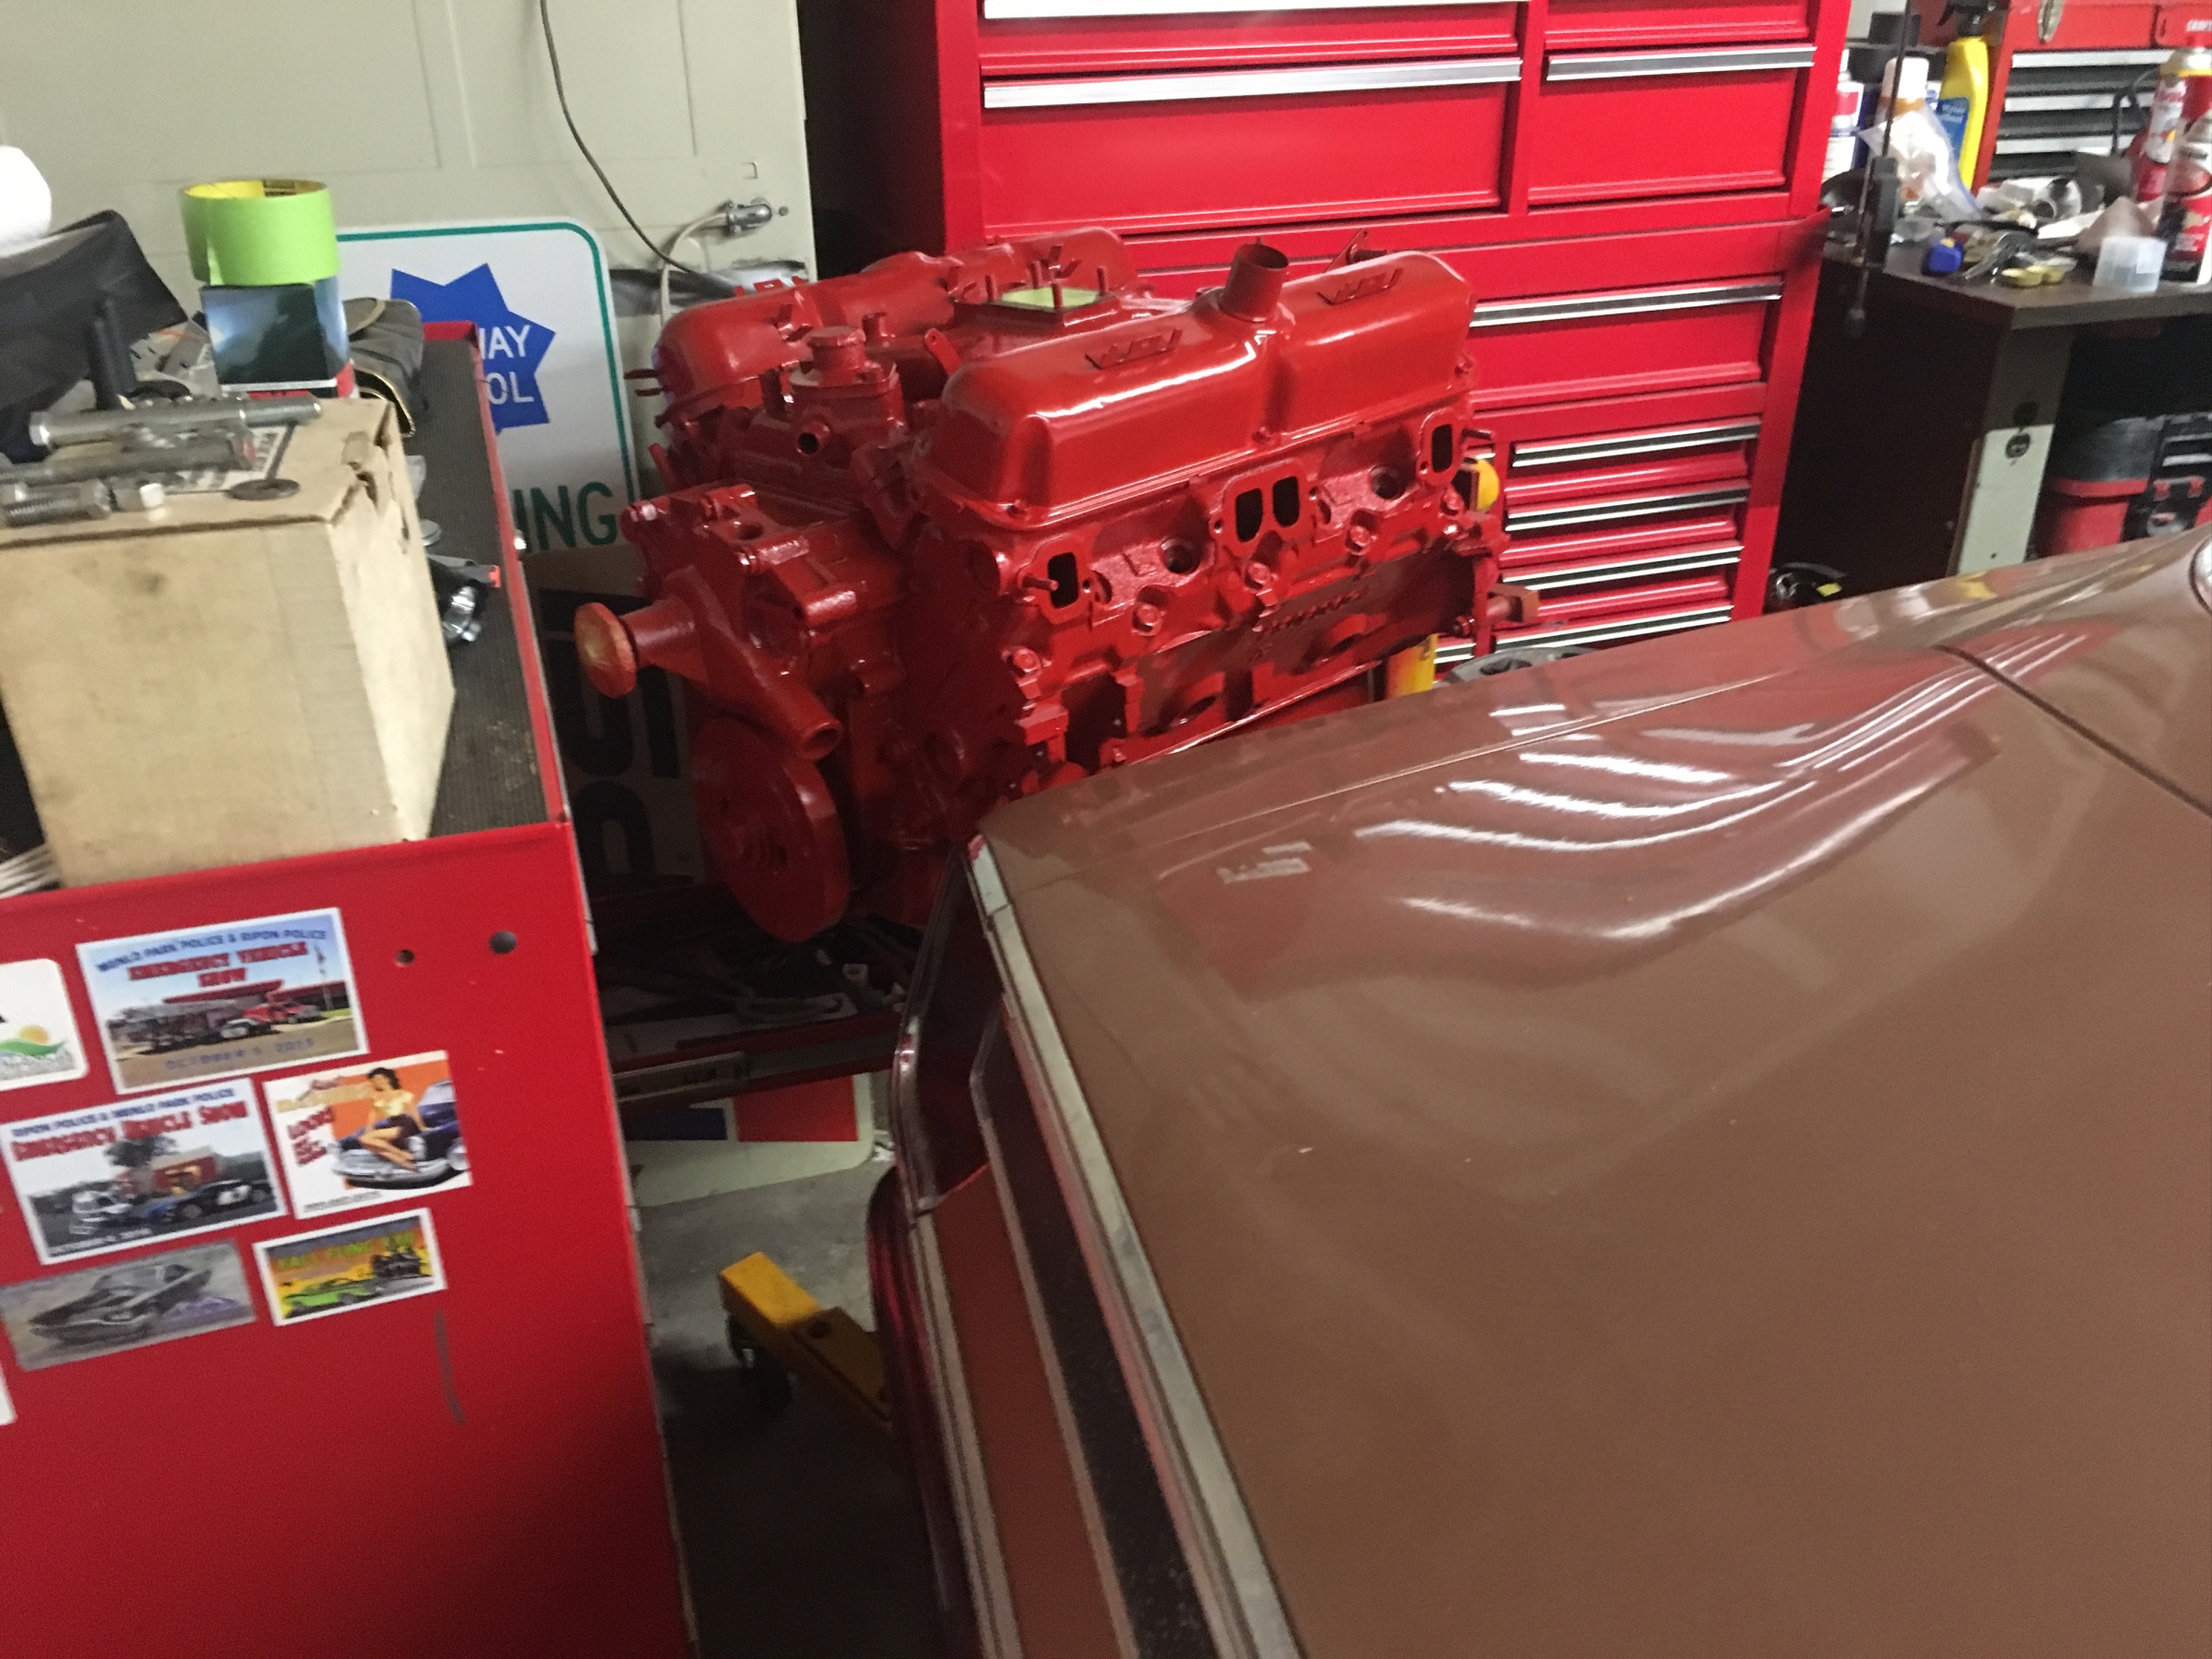
Next up was to check the pushrod length, a lifter, pushrod and the rocker assembly were put on. Because we are using hydraulic lifters with the adjustable rockers different pushrods were needed. The geometry was checked through the rocker travel, everything checked out. The new valve springs are a little larger in diameter and are very close to the rockers so the decision was to clearance them, time was up so took care of that after my friend left. Due to the grinding the rockers were thoroughly cleaned with Brākleen.
View attachment 184359
Day 8
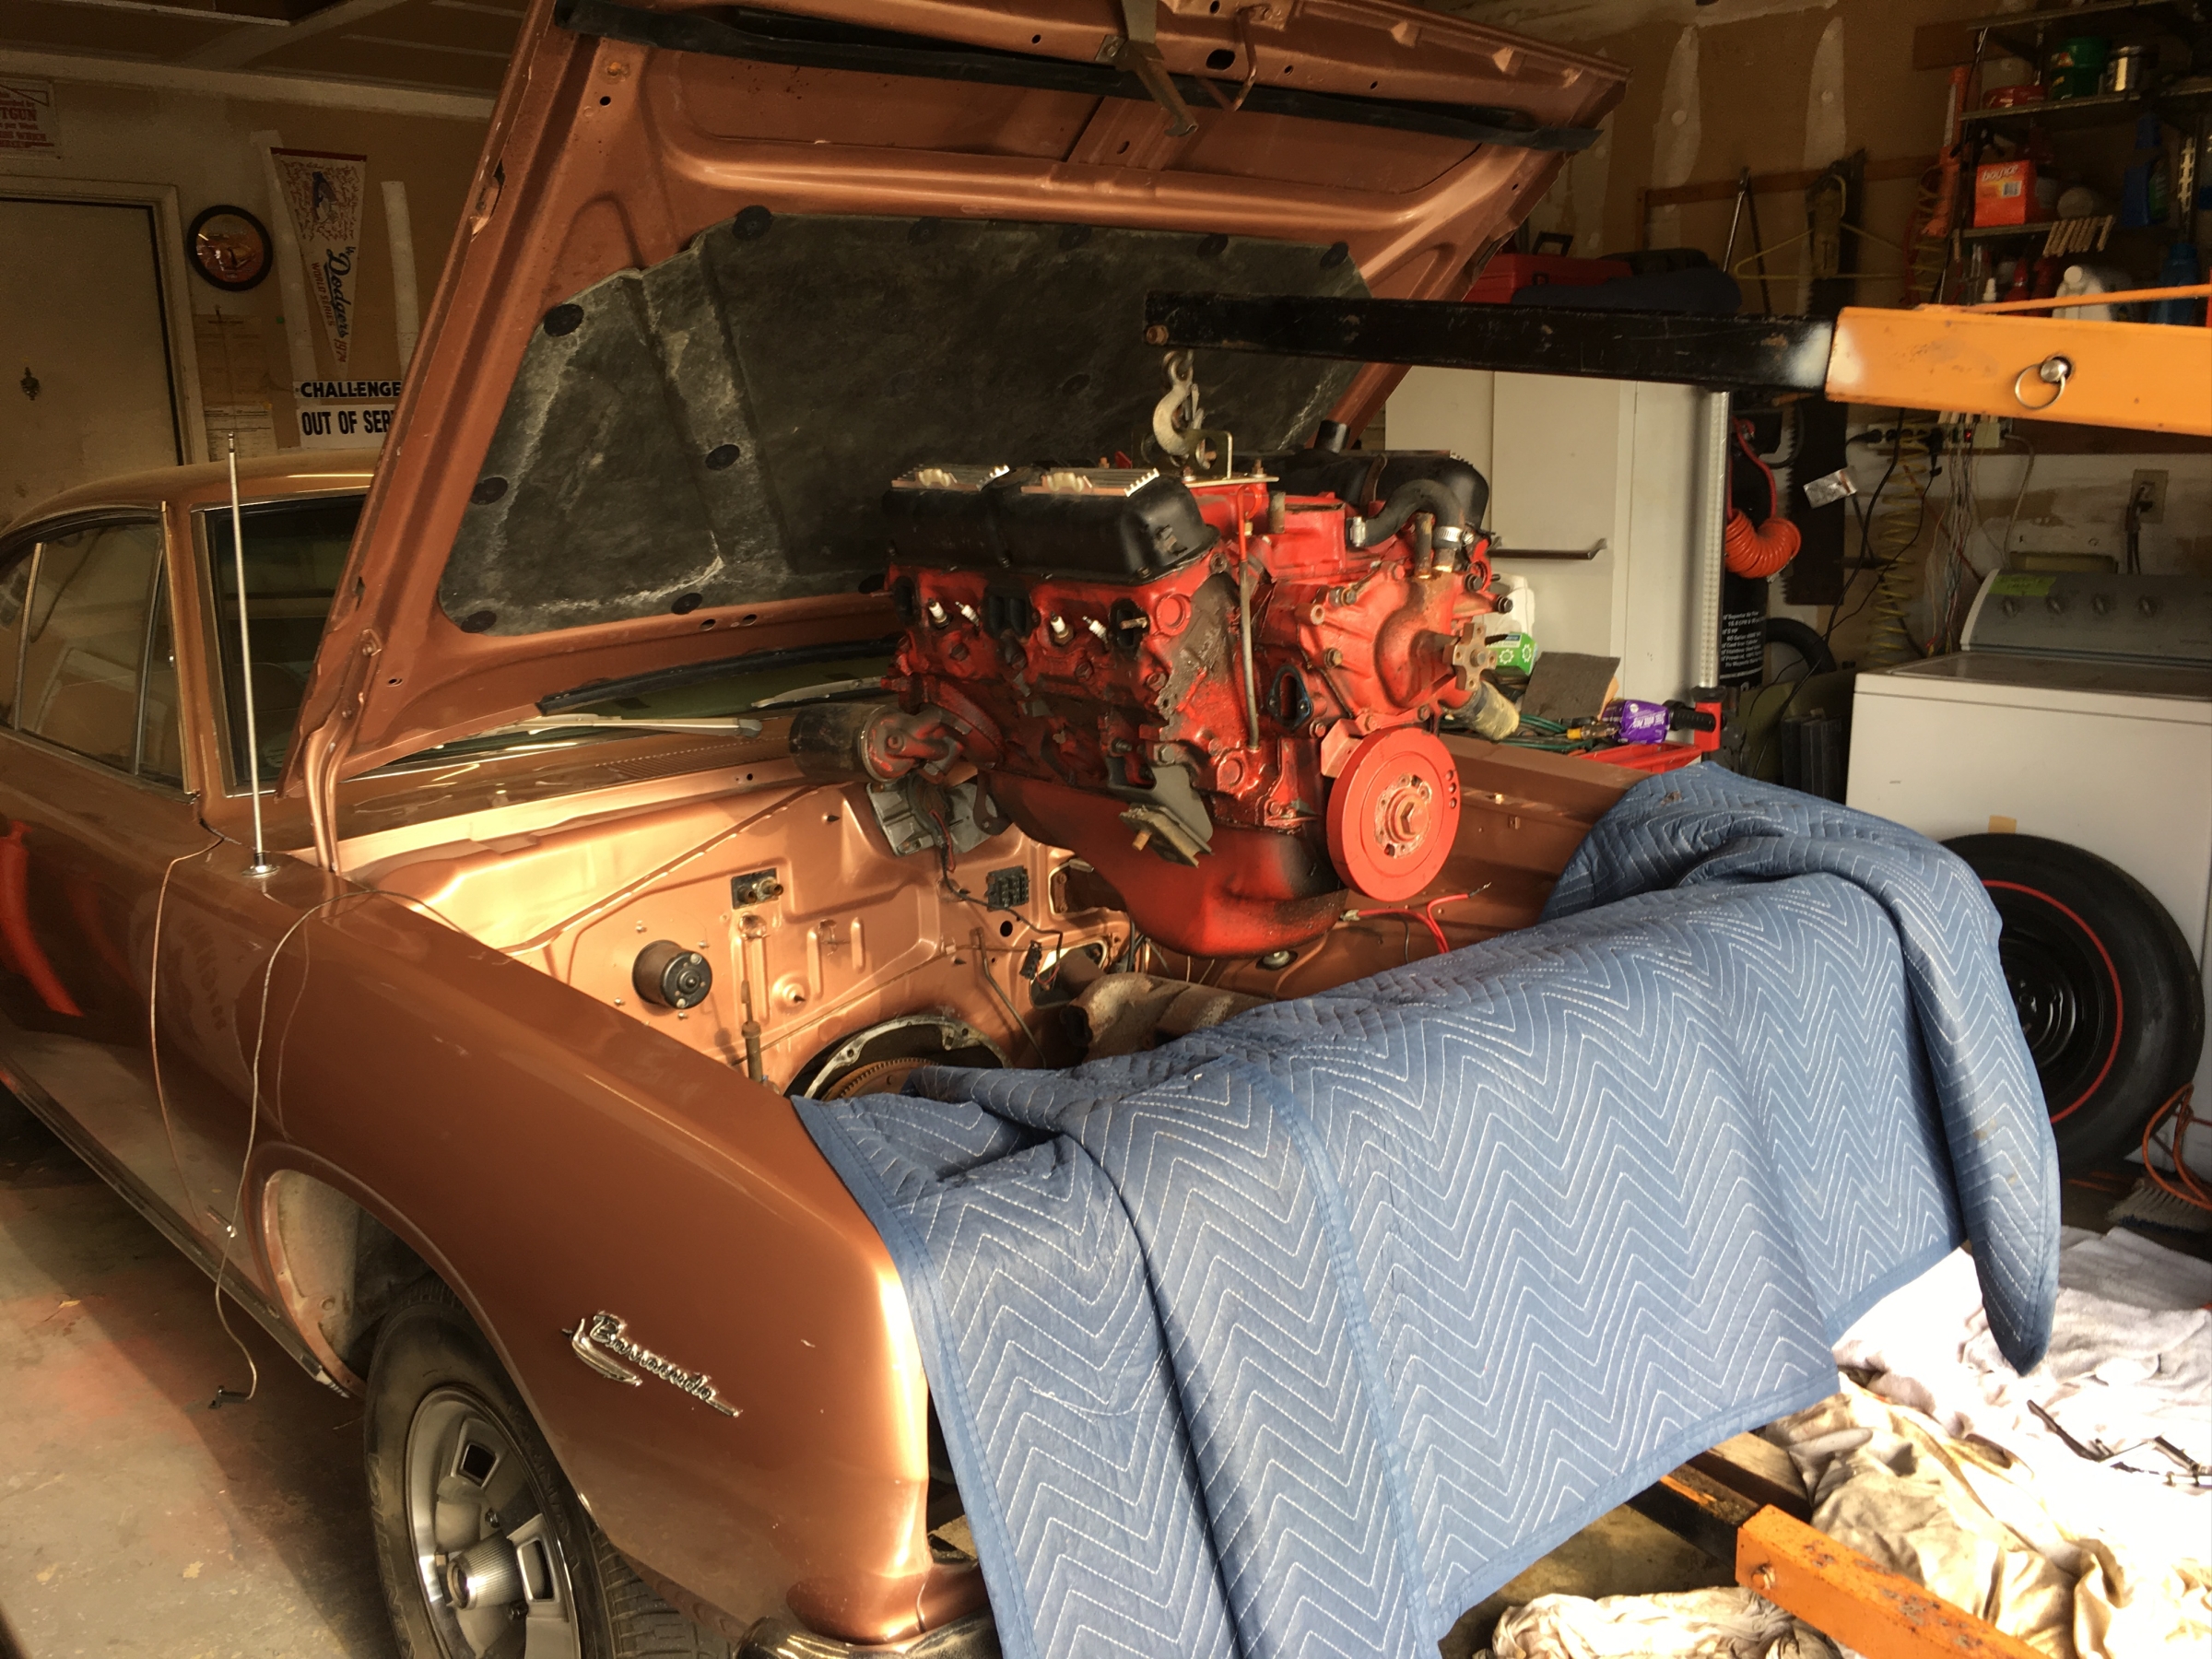
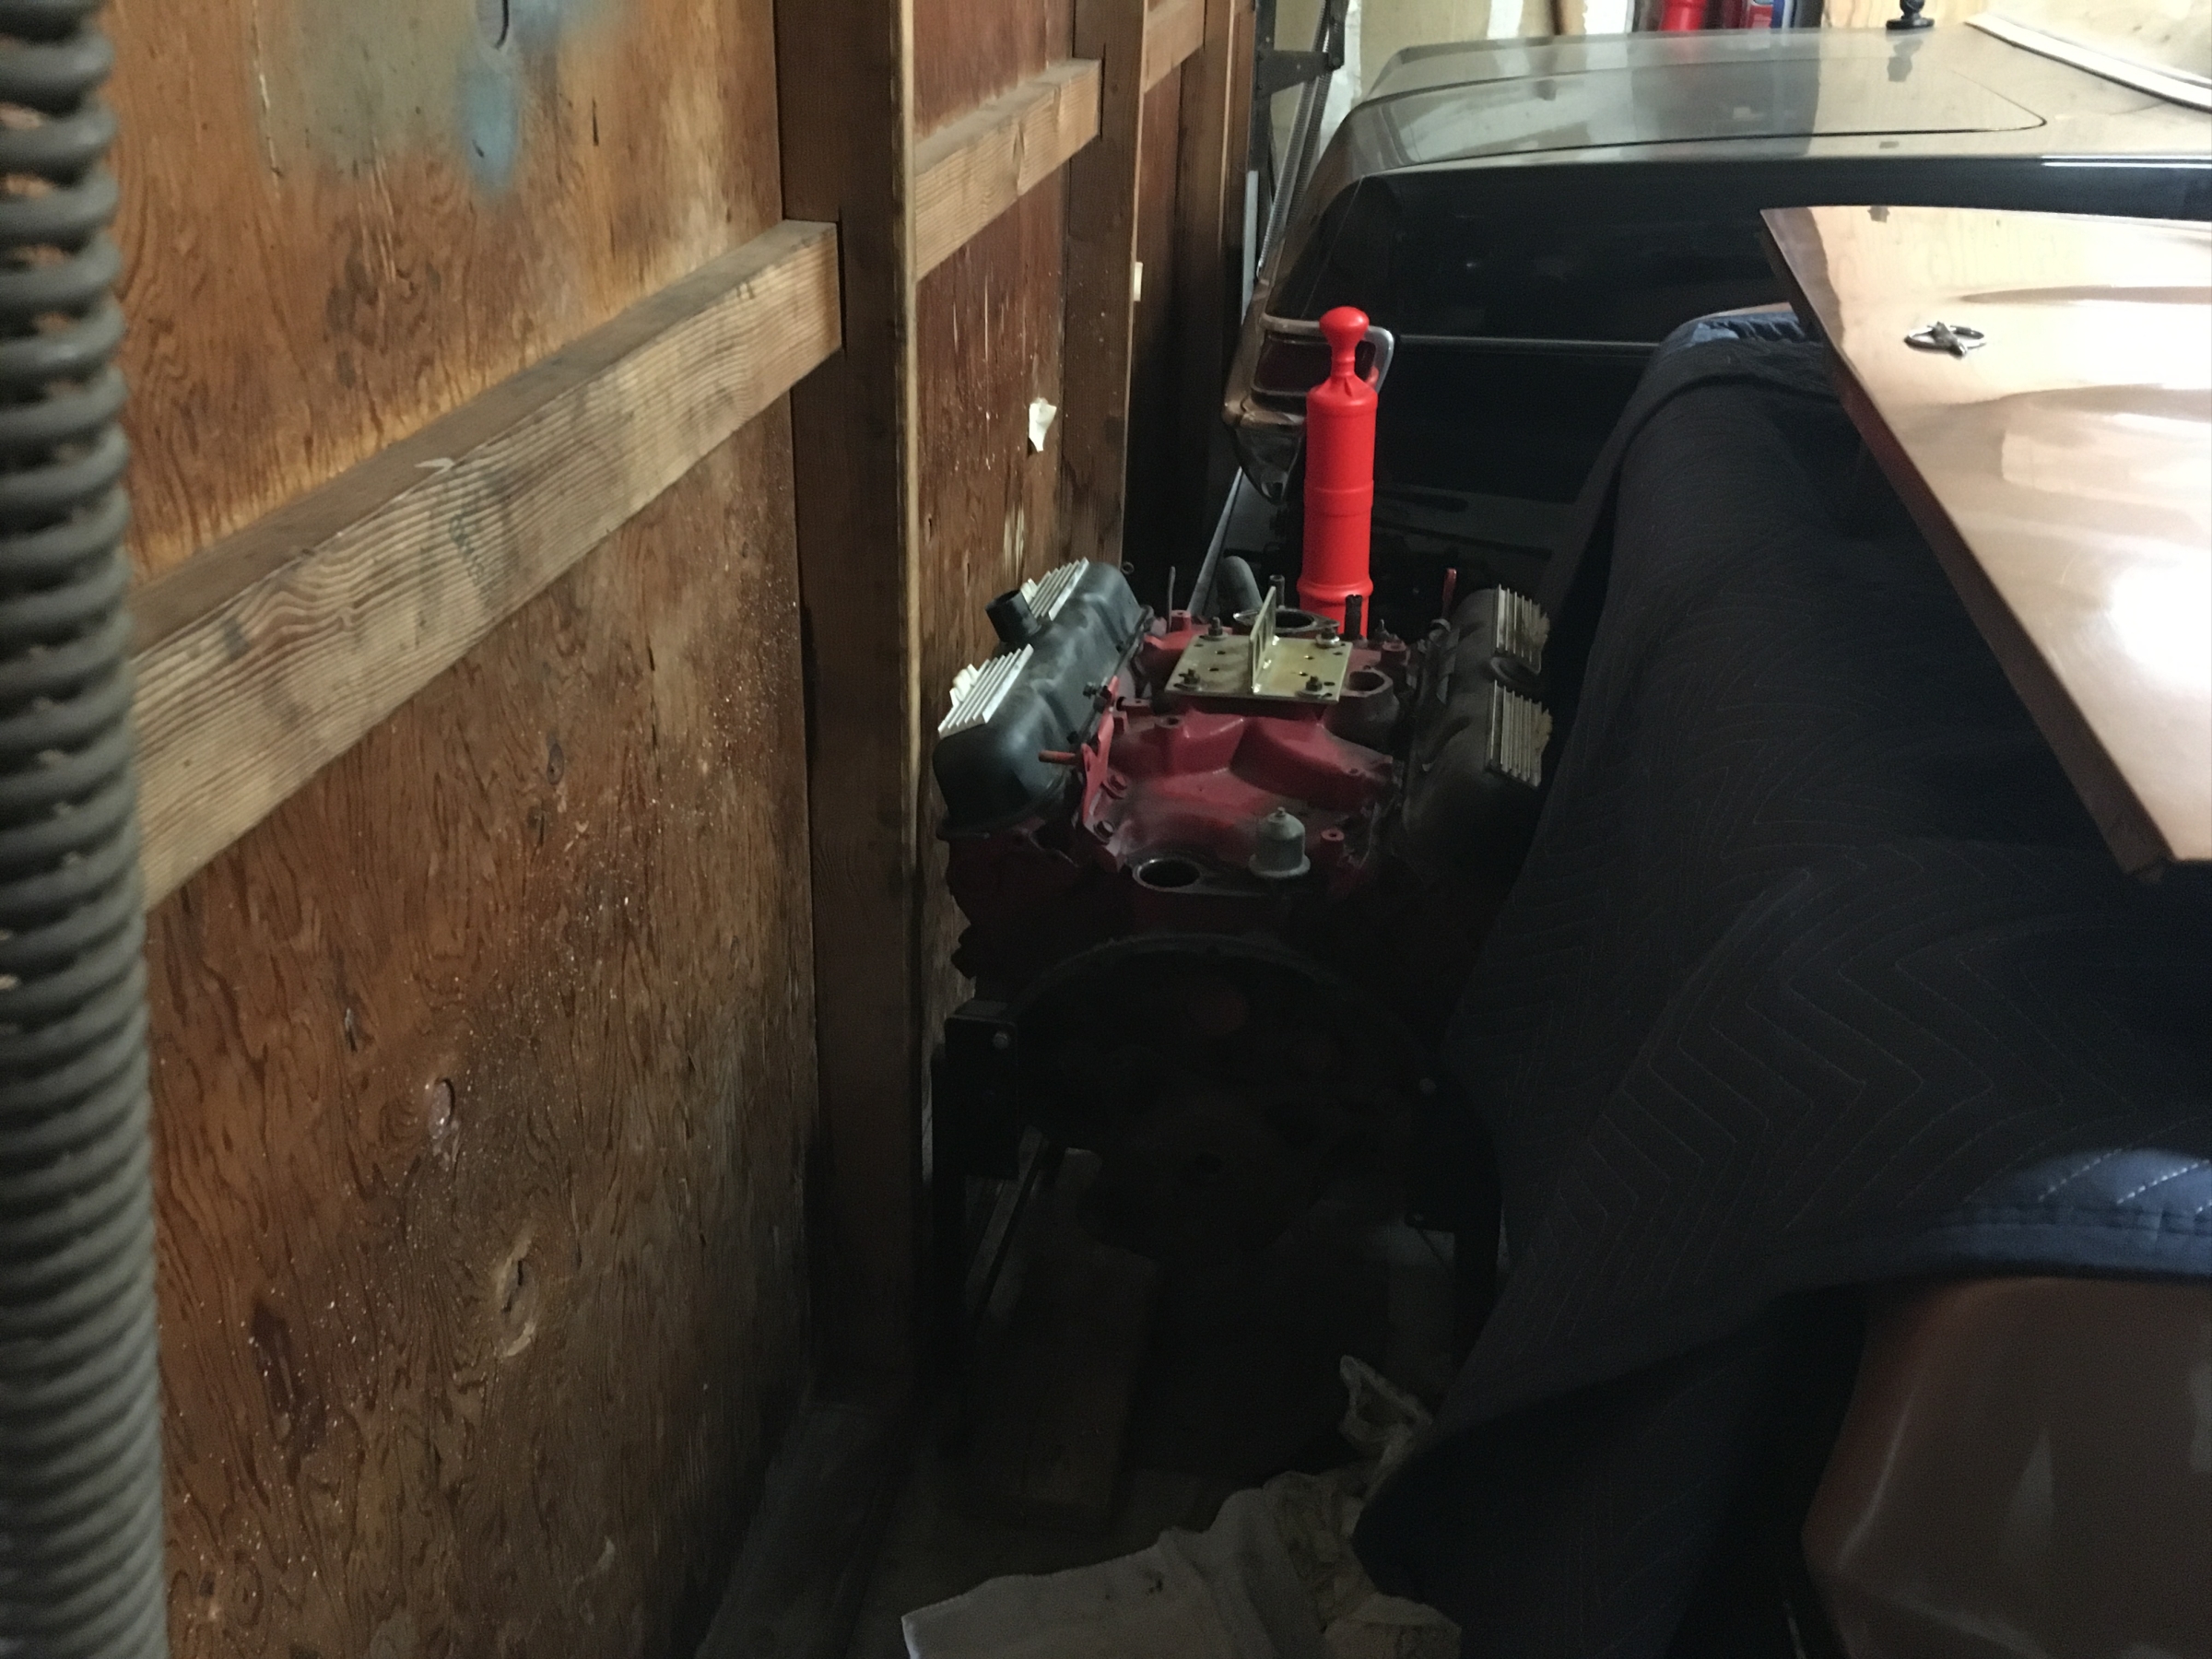
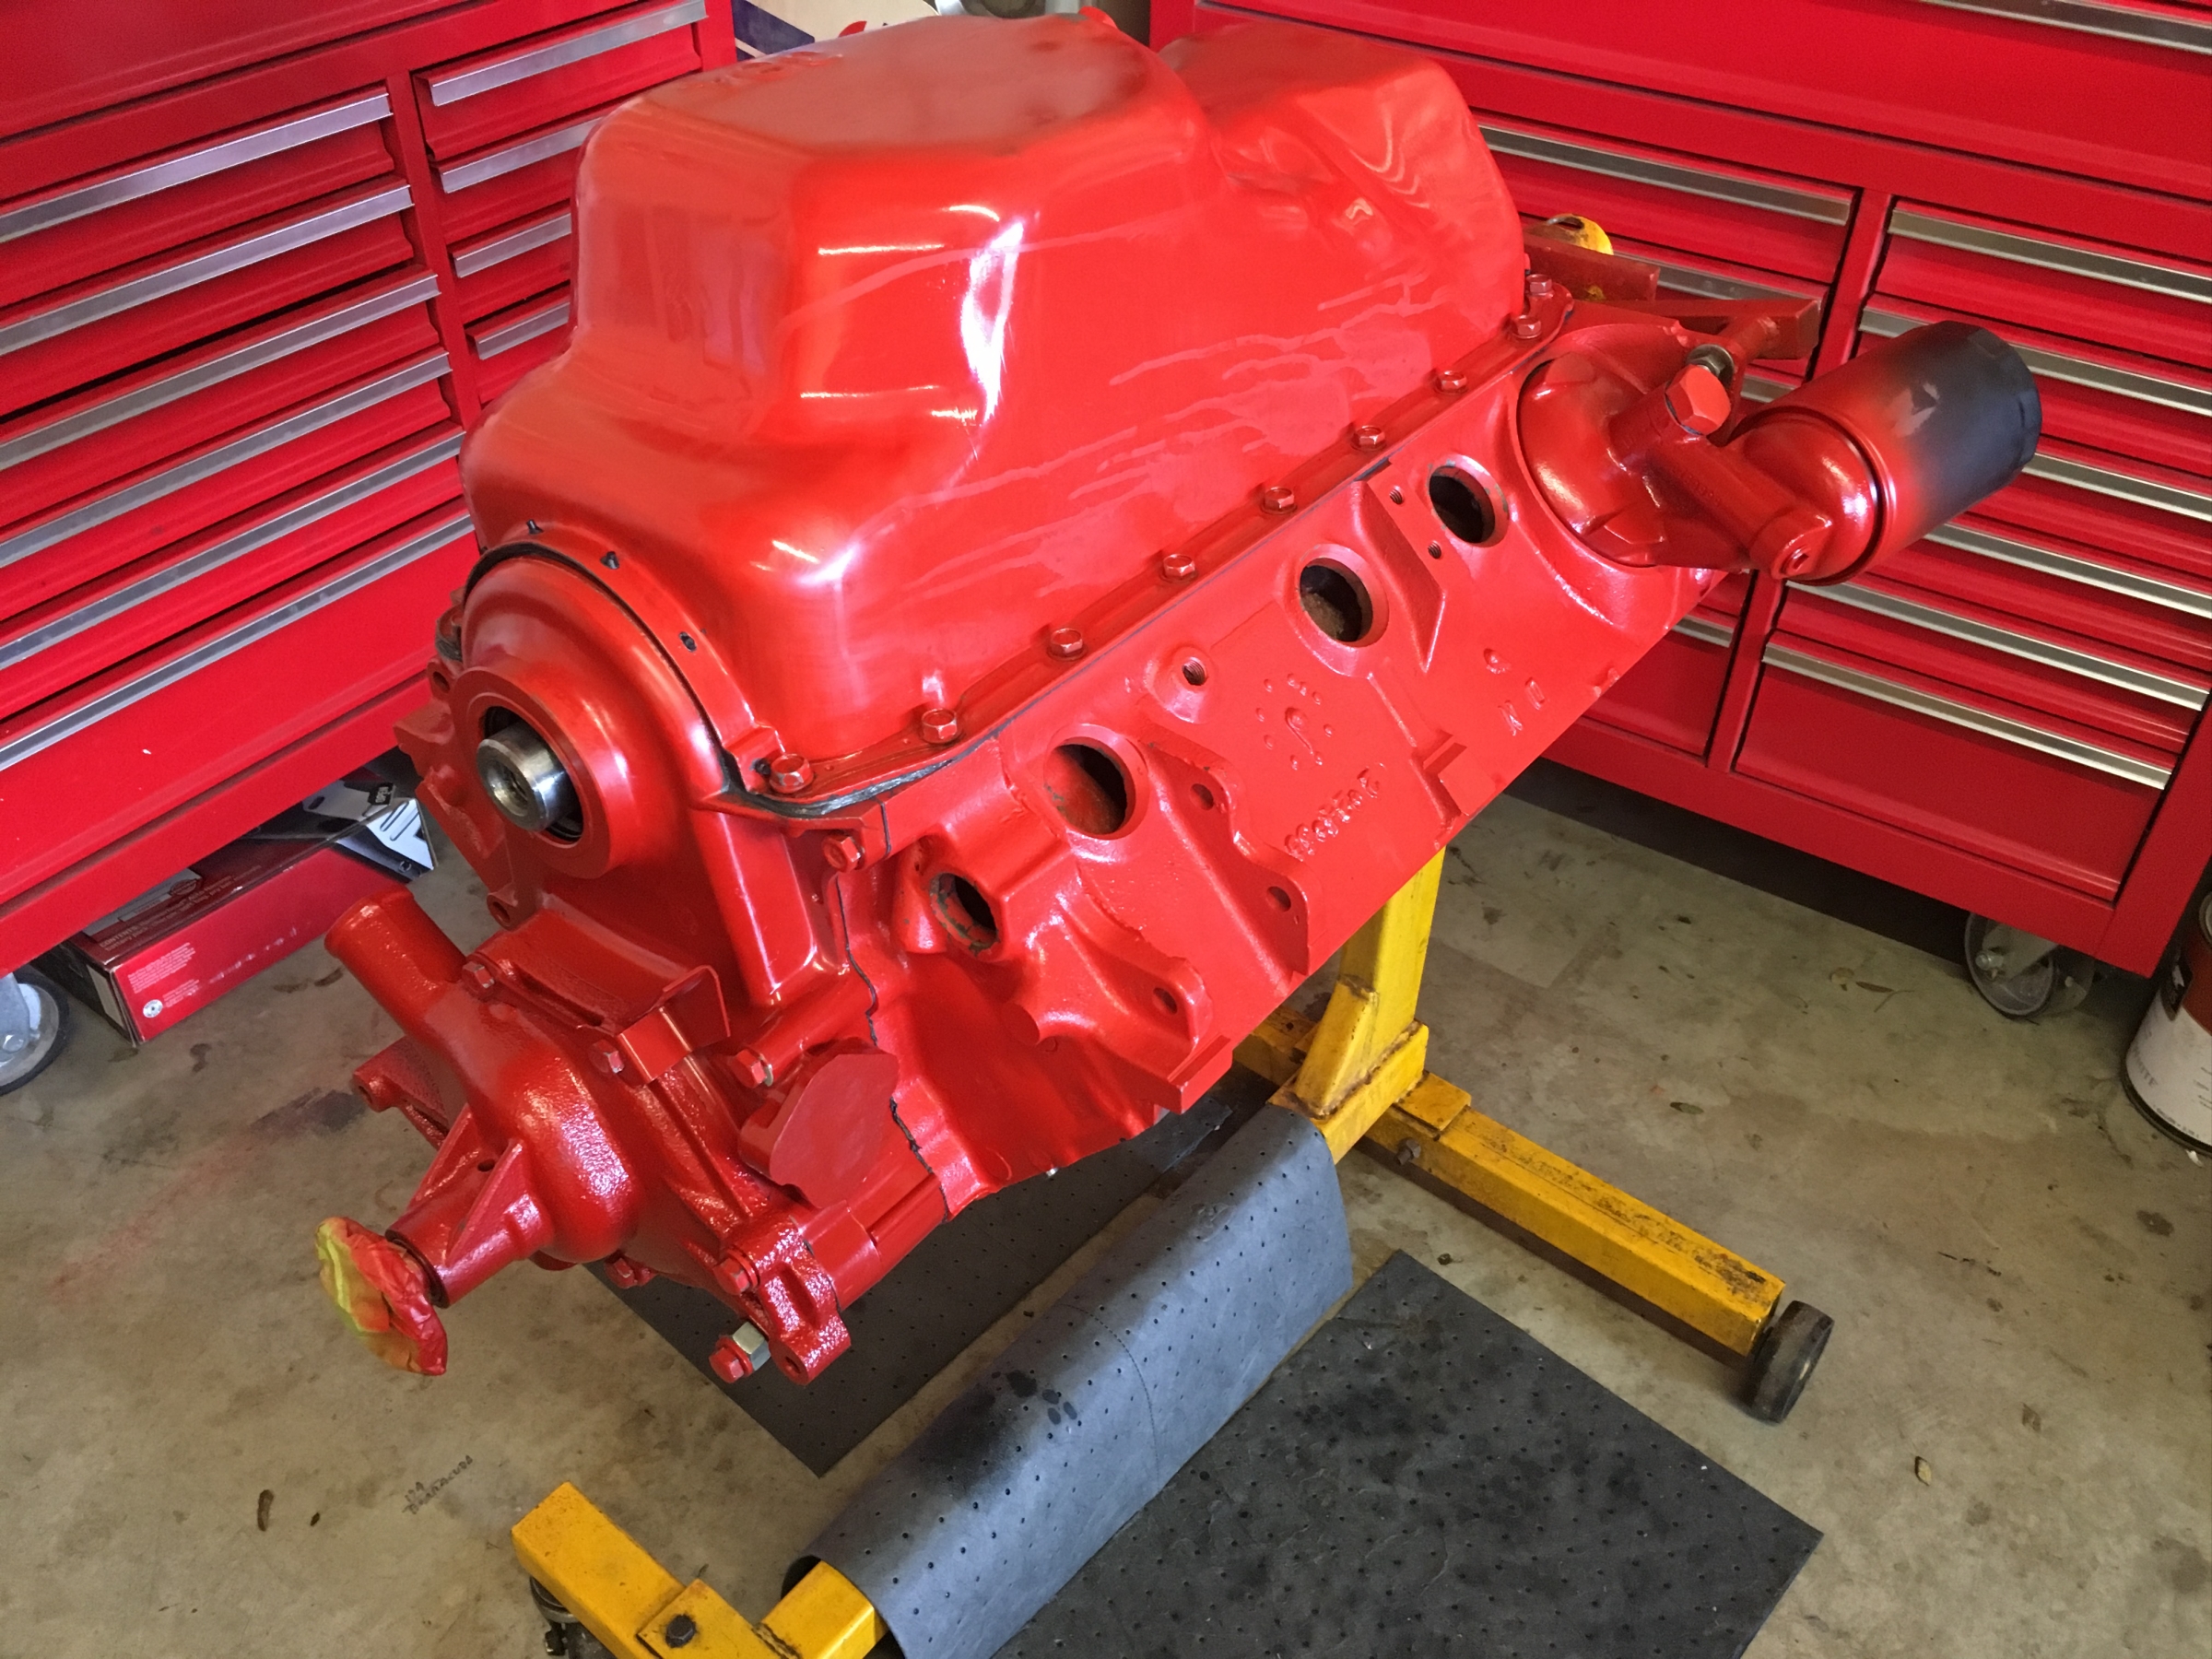
New day, first up was to install the balancer now that we had an installer. Oil was then poured into the engine through the valley over all the lifter sleeves, the oil was pumped till it came out the first lifter (number 8 exhaust) then the lifters were put in leading the oil forward on the right head and back on the left till they were all in, at that point the pleasure climbed to a good point. The push rods were then put in with assembly lube on both ends. The rockers were put on the shaft and assembly lube applied as they were slid into place. The assembly was bolted in place and the clearance checked, still not enough. The rockers were removed, cleaned and ground some more then cleaned again, rinse and repeat. Rocker assemblies once again installed, the engine was rotated to TDC (compression) and the rockers adjusted rotating through the sequence.
View attachment 184360
View attachment 184361
Alan
")