fc7_plumcrazy
Old Man with a Hat
- Joined
- Aug 15, 2011
- Messages
- 5,319
- Reaction score
- 6,573
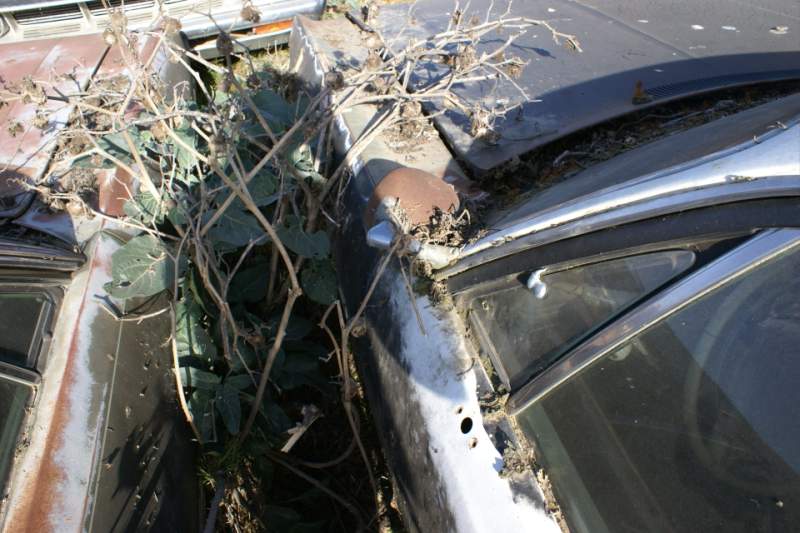
the last ones are pics of my 69 CHP Polara, when it still belonged to Don M.
Carsten
Carsten
the last ones are pics of my 69 CHP Polara, when it still belonged to Don M.
Carsten
Wow, that is incredible........... you've got guts to tackle that......
I always wanted a 71 Police car, doesnt have to be a CHP but something I want.

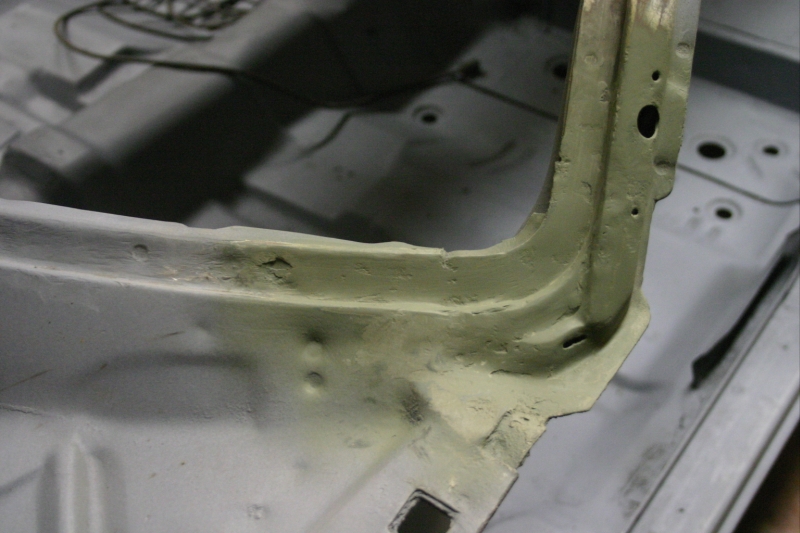
The way I looked at this was can I cut metal? Can I weld? Once the bad metal was removed it was much easier to see and was less overwhelming. To me it was all baby steps, the rear window probably would have taken a shop 30 hours but I did it over months with probably 40 hours of work. To me it was about getting it done sooner than later, I would still be saving money to have a shop take care of it and keeping the shop moving is the other problem.
The rust repair on this car was monumental and under normal circumstances I would not have taken on a project such as this. I have been told by a couple individuals that they chose to tackle their own projects after reading about mine.
Would I do this again, probably not, at least not a major rust repair project.
Alan
") ))
))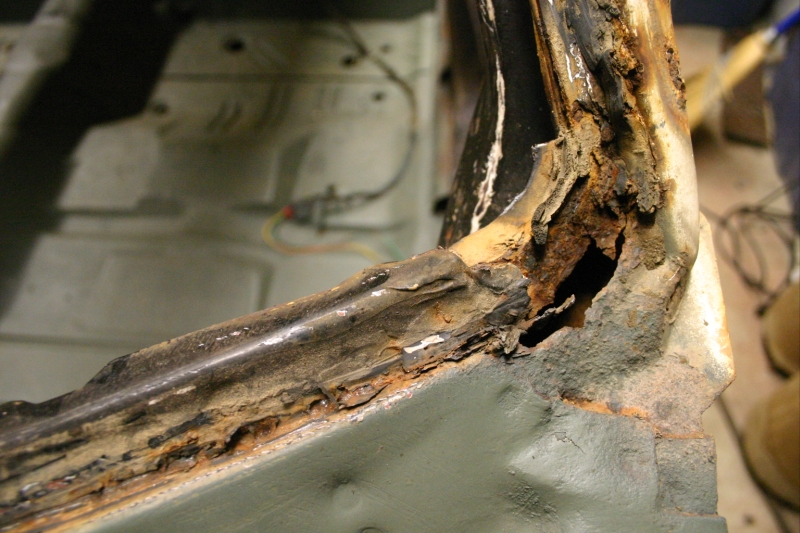
I would have given up on the whole project right on that area alone.
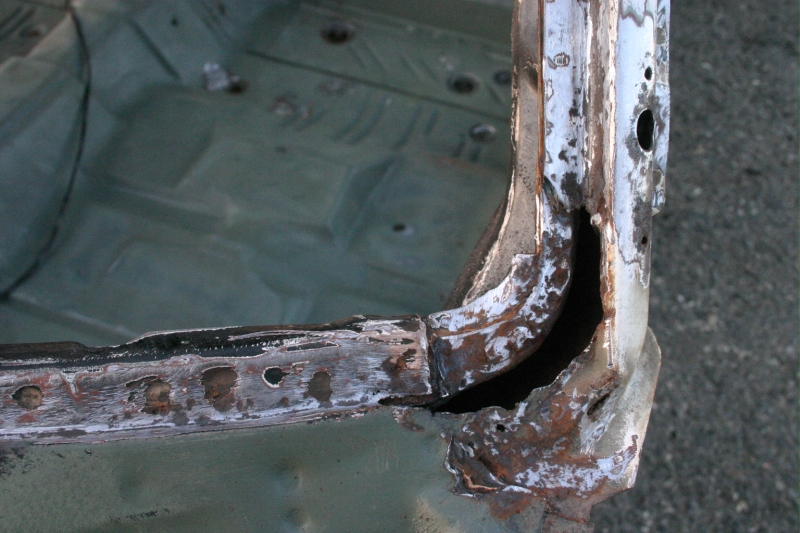
All that damage because they had to have a silly spot light....
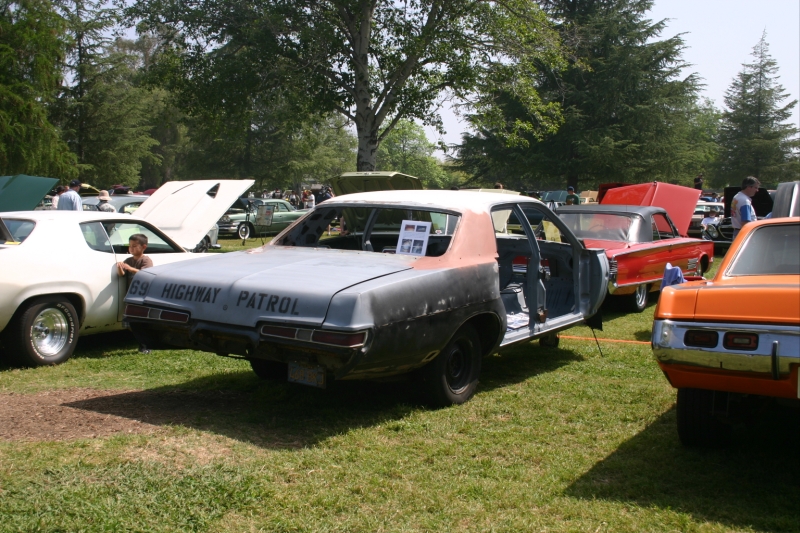
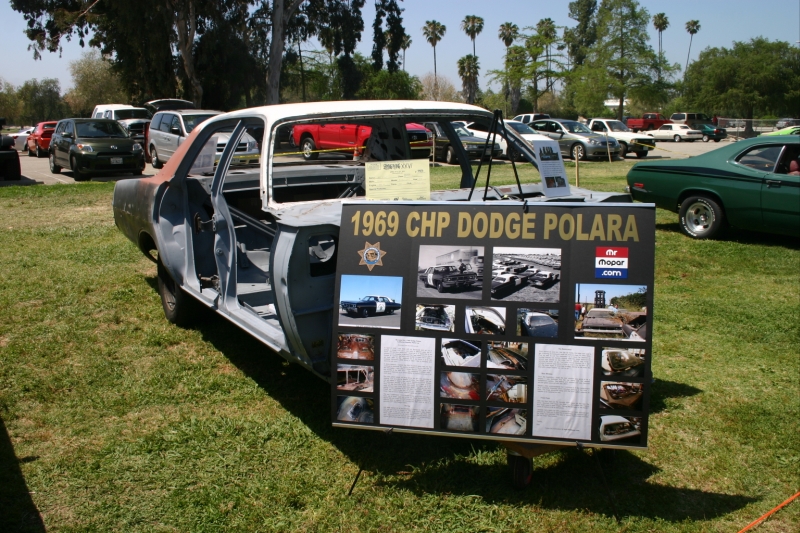
April 2012 two years after I found out about the car I had it at the very show where we learned of its existence.
This was an all Mopar show in Van Nuys and I put it in the work in progress class and got first place!
I can see why ................ Thats great!!!


