You are using an out of date browser. It may not display this or other websites correctly.
You should upgrade or use an alternative browser.
You should upgrade or use an alternative browser.
New (to me) '59 Imp
- Thread starter mpgmike
- Start date
mpgmike
Member
mpgmike
Member
Did some research because of the interior. All of the Crowns I've seen had either full leather, or at least leather trimmed interior. Ours is 2-tone cloth seats with what looks like a vinyl door trim. Decoding the VIN definitely proves it a Crown, and the 604 interior is [FONT=Arial, Helvetica, sans-serif]Paris inspired 'LeHavre' Jacquard cloth in Dark Grey. Looks legit. I don't think we will be reproducing the stock interior. New enigma to solve![/FONT]
70bigblockdodge
Old Man with a Hat
You are doing a awesome job. Just my 2cents and I agree with getting it running and continuing to improve I am following that plan with my Charger, drums all four corners and stock sway bar are remaining for now just to get the car driving this summer, the 318 is not staying. Carry on.
mpgmike
Member
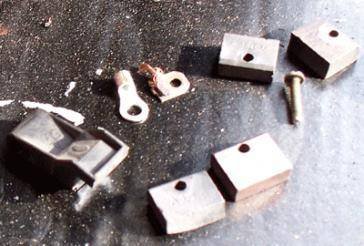
While the family spent the day with my Father-in-Law, I spent the day working on Imperial parts. Need the rubber boots for the starter bendix, but other than that it is blasted, painted, repaired, and assembled. Had to replace an electrical eyelet going to one of the brushes.

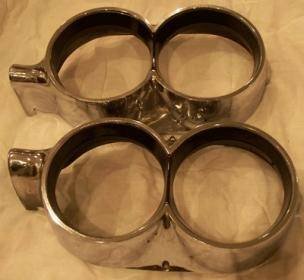
Disassembled the headlight assemblies. Blasted & painted the buckets and brackets. Originally I was going to blast & powder coat the chrome surround, but after I washed them, it looked like there was hope for them. The difference between a fairy tale and a Texas Tall Tale is a fairy tale starts, "Once upon a time..." and a Texas Tall Tale starts, "Y'all ain't gonna believe this ****..." Either version would be equally remarkable pertaining to just how well the chrome surrounds came out. Took quite a bit of time with the bench buffer, but I wouldn't believe it if I hadn't seen it myself. Not show quality, but quite adequate for a driver.

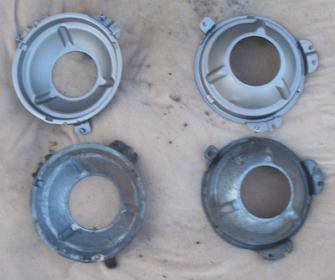
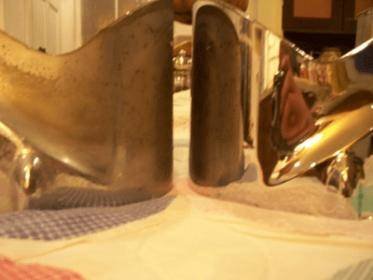


Disassembled the headlight assemblies. Blasted & painted the buckets and brackets. Originally I was going to blast & powder coat the chrome surround, but after I washed them, it looked like there was hope for them. The difference between a fairy tale and a Texas Tall Tale is a fairy tale starts, "Once upon a time..." and a Texas Tall Tale starts, "Y'all ain't gonna believe this ****..." Either version would be equally remarkable pertaining to just how well the chrome surrounds came out. Took quite a bit of time with the bench buffer, but I wouldn't believe it if I hadn't seen it myself. Not show quality, but quite adequate for a driver.


commando1
Old Man with a Hat
As before...
Looking good!
Looking good!
I admire the dedication and like the work so far... keep us updated
Congrats on the car. If it's not registered, and you have a place to work on it, it's not eating anything. Work on it when you have the money and someday you'll have a beautiful classic. No one says it has to be done in a year. Thanks for saving another classic.
mpgmike
Member
mpgmike
Member
Finished up the other headlight assembly. No pics, as it's virtually a mirror image of what's already been posted.
mpgmike
Member
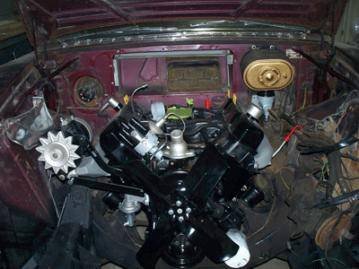
'Tis a proud moment for any enthusiast when a fresh engine & tranny make their way between the frame rails. Got the engine & trans bolted together. I know mathematically there are only 8 possible ways to clock the torque converter, & I tried all 9 of them. First auto trans with no flex plate I ever worked with. It's now bolted in; nothing actually hooked up other than the mounts. Did the entire job myself, no helper. I'm sore now; not sure if I hurt more from laying on my back fighting the cross member, or patting myself on the back. Also, I had powder coated the air cleaner gold. It came out a flat finish. I sprayed it with a clear enamel. NICE difference.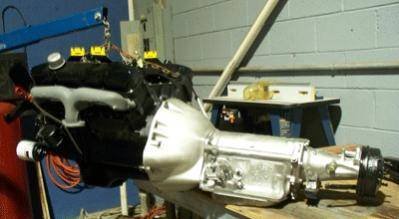


Wow! Very impressive!
mpgmike
Member
mpgmike
Member
mpgmike
Member
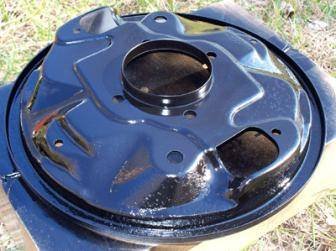
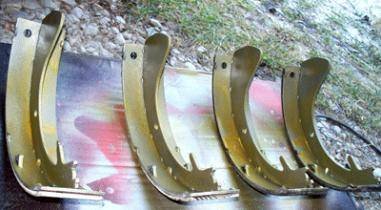
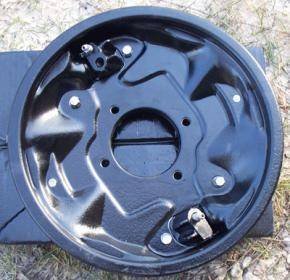
Got all the parts for the backing plate reconditioned; the last being the wheel cylinders. I was able to save them. I soaked them in PB Blaster for several days, put them on the hydraulic press to compress the piston, used sand paper to clean away the "ridge" above the piston, then with compressed air I was able to pop them out. The wheel cylinders were powder coated, the rest painted.


mpgmike
Member
I have been sharing select pictures on several sites. Somewhere someone said, "It must be nice to be rich!" I wanted to share some of the equipment I'm using. I have been acquiring tools for about 30 years now. I used to earn my living porting heads, turbo mods, and custom manifolds. I have a tank blaster, cabinet blaster, adequate compressor, cheapo Eastwood powder coater, and a used residential electric oven. If I had to try to start from scratch, it would probably cost a small fortune. But since I'm using tools I acquired over many years, the immediate costs are negligible. If anybody happens to be looking for a flow bench, I have a top-of-the-line for sale.


mpgmike
Member
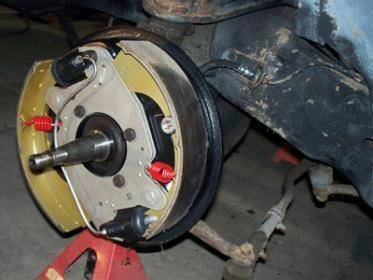
Was able to recondition ONE of the front brake drums. The valve that regulates the flow of sand on the tank blaster blew through. I need to get that fixed before I can blast the other drum. Ordered new brake hoses, bearing seals, and dust cover for the front brakes today; along with a new brake light switch.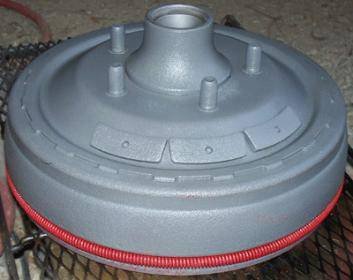


commando1
Old Man with a Hat
Your meticulous attention to detail is inspiring. Great work. Keep it up.
mpgmike
Member
Similar threads
- Replies
- 50
- Views
- 12K
- Replies
- 4
- Views
- 2K


