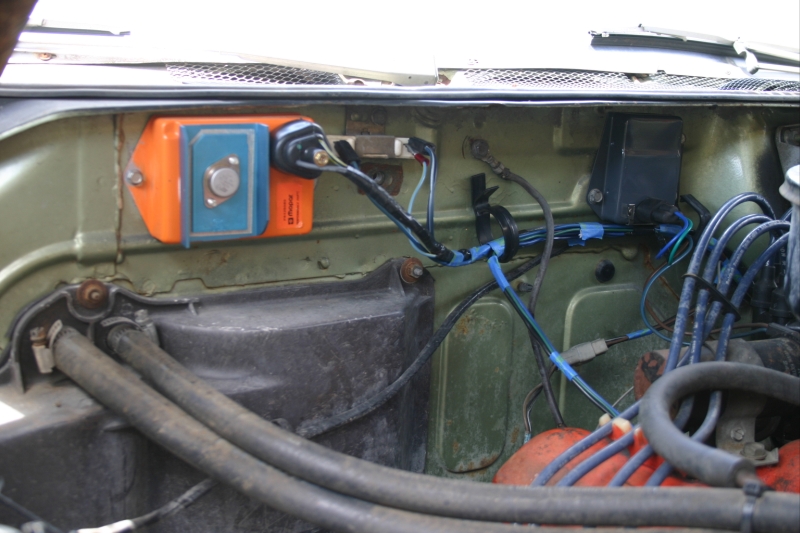
The ongoing project of making this car more reliable had me swapping out the voltage regulator with the later style one. This also required adding a brush to the alternator and another wire.
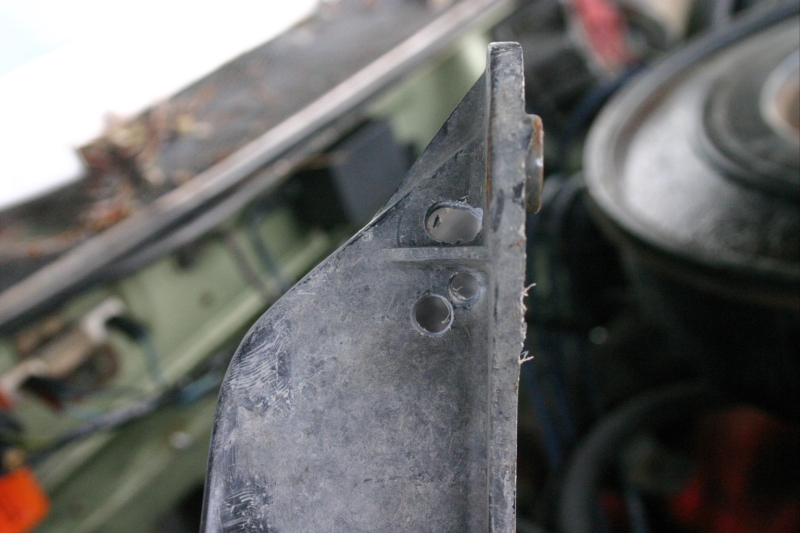
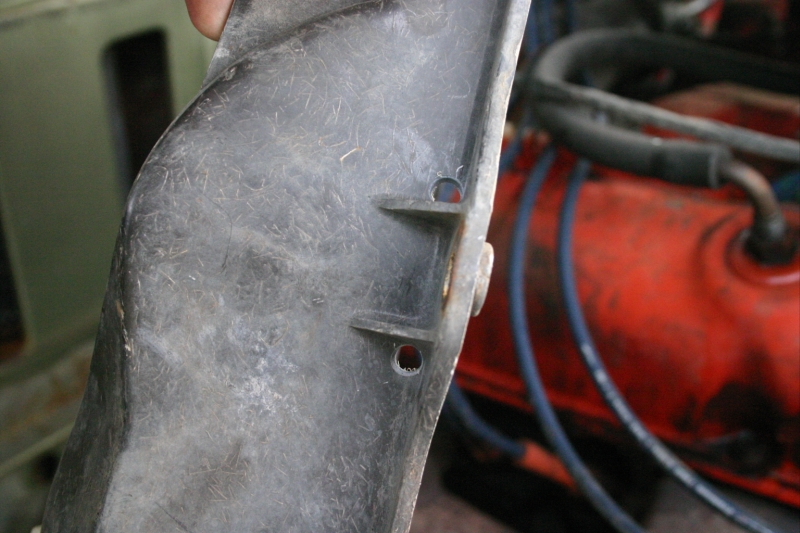
Mounting the regulator was interesting in that the second hole already had the drill dimple located for this regulator, I guess the writing was on the wall when the made the new generation bodies for 1969.
I still need to wrap the harness but I wanted to make sure that it worked and everything fit.
Once I had the old harness apart (unwrapped) I put it back in and located the ignition wires and voltage regulator connector.
A new piece of blue wire was needed to run from the alternator to the regulator, the wires were fitted to the alternator and some cable ties were placed throughout to hold everything in place.
Now I had the breakouts all placed I again separated everything so I could comb the wires and eliminate crisscrossing of wires, along with trying to place wires so that they did not breakout from the middle of the bundle.
The blue wire that originally went to the voltage also went to the ballast and is where the new blue wire from the regulator was going to tie in with.
Originally the blue wire that came from the bulkhead connector went to the ballast and a tap came back to the voltage regulator.
I chose to flip that part putting the connector with one wire on the ballast and cutting the connector with two wires off.
It was there that I put the new pigtail for the voltage regulator. The original green wire from the alternator than went to the voltage regulator was cut back to match length.
I salvaged the connector from the regulator and used it for the new blue wire on the alternator, I just soldiered the wire to the old terminal.
I still need to remove the piggyback terminal from the ballast resistor that supplies power for the ignition module.
The plan is to remove the other terminal from the housing and soldier the wire to it.
Alan