MrMopar's 1969 California Highway Patrol restoration

Sorry for hijack Alan...love your work too.:sSig_goodjob:

I had no idea we had so many aviation guys here... thank you all... I had some understanding of electrolysis and anodes, and Stan i grew up in Pittsburgh US Steel Building rusting the sidewalks as far back as I can remember...corten steel as a fashionable thing is new to me, it was made to cut maintenance costs... but who ever thought someone would want explosion proof lighting in their living room either?

I am fascinated by many of the differences between aviation and automotive. I knew the strong structures used steel, but I thought there were stricter guidelines and corrosion inspections. I bet its pretty exciting pulling a piece of history out of the water and I suppose a majority of what stayed on land became scrap metal... cool restorations on the planes too.


Alan, I spent the last three hours looking at your work in detail... I am very impressed with all you've done especially without a nice big shop to work in or very much equipment. It really takes a certain type of guy to even start a project like this... you are one in a million sir.
 
Last edited:
This update may not be for the faint of heart.

A little while back I had my dash pad done by Just Dashes and I’m now starting to do the dash assembly. The first thing I needed to do was mount the shotgun bracket, a friend had the brackets made but there were no holes drilled. I started off placing it over the holes in the dash frame that were put there by the CHP. With the bracket in place I located the lower two holes from the backside with a scribe.

2016-01-02_001.jpg


2016-01-02_003.jpg


The bracket was screwed into the original holes and the top taped up to protect the powder coating. The bracket wasn’t shaped to fit the dash pad and needed to be bent, a couple reference marks were placed and the bracket was put in the vice and beat with a 5# sledge to shape. Two mounting holes were drilled into the bracket and it was once again screwed to the dash frame. This time the two upper holes were drilled through the nice new dash pad, even my friend could bring himself to do this.

2016-01-02_008.jpg


2016-01-02_010.jpg


Additional holes were drilled and tapped to mount the reading light with an addition hole through the bracket ad pad for the wire. Next up was the radio mounting bracket. Another bracket made by my friend again not drilled. Like the shotgun bracket I needed to line new holes up with existing ones in the dash frame, one end was easy as you could get to the back side, the other had to plotted as it was double wall at that point. The radio and speaker mounting holes will need to drilled and tapped.

2016-01-02_012.jpg


Through this I was also working on the instrument cluster. The fuel and temp gauges had some rust on the terminals but otherwise good so I put some vinegar in an ice cube tray and let them soak for a few days.

2016-01-03_001.jpg


The lettering on the light switch panel needed to be freshened up so some silver paint was applied.

2016-01-03_010.jpg


I never liked the circuit board connector used on the Mopars of the era so I chose to eliminate it. Some wire from an old harness was used to make a pigtail, the NOS board was missing half the pins anyway.

2016-01-09_001.jpg


I have NOS switches for five of the six needed, the dimmer switch will be rebuilt as I didn’t want to spend a shitload to get a new one.

2016-01-09_004.jpg


The AC vents took a little work to install because of the restored pad. A heat gut was used to soften the pad and a metal bar to press the padding clear.

2016-01-09_007.jpg


Alan
 
Last edited:
Neat idea with the pigtail, I like it. If my reapired pins will fail, I will do this. Great!
 
My friend came over today to help with the rear end. The center section was put in after a quick break to get the correct gasket, from there the brake backing plates were put on and even checking I some how had them swapped ( realized before putting the axles in).

With the backing plates swapped the axles were put in, he knocked them both a couple times before setting up the end play. For now it was set by feel, he may check it later with his gauges.

2016-01-16_001.jpg


2016-01-16_002.jpg


With that done we were ready to get it in the car. First the pinion snubber was put on and then we put the front spring hangers on the springs, although both springs were the same we looked and before picture to determine which side they were originally on as the front bushings were not centered on the spring. The front spring hanger was attached to the car then we rolled the axle in and worked the u-bolts in, once those were in-place (loose) we added the rear hangers and lifted them into place. With everything located all the nuts and bolts were tightened.

2016-01-16_006.jpg


2016-01-16_007.jpg


I wrapped the day up with getting the wheel cylinders installed. For some reason the replacement cylinders have smaller mounting bolts (not even sure what size, maybe even metric). Either way I drilled them out and tapped them to the correct size.

2016-01-16_008.jpg


Alan
 
Last edited:
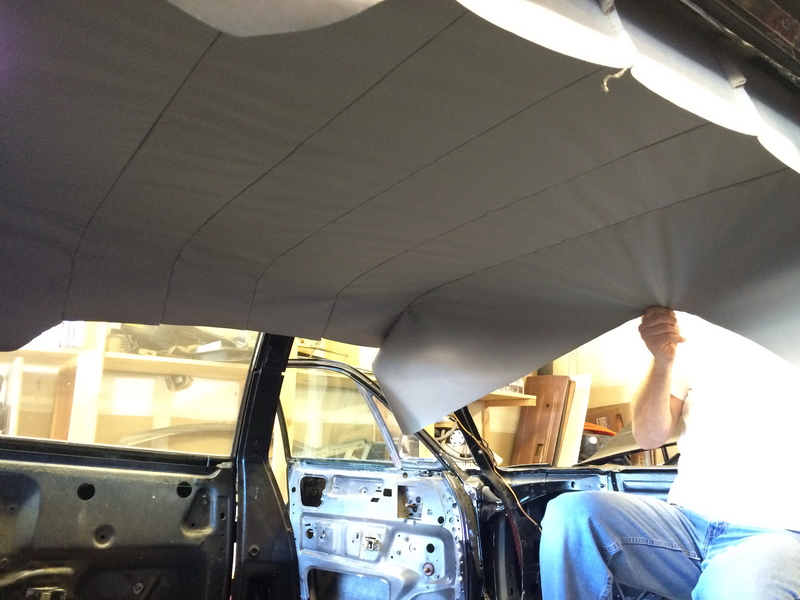
Yesterday my engine builder friend came by but this time to help with the headliner. First we measured, cut and glued insulation in and then prepped the headliner for the bows. We did have the headliner out of the Other Polara to use as a guide to locate the cuts in the bow pockets, these pockets leave the last several inches of the headliner free.

At first we laid the headliner on the sidewalk to soften it up but that was not having much effect so we tried the street but it wasn't much better, so my friend looked at the roof and said that should work, at first I thought he was joking, nope ladder out and up we went. While we were waiting for it to soften up we looked around and used the time to do a little roof repair.

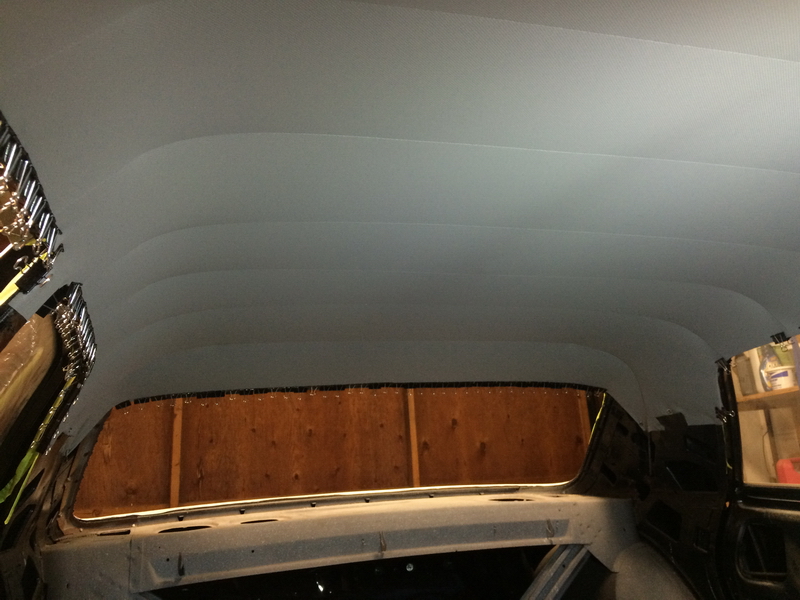
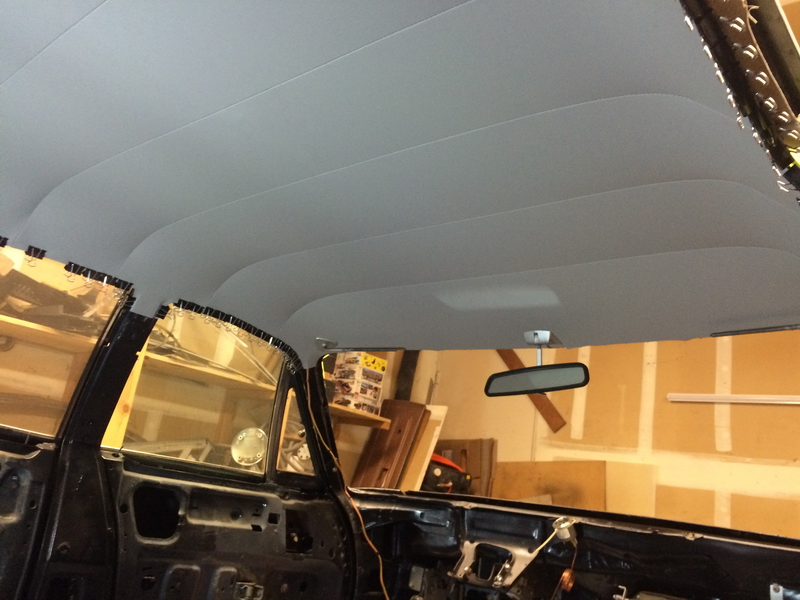
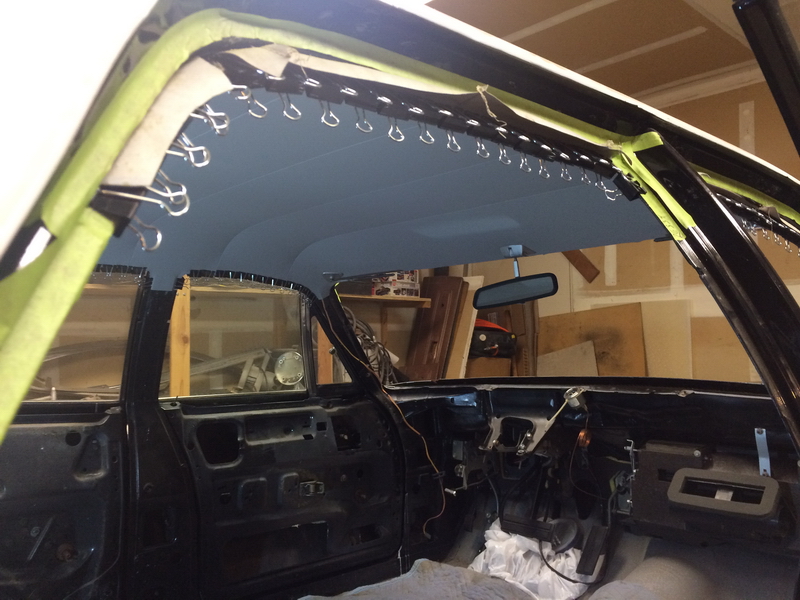
The installation was pretty straight forward but took time to get to look perfect. The bows were all popped into place and the rear retainers hooked on, then the front was pulled and pressed on to the teeth, we found that a 1/4" nut driver worked best to press the vinyl over the barb. Next was to get the sides pulled into place, back and forth till we were happy using binder clips to hold it in temporarily. The rear was done next leaving the c-pillar area for last. The c-pillar area was a little more difficult as the reproduction headliner didn't have the tie-down tail that the originals did. We had a little bit of latitude in this area as the sail panels would be covering it up, we did fold the vinyl over in a couple places and put screws in to hold it tight.

2016-02-15_003.jpg


Once we were happy with the fitment we removed the clamps from sections of the edge and started gluing the edges down and putting the clamps back on as we went. Even before we glued the edges down we had put the visor mounts and mirror in to help hold those areas in and something else to work off of the get wrinkles out.

2016-02-15_010.jpg


2016-02-15_012.jpg


2016-02-15_014.jpg


Still not sure I'd want to take this on solo but it was nice not pay someone to do it. A big thanks to my engine builder/headliner guy/friend for helping with this project.


Alan
 
Beautiful job! I don`t mess with headliners, convertible tops or automatic transmissions and I view those that do with extra respect!!
 
Yesterday my engine builder friend came by but this time to help with the headliner. First we measured, cut and glued insulation in and then prepped the headliner for the bows. We did have the headliner out of the Other Polara to use as a guide to locate the cuts in the bow pockets, these pockets leave the last several inches of the headliner free.

At first we laid the headliner on the sidewalk to soften it up but that was not having much effect so we tried the street but it wasn't much better, so my friend looked at the roof and said that should work, at first I thought he was joking, nope ladder out and up we went. While we were waiting for it to soften up we looked around and used the time to do a little roof repair.

The installation was pretty straight forward but took time to get to look perfect. The bows were all popped into place and the rear retainers hooked on, then the front was pulled and pressed on to the teeth, we found that a 1/4" nut driver worked best to press the vinyl over the barb. Next was to get the sides pulled into place, back and forth till we were happy using binder clips to hold it in temporarily. The rear was done next leaving the c-pillar area for last. The c-pillar area was a little more difficult as the reproduction headliner didn't have the tie-down tail that the originals did. We had a little bit of latitude in this area as the sail panels would be covering it up, we did fold the vinyl over in a couple places and put screws in to hold it tight.

2016-02-15_003.jpg


Once we were happy with the fitment we removed the clamps from sections of the edge and started gluing the edges down and putting the clamps back on as we went. Even before we glued the edges down we had put the visor mounts and mirror in to help hold those areas in and something else to work off of the get wrinkles out.

2016-02-15_010.jpg


2016-02-15_012.jpg


2016-02-15_014.jpg


Still not sure I'd want to take this on solo but it was nice not pay someone to do it. A big thanks to my engine builder/headliner guy/friend for helping with this project.


Alan


Looks very, very nice. Where did you source the new liner???
 
Sorry Alan, you lost me on that reply...
It might have been easier to fill the differential out of the car but there is enough clearance under the car to change the shocks without jacking the car up. So adding fluid should not be an issue with the differential in the car.


Alan
 
It might have been easier to fill the differential out of the car but there is enough clearance under the car to change the shocks without jacking the car up. So adding fluid should not be an issue with the differential in the car.


Alan
got it...
 
That is looking unbelievable. You are doing the detailed job I wish I could do.
 
On a car where you know there are "correct" electrical modifications when you see something you need to look into it.
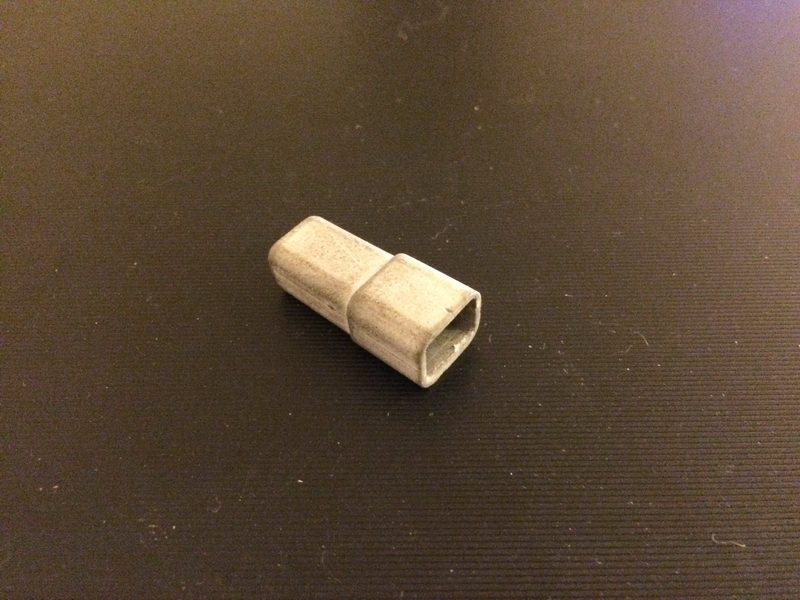
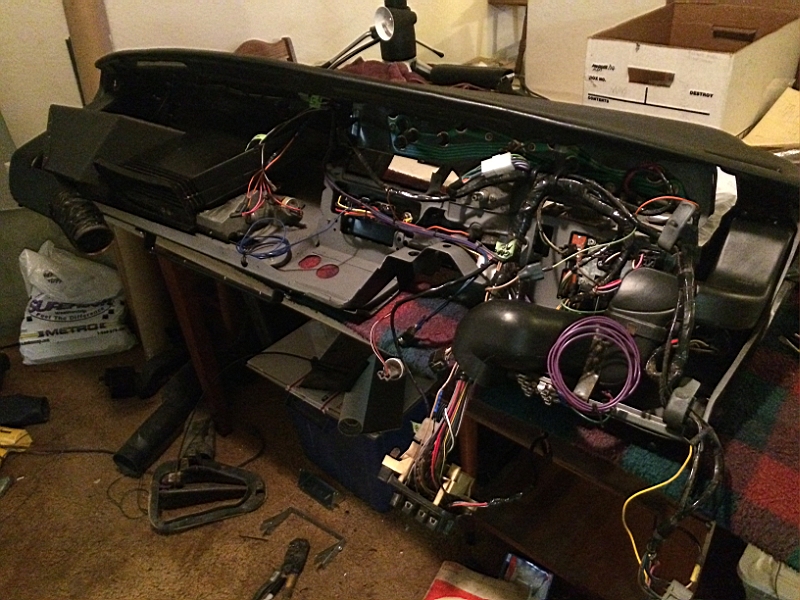
The dash/ac harness from my car had a tapped up connector with a jumper and removed terminals.

2016-02-26_001.jpg


Looking into this I found this to not be a CHP modification for one it isn't noted in the wiring diagram I have. I did have friend with another 69 CHP car look at his that was out of the car. I had another harness to swap in (this was the AC sub harness).

This isn't the first time I found myself putting parts on that should have been done earlier. A while ago I had put the ac box in and should have done the vacuum lines at that time, not that big a deal removed a couple vent pieces and got it in.

2016-02-27_003.jpg


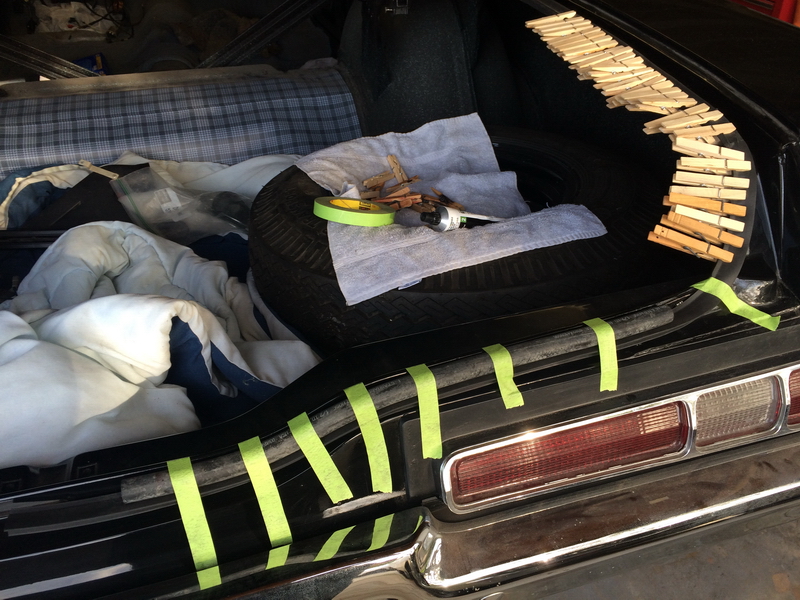
Took time to put the trunk trim in, used a piece of heater hose to allow me to hold the trim down.
2016-02-28_001.jpg


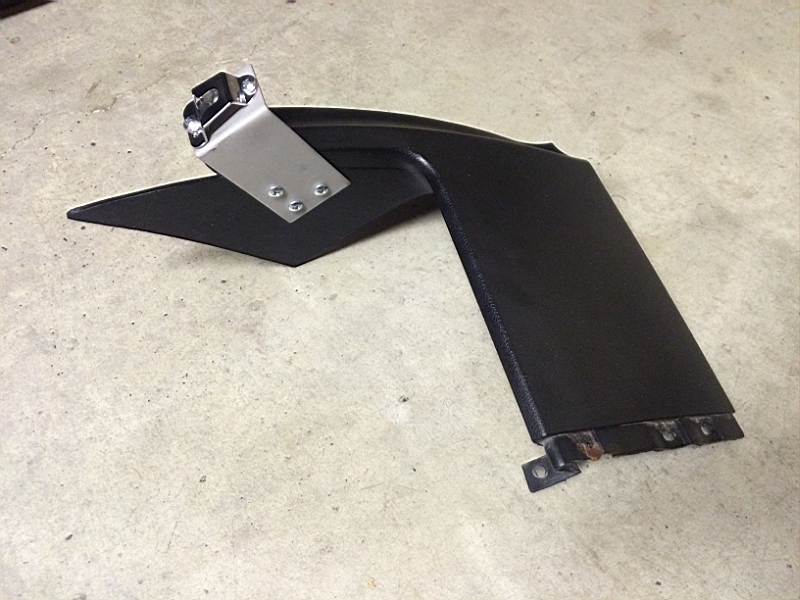
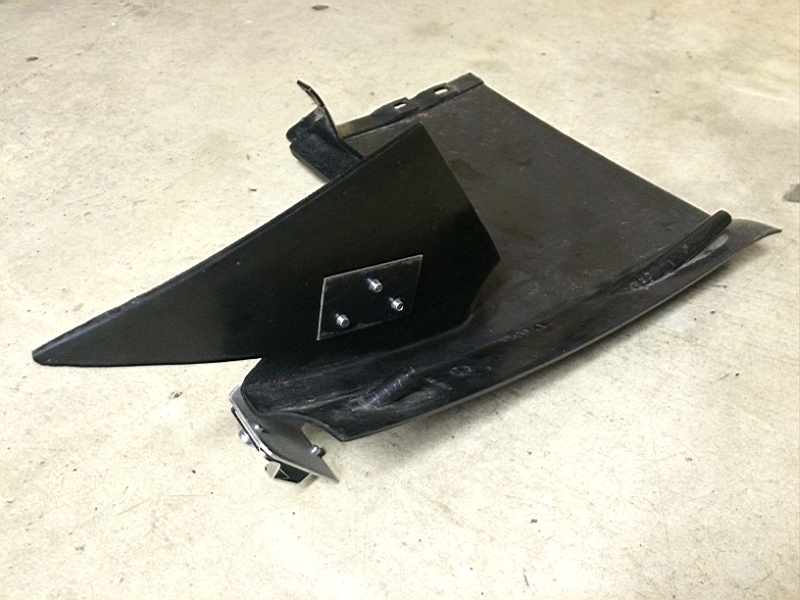
Before the dash could go in I needed to fabricate a couple brackets (CHP stuff) one to hold the microphone, the other a fuse block under the dash.
2016-03-02_001.jpg


It will be painted black before going on the car.
2016-03-02_002.jpg


The CHP had used sheet metal screws to hold this to the plastic, I chose to use machine screws to a plate on the backside.
2016-03-02_004.jpg


A days work plus I have the dash ready to put in the car, not only do I have the Dodge stuff to do I also have the CHP stuff to wire.
2016-03-05_005.jpg


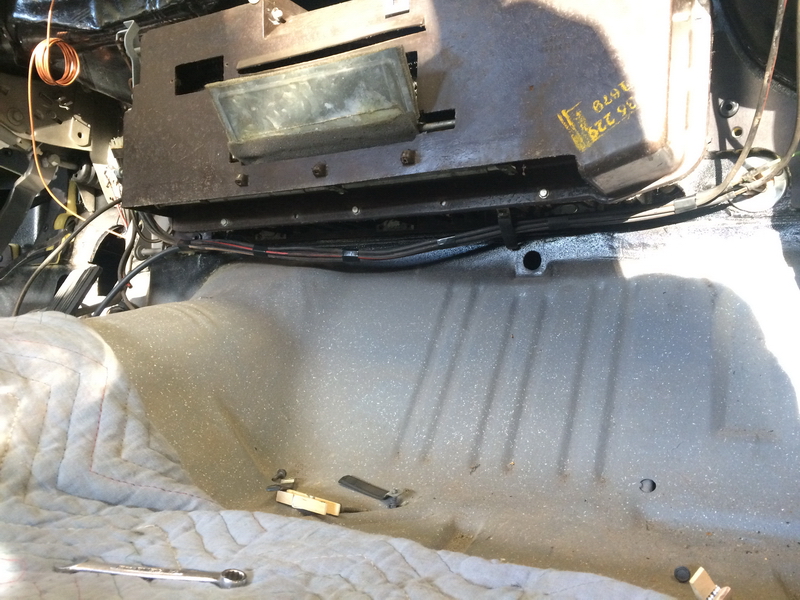
Like mentioned previously I realized I should have done something earlier, this time it was the dash insulation. I did get it in.
2016-03-06_001.jpg


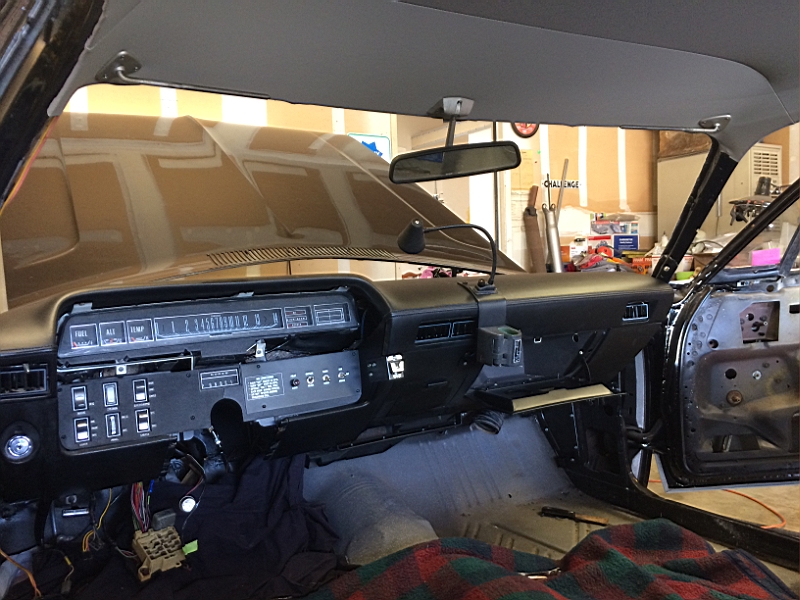
With all the preparations done I had a friend come by to help me with the dash installation.
2016-03-06_009.jpg


It took some effort to get everything hooked up but it was done.

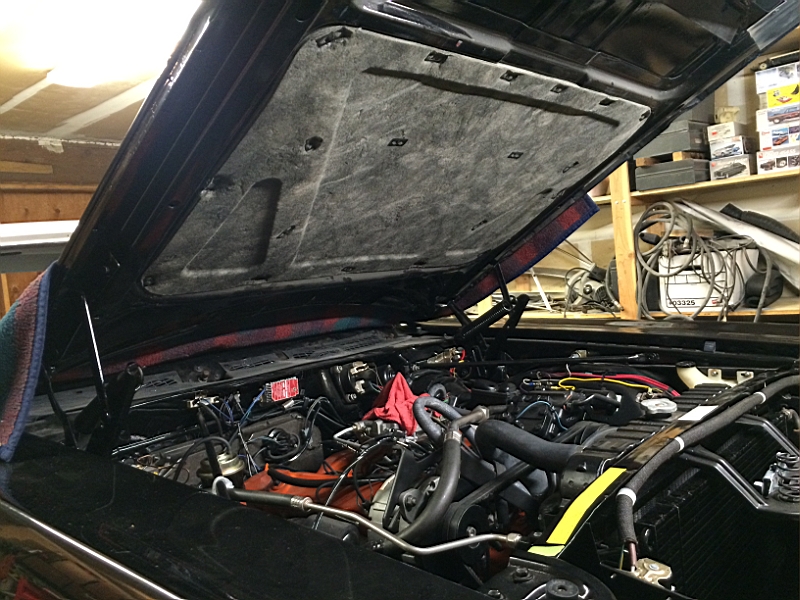
The day was wrapped up with getting the hod insulation put in.
2016-03-06_015.jpg


Alan
 
Back
Top