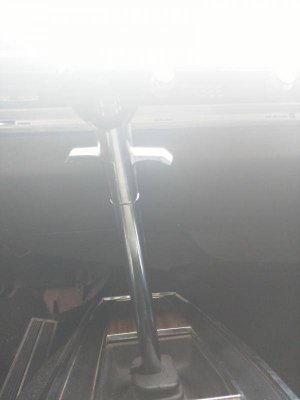
1966 Sport Fury 383 HP/ 4 Speed Restoration

The Horvaths

Young man with a cowboy hat
Joined
Jan 2, 2015
Messages
2,581
Reaction score
2,152
Location
DFW
So, to start this thread off, I will begin with the shifter.
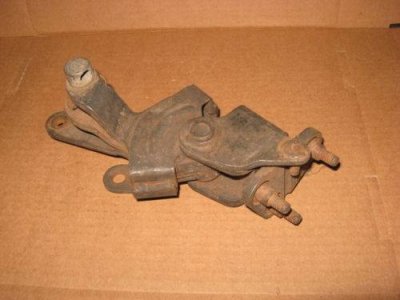
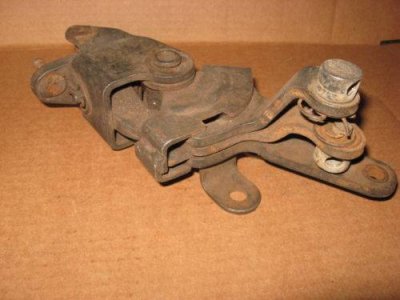
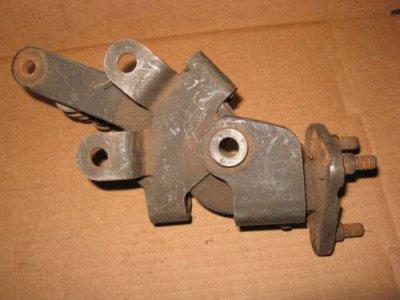
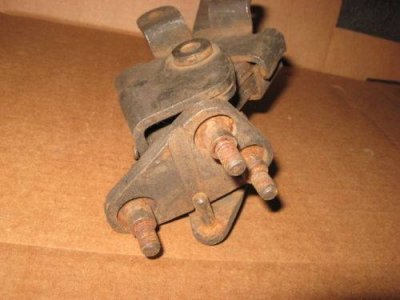
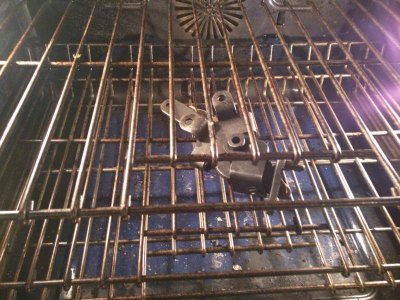
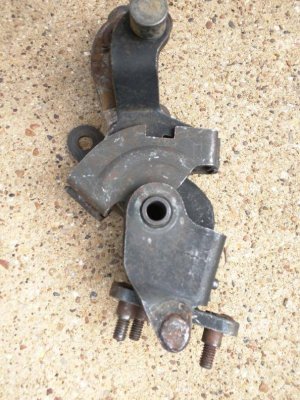
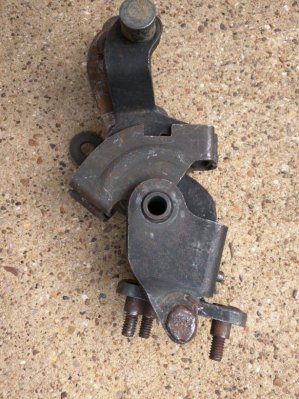
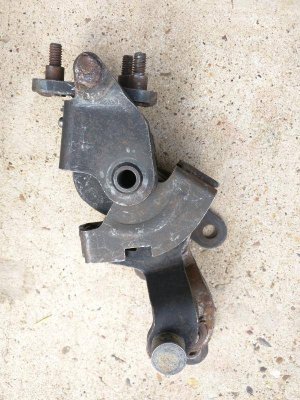
Inland Shifter 1.JPGInland Shifter 2.JPGInland Shifter 3.JPGInland Shifter 4.JPG
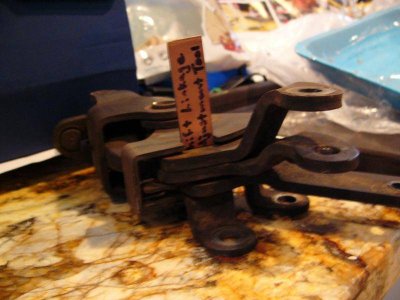
The original shifter to the car had a popped weld and a few fractures, so we decided it would be best to just get a new one (pictured above).
It is the same Inland Shifter that came with the car.

We took the new shifter, and put it in an ultrasonic parts washer for about an hour. Then we put it in the oven to dry quickly. It cleaned it up really well!
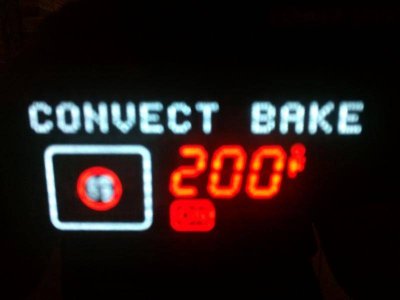
IMG_20150814_164711.jpgIMG_20150814_164719.jpgIMG_20150814_171444.jpgIMG_20150814_171449.jpgIMG_20150814_171540.jpg

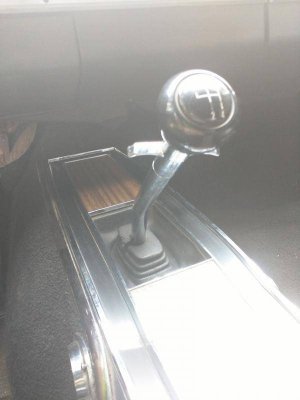
The next step, was to remove the shifter handle so it would not be damaged. Also, it is important that you replace the grommets where the handle mounts! The grommets for the Sport Fury are different than those from B-Bodies!
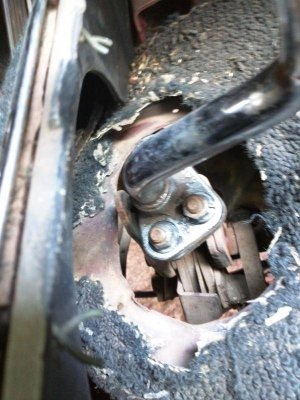
IMG_20150816_103335.jpg


Inland Shifter 1.JPG


Inland Shifter 2.JPG


Inland Shifter 3.JPG


Inland Shifter 4.JPG


IMG_20150814_164711.jpg


IMG_20150814_164719.jpg


IMG_20150814_171444.jpg


IMG_20150814_171449.jpg


IMG_20150814_171540.jpg


IMG_20150816_103335.jpg
 
Nice, I like it! Keep it up.
 
After the shifter handle is removed, we can start work under the car. I put mine up on a pair of ramps to do this. To demonstrate what I was doing under the car, I will use the old shifter.
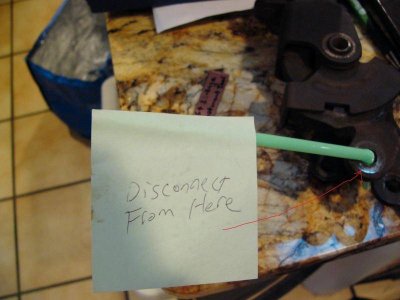
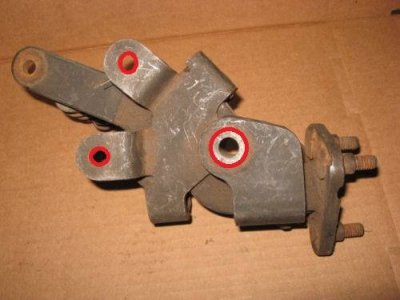
There are 3 "rods", (represented by the straw), which connect to the transmission via a "lever". The "rods" are connected to the shifter by 3 "fingers".

To start, I disconnected all the "rods" from the "fingers" and let them dangle from the transmission. I then took the shifter off the frame, which was connected by three bolts.
aaahhh.jpg Inland Shifter 3.JPGThe red circles represent where the bolts went.
After the old shifter is removed, you can put the new shifter on in the same orientation, via it's three bolts. When you go to put the new shifter in the car MAKE SURE that you put the large center bolt in it's slot BEFORE you start with the other bolts. It will not fit otherwise! Tighten the shifter to the car. This will take time. Reattach the shift handle with it's 3 nuts. Next comes the fun part of "tuning" it.

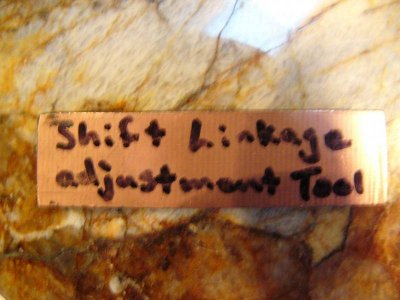
You first need to make a special tool to align the fingers.
P1040391.jpgIt measures: 2.5 in. (length) by 9/16 in. (height). Length and height relative to picture.
You must do this with one person in the car and one person underneath. The levers must be in the position demonstrated by the Shop Manual.
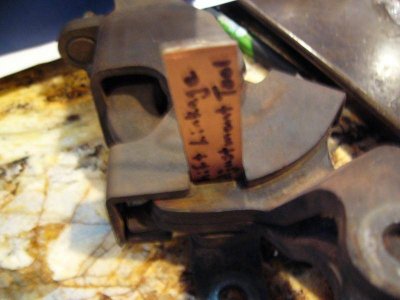
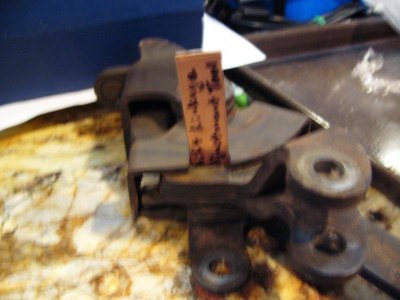
P1040393.jpgP1040394.jpgP1040396.jpg
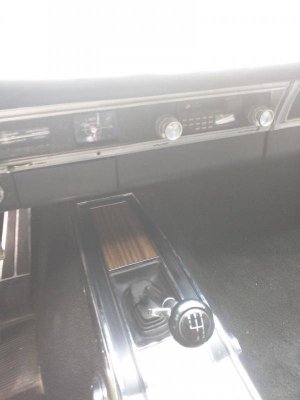
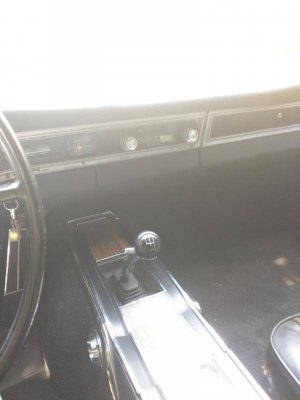
With the shift handle in the neutral gate move it all the way towards the "reverse" position, but do not put it in the reverse gear. The goal is to engage the reverse "finger". Have the person underneath align the Low and High gear "fingers" so that the slot lines up. The special tool will only go in about 1/2 in. into those two "fingers". It will not go into the reverse "finger". Then connect the Low and High gear "rods" to the "fingers". Adjust the "nut thing", (I don't know what it is called), on the end of the "rod", until it just slips through the hole without interference. Make one turn adjustments until this is achieved. Put the washers back in place, and then clip it down to the "fingers". Remove the tool from the shifter. We now need to adjust the reverse "finger" and "rod". Have the person in the car move the shifter through the neutral gate, and then hold the lever in the reverse position very carefully (to the far left, but in the "neutral gate" position - this aligns the reverse finger without tearing the shifter further apart). The "finger" down below should be very tight (not wiggly) as judged by the person under the car. Once the "finger" is tight, follow the same process of putting the "rod" back on. Once all this is completed, have the person in the car shift through each gear as the person below watches. Make sure the correct "rod" is moving, and that each "lever" is engaging. Make sure that the shift across the neutral gate is buttery smooth, and has no binding. If it is not, check your "rod" lengths, (especially reverse), and try again. This entire process should take a little over an hour (if you are not as hopelessly inept as I am!):eek:s_dancing2:
IMG_20150816_145446.jpgIMG_20150816_145450.jpgIMG_20150816_145453.jpgIMG_20150816_145500.jpgWooHoo! If I am unclear about something, please let me know, and I will do my best to clarify.:yaayy:

aaahhh.jpg


Inland Shifter 3.JPG


P1040391.jpg


P1040393.jpg


P1040394.jpg


P1040396.jpg


IMG_20150816_145446.jpg


IMG_20150816_145450.jpg


IMG_20150816_145453.jpg


IMG_20150816_145500.jpg
 
Last edited:
Good job, Dylan. Just one thing: mom may have something to say about that whole oven thing. I'm just sayin'..

-Jeremy (AKA: dad).
 
We should note that after baking the cleaned shifter to dry-as-a-bone status, and letting it cool down, we hit it with a very liberal dose of ptfe-based dry lube. You don't want it to be greasy or it will pick up road dirt like nobody's business.

- Jeremy (dad)
 
Back
Top