1970 Fury Convertible Header Trim Removal

1970FuryConv

Old Man with a Hat
Joined
Aug 8, 2014
Messages
5,772
Reaction score
5,536
Location
Richmond, VA
I want to paint the header trim above the rearview mirror, but am having trouble removing it. So Far
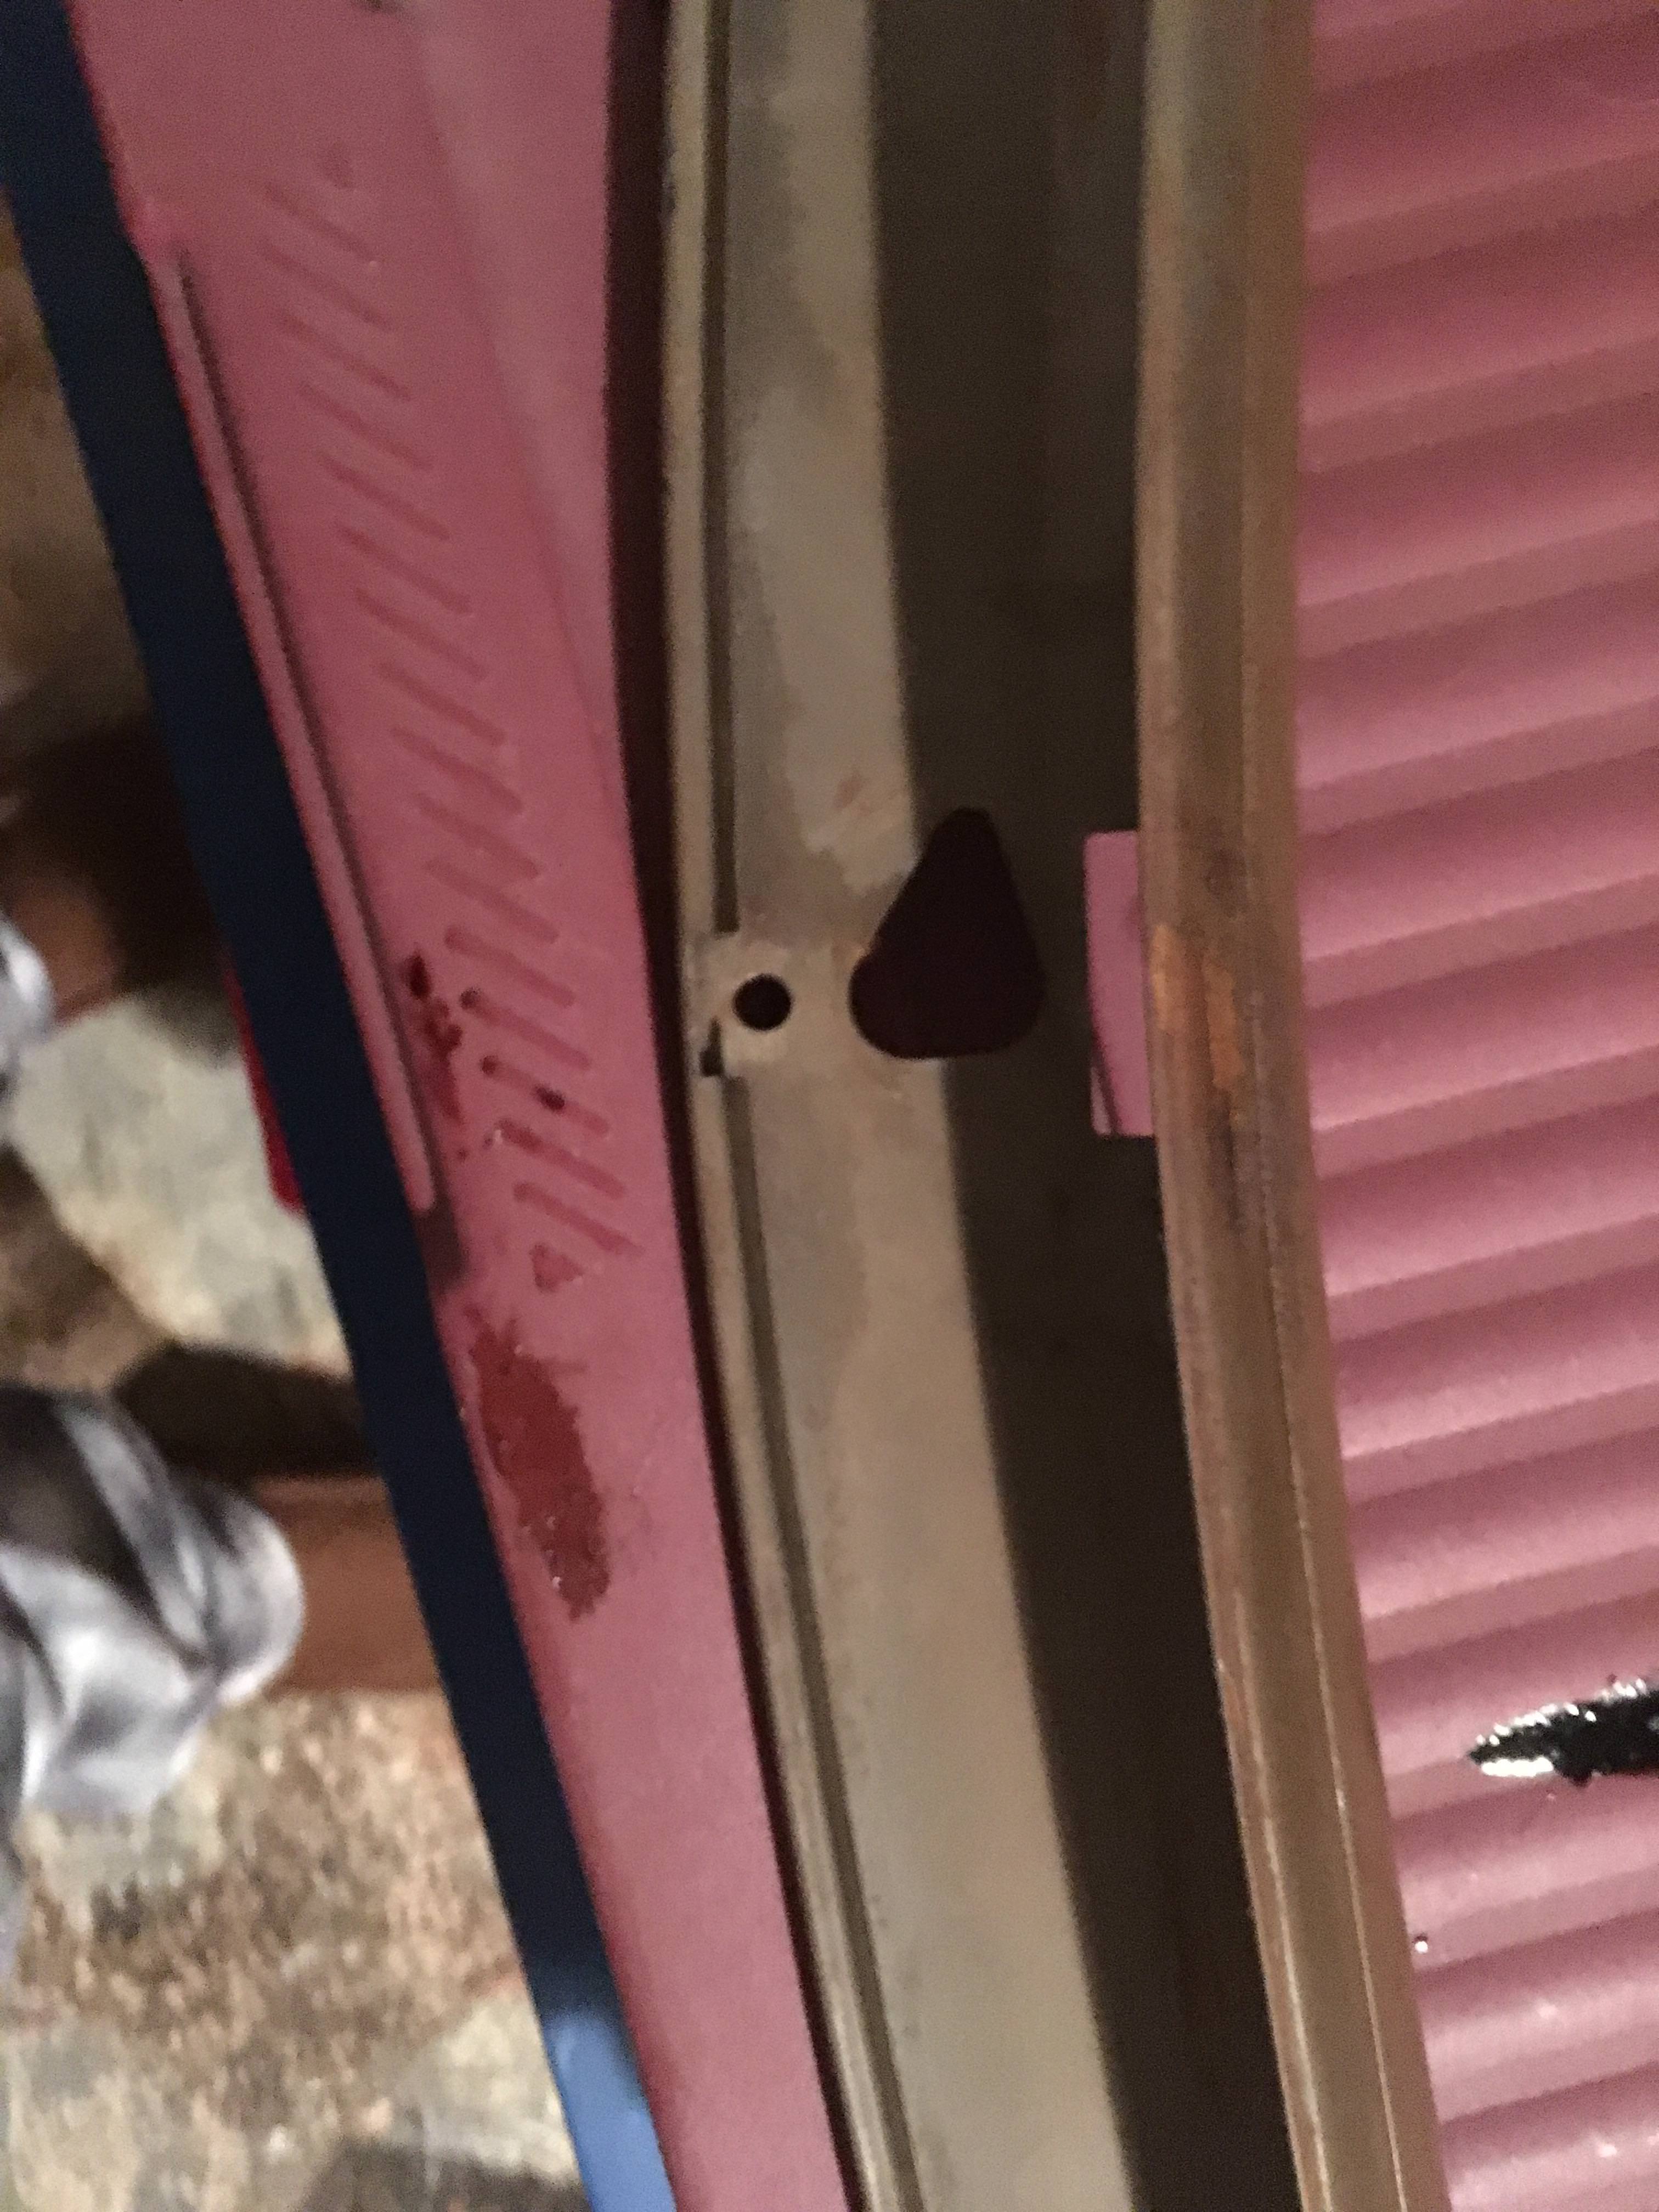
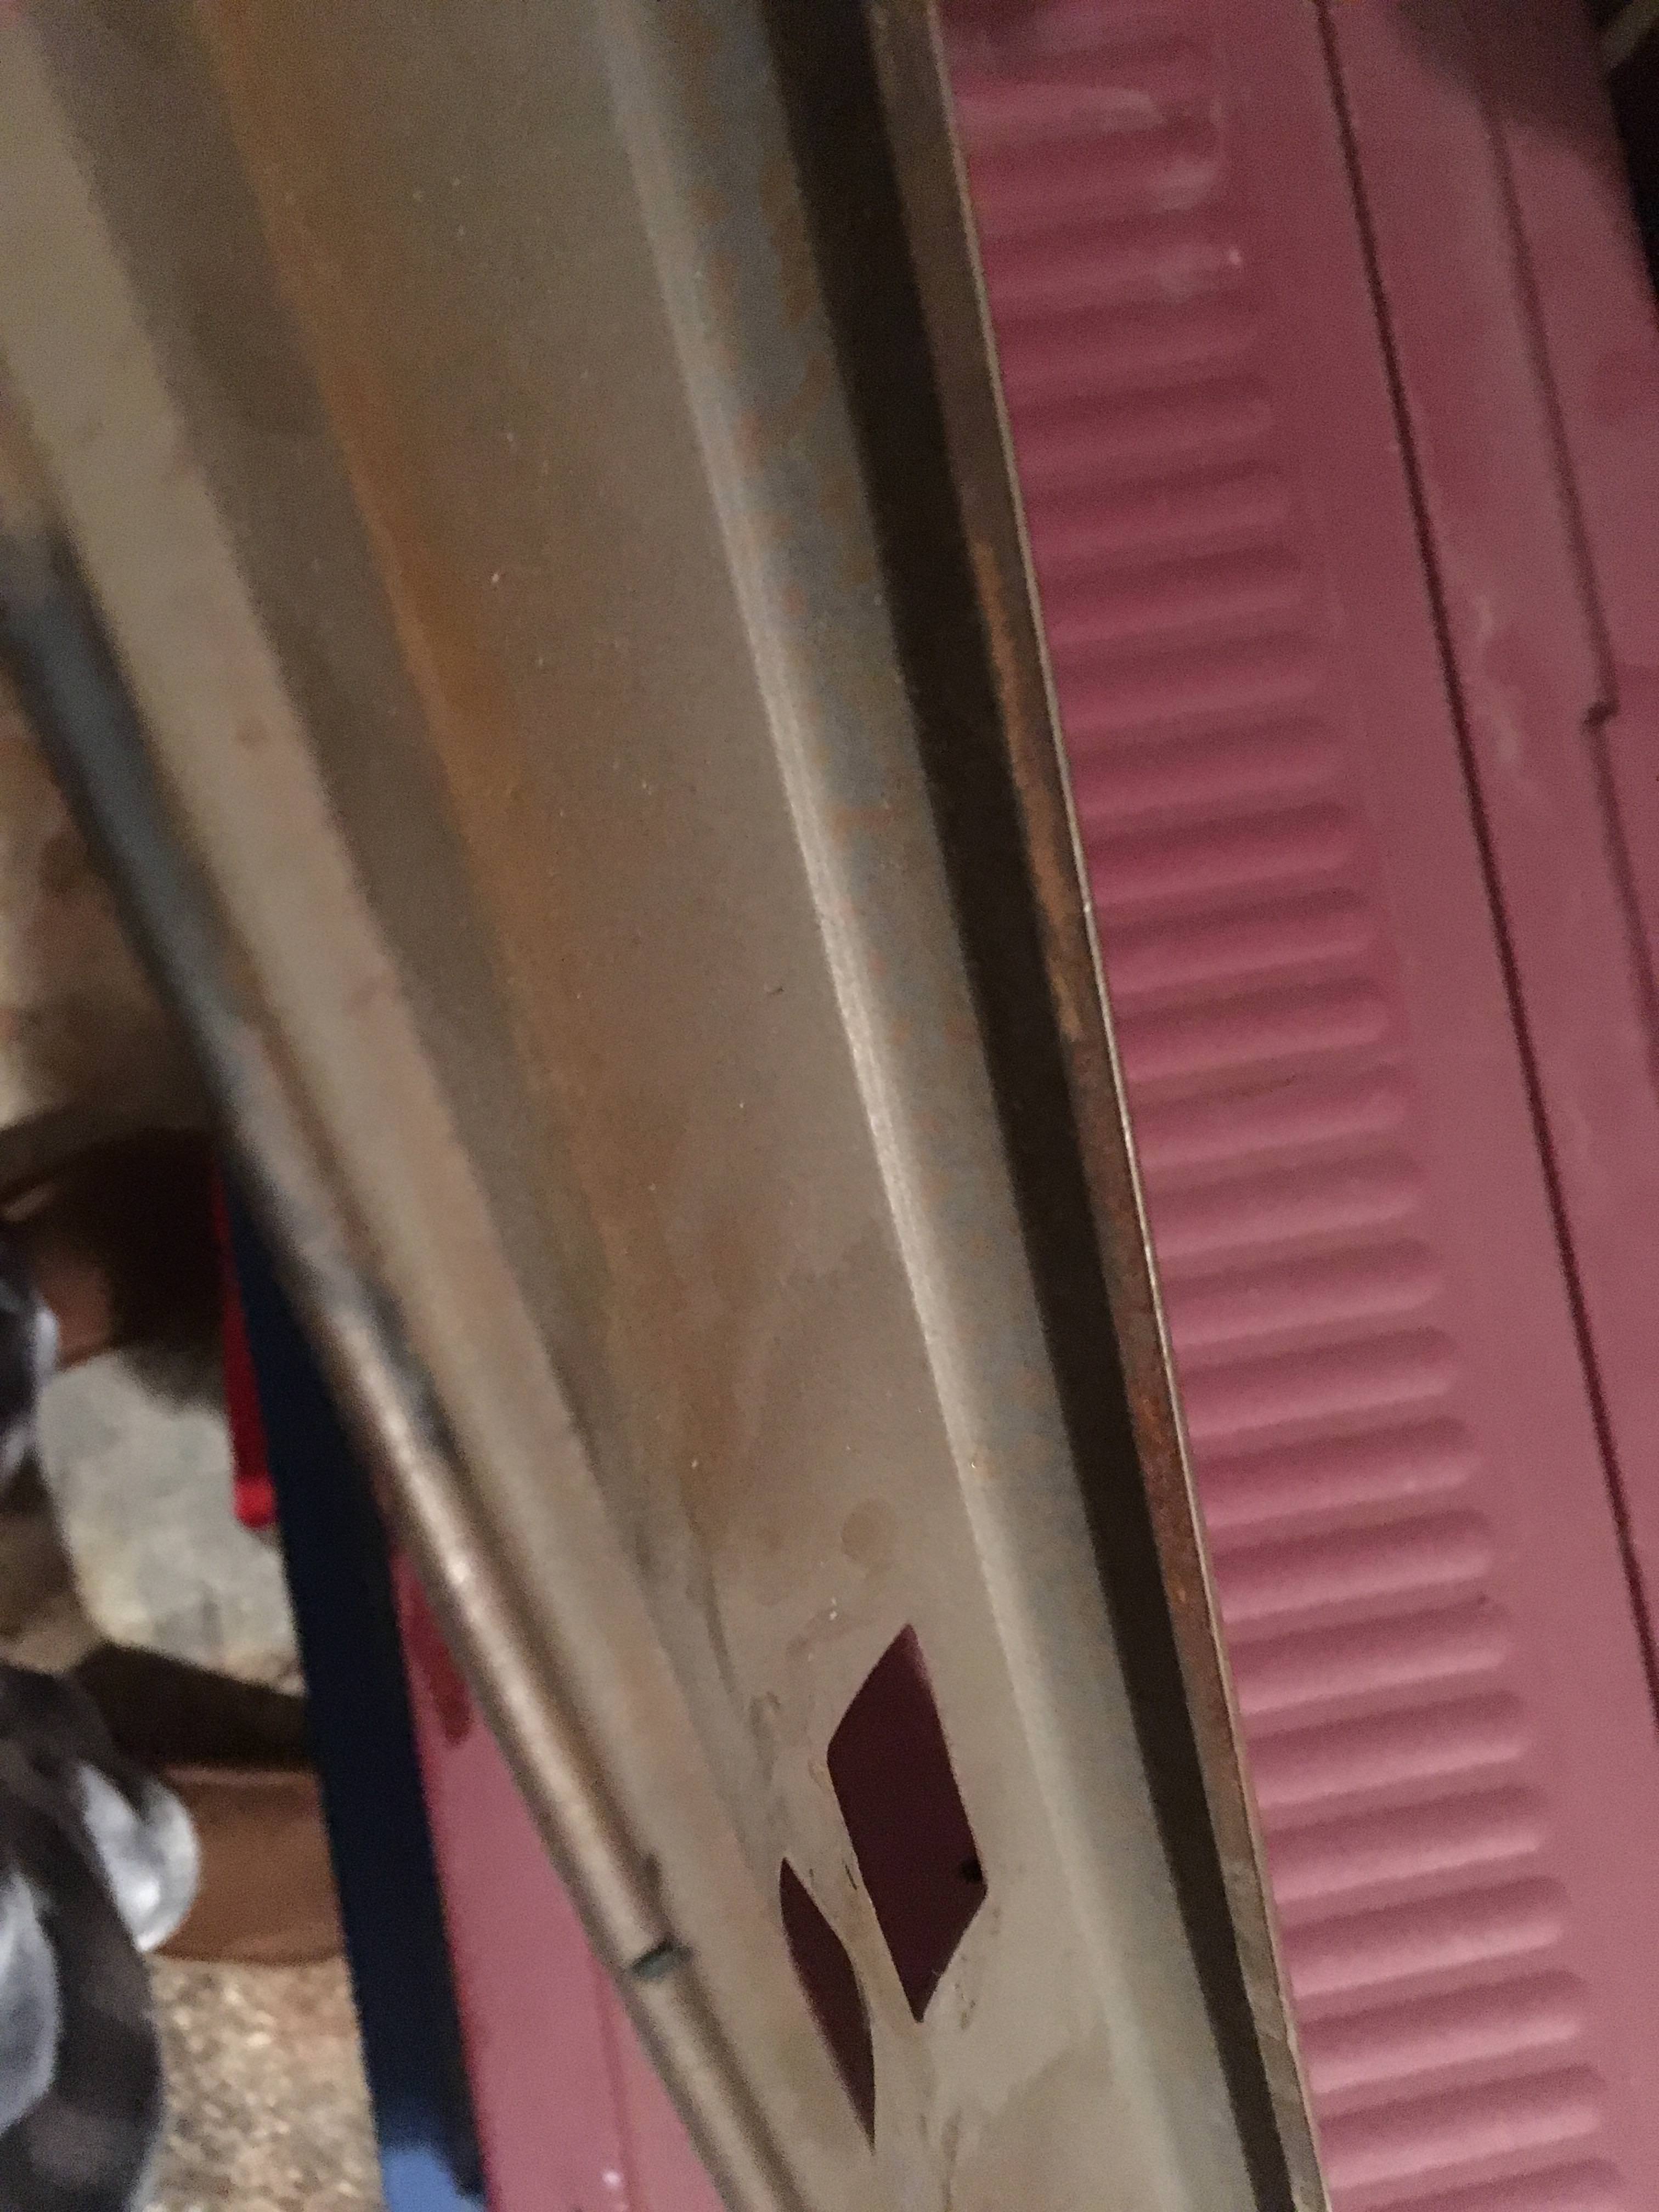
-Header trim: removed one screw either side of rear view mirror. Trim is loose at sides, but at center remains tight against windshield frame.
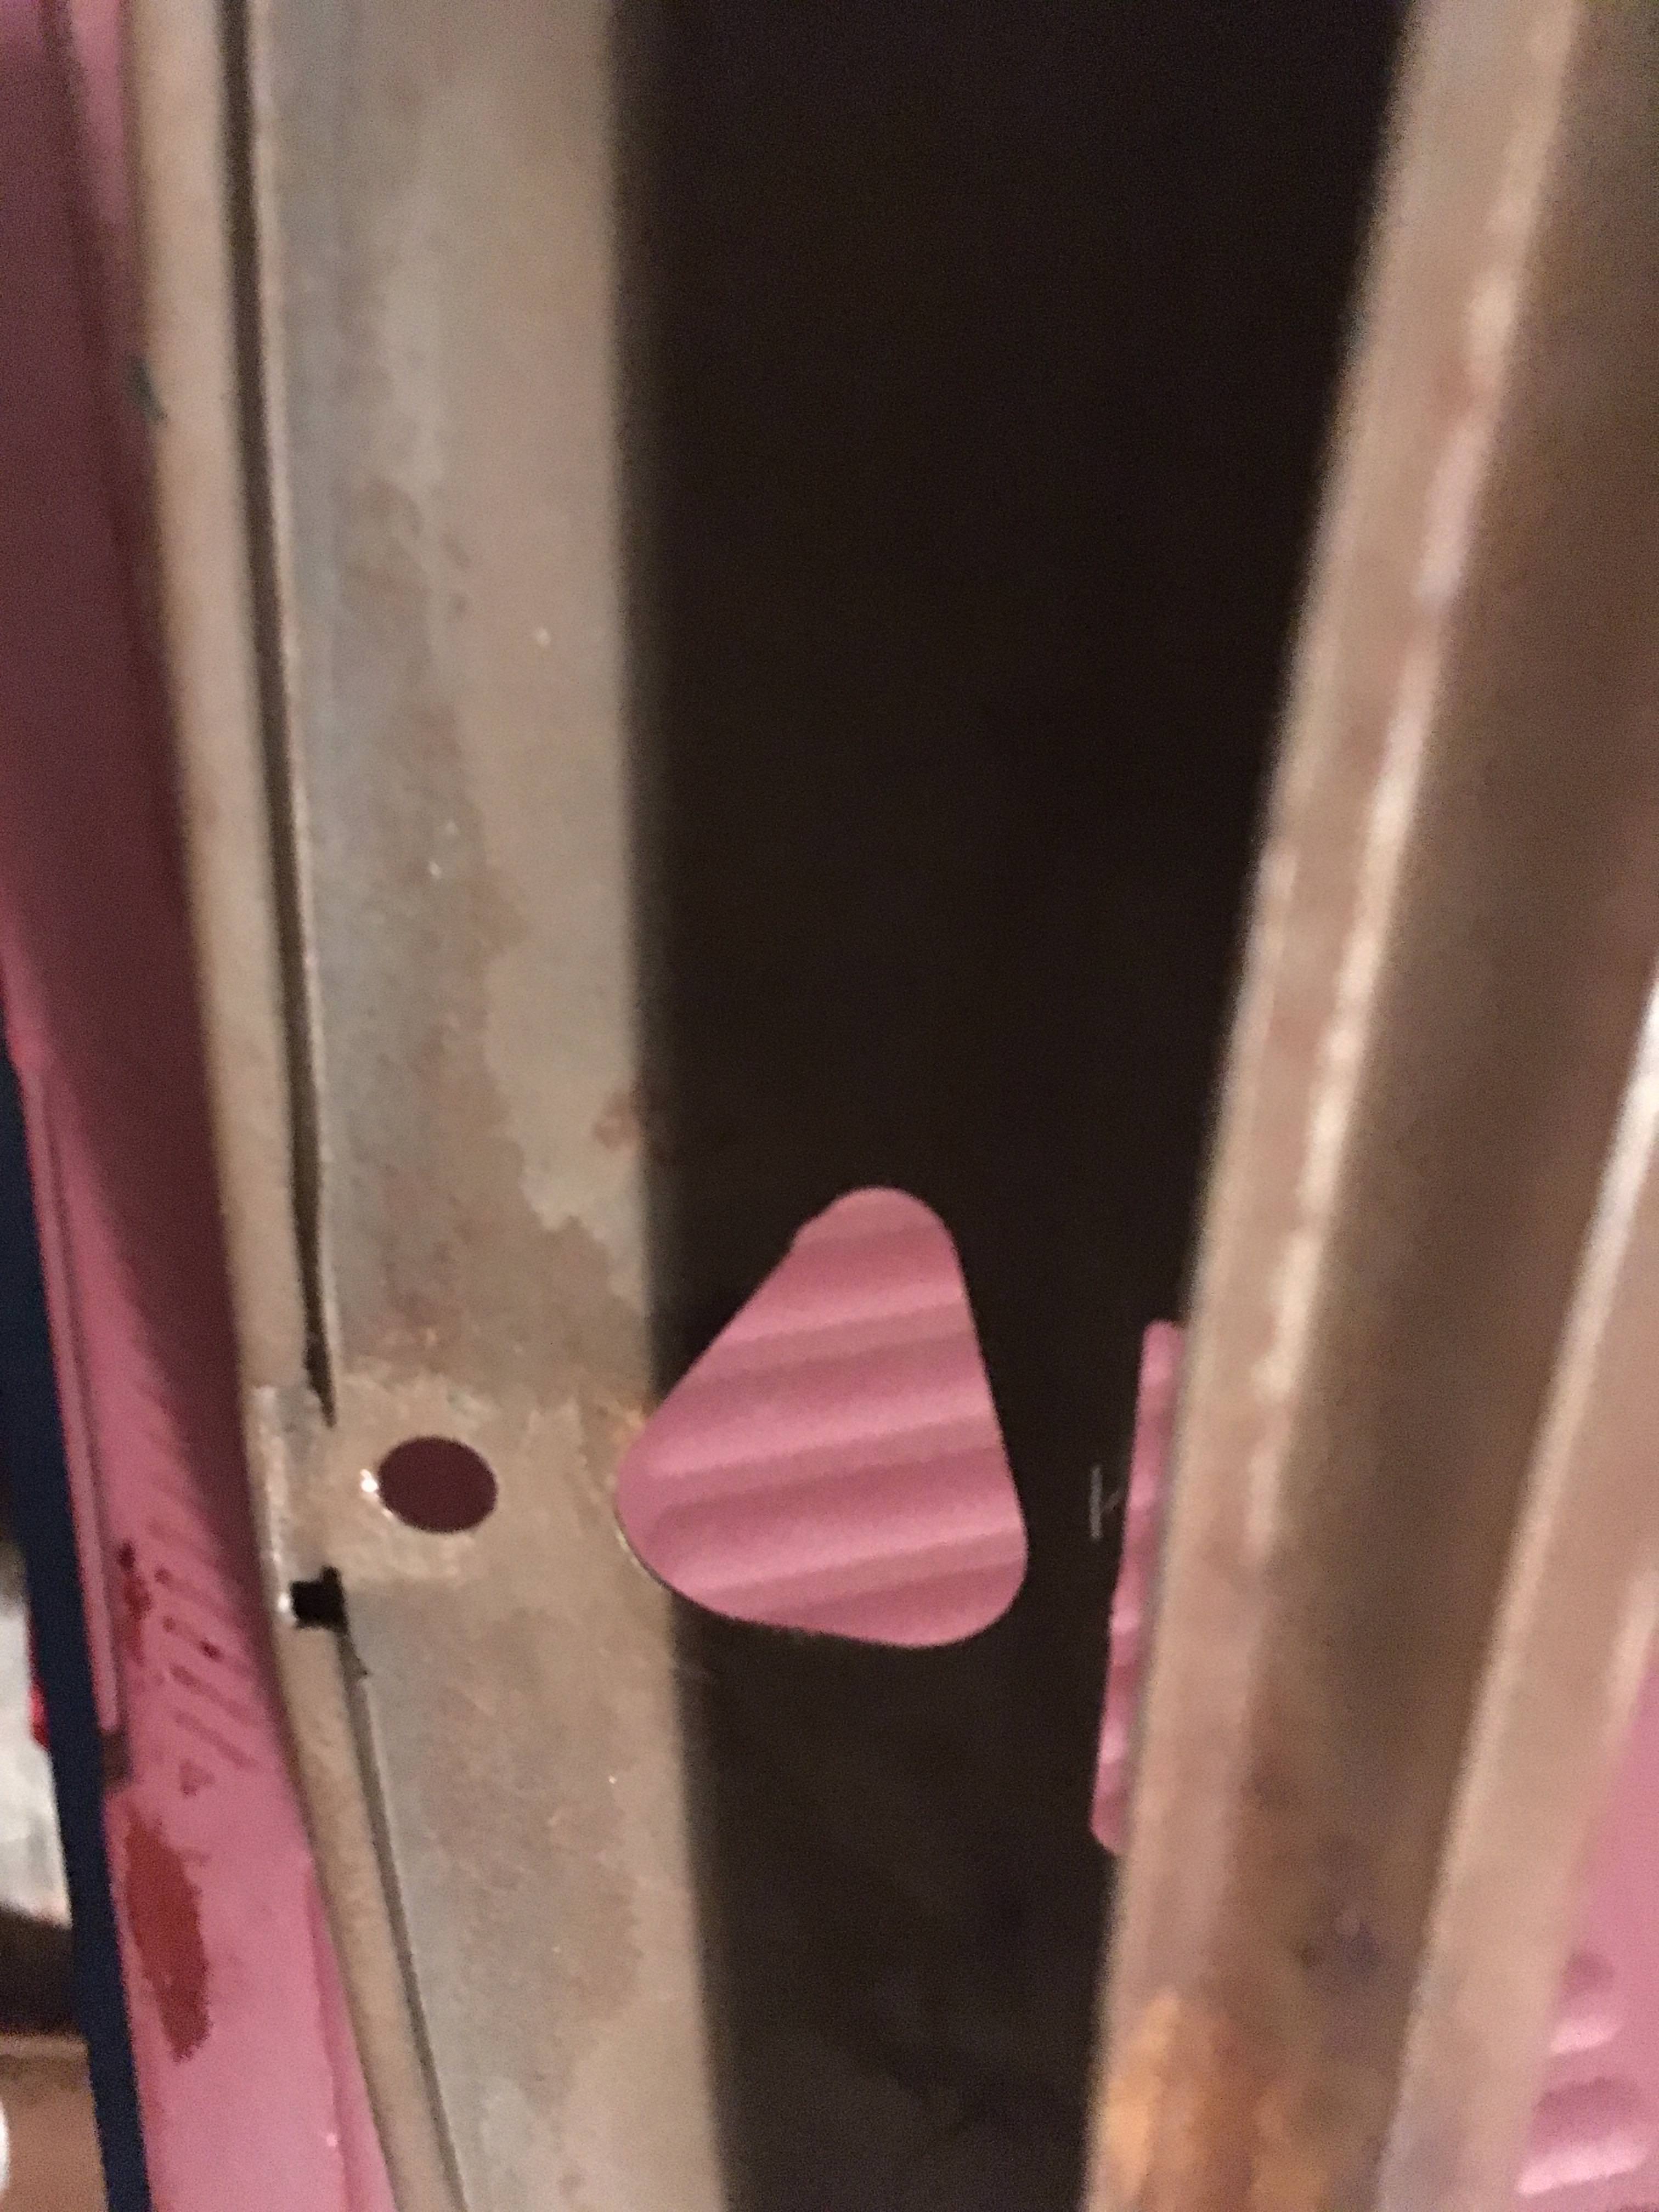
-Triangular trim piece at top of mirror shaft. The front screw screws into the header trim molding. The long rear screw screws into a metal clip. After this piece drops down on to the mirror, it does not expose any additional screws that need to be removed to remove the header trim molding
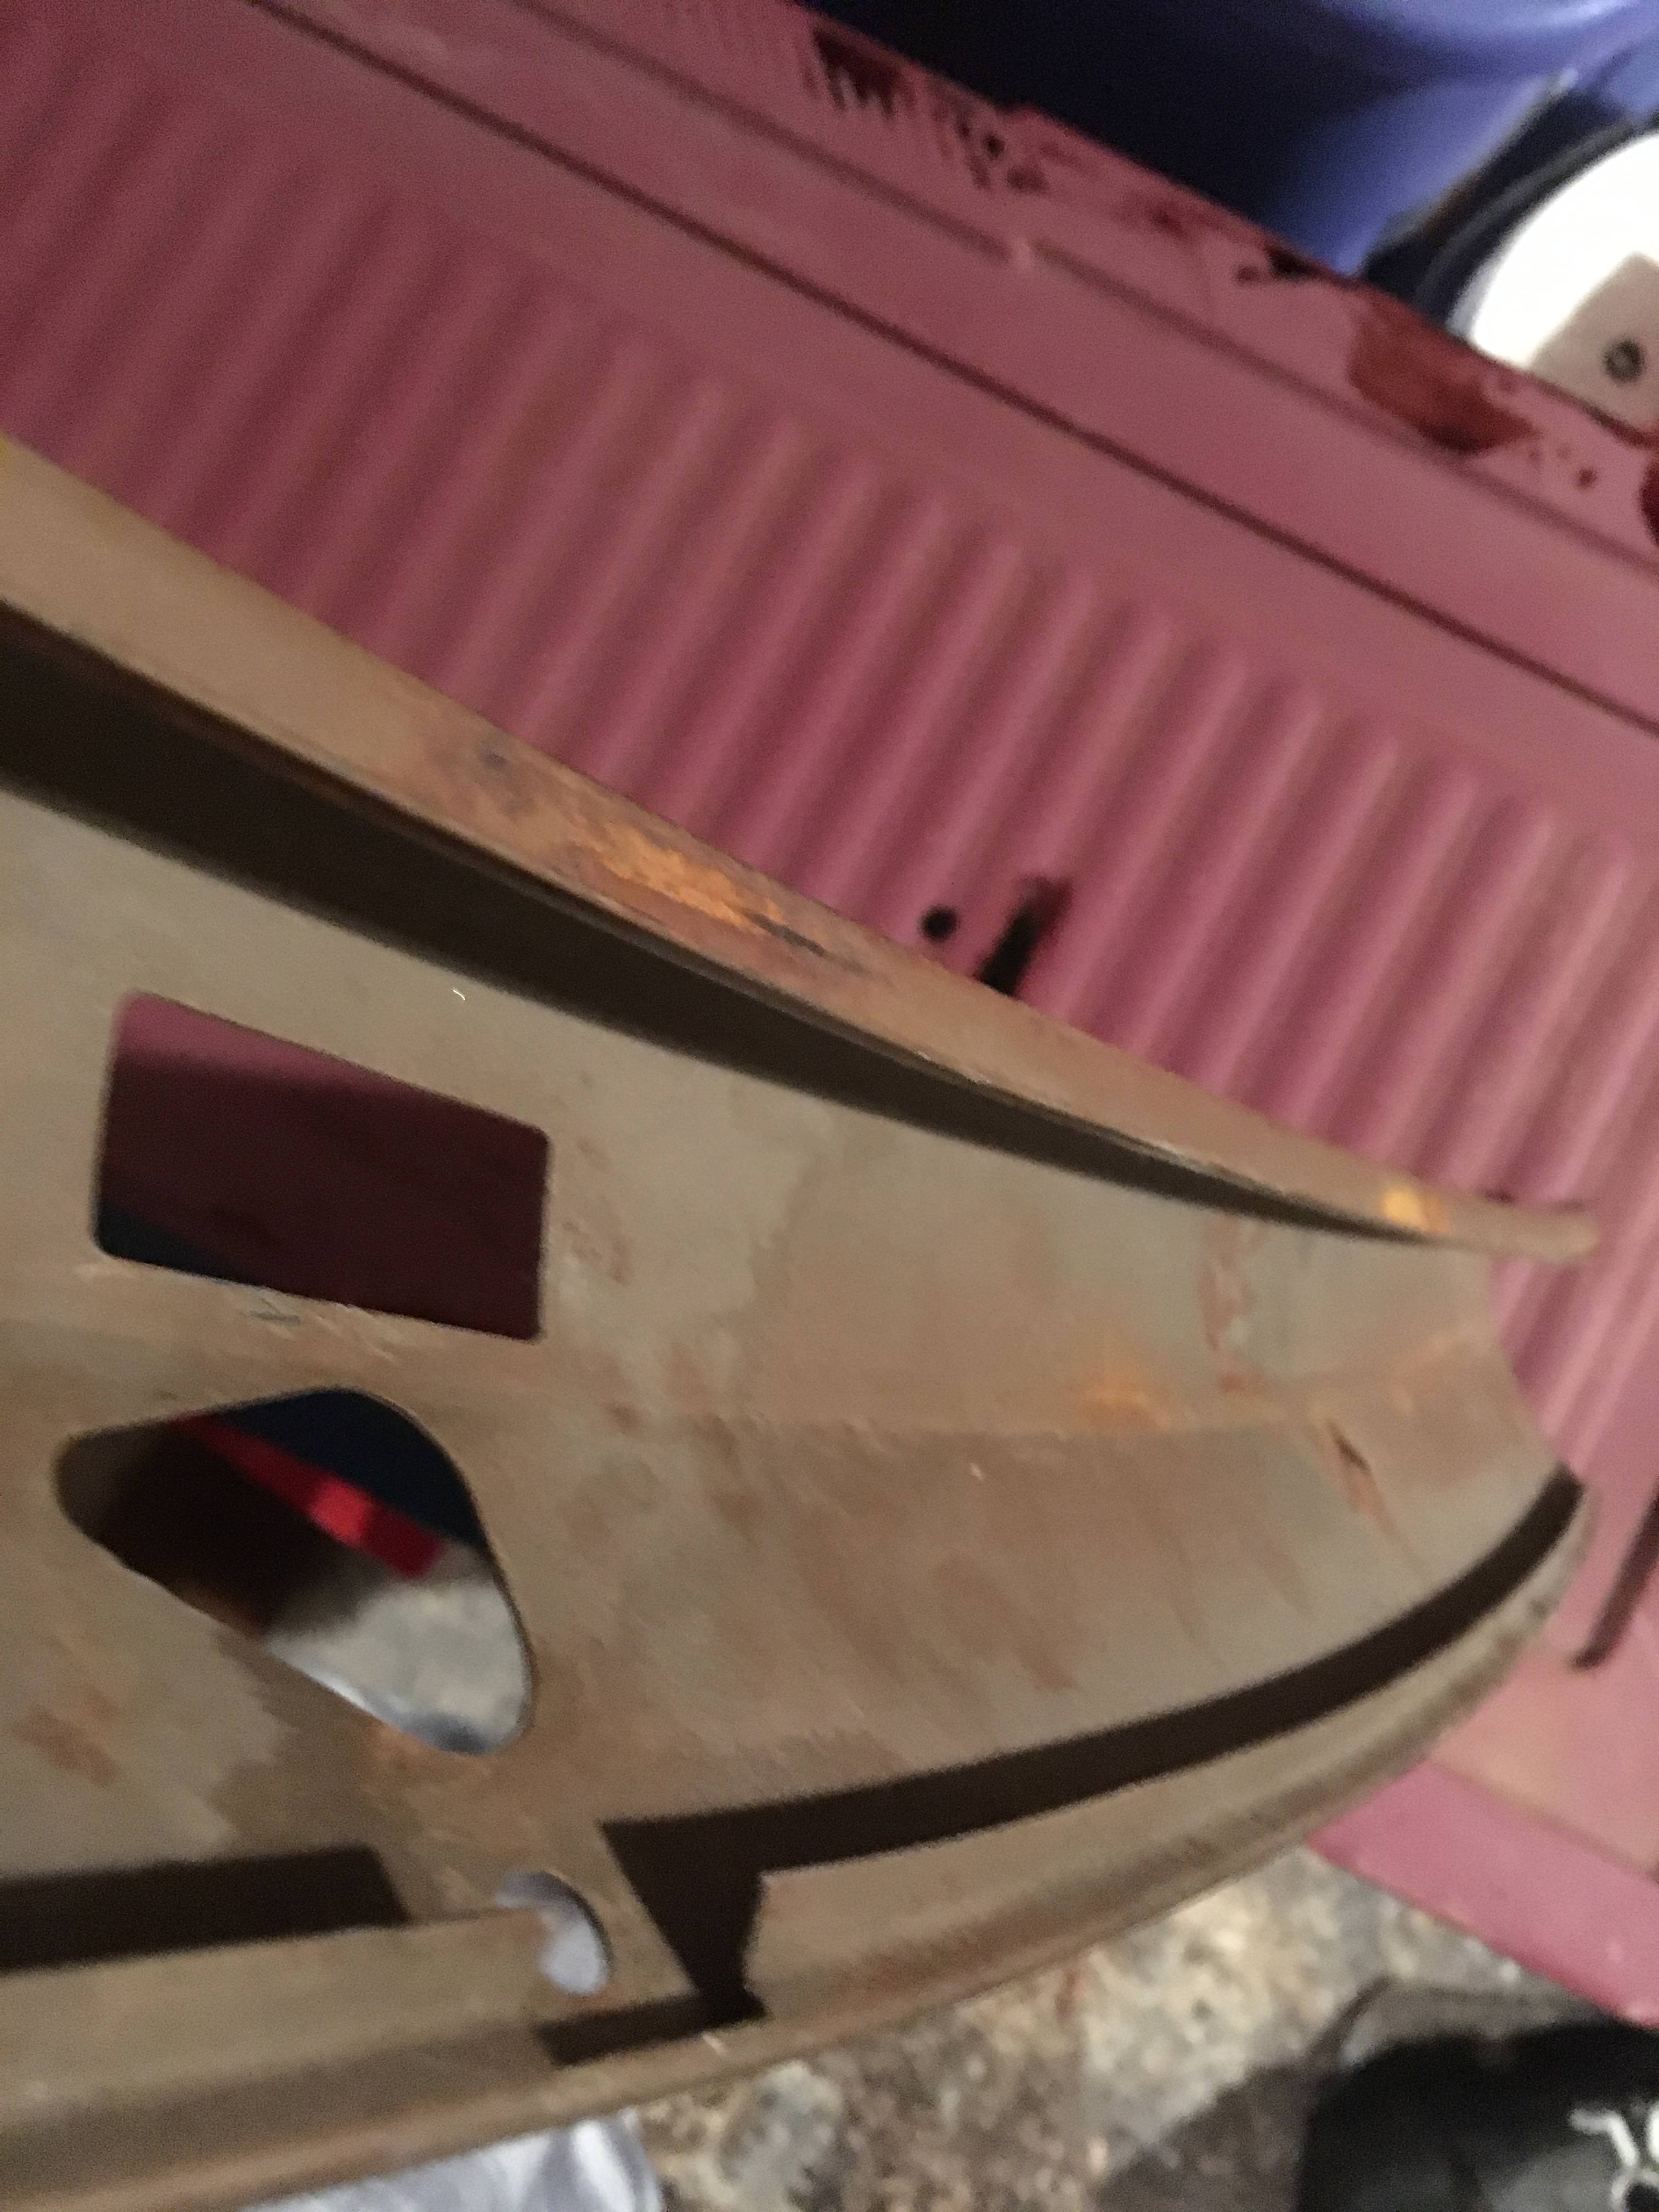
-Rear view mirror base, under header trim molding: loosened Phillips head screw, see pic below. Header trim still did not move.
-I don't have a replacement trim piece, so really can't risk damage to this one. I guess there's clip under the center of it somewhere, but Chapter 23 of FSM gives no hint of it. Any help is greatly appreciated!
20171202_165720.jpg

20171202_154124.jpg


20171202_154132.jpg
 
From what I can remember when I disassembled the 70 CV I had the rear view mirror had to be taken off first, then the trim would come away.
 
On my 300 vert, there was a lot of black sealant under that trim that glued it down. I had a spare that had sealant stuck to it too.

IIRC, I used a heat gun to soften the sealant as I gradually pried it off.


Edit: Just realized I'm talking about the top piece and you want the inside trim off...

Yes, the mirror has to come off.
 
Does the mirror come off with the trim? The trim piece is blocking removal of the mirror base.

It looks like the mirror should be disassembled from the arm that attaches to the rear of it. Then it looks like the trim could come down. Then the mirror arm and base could be removed I'm having trouble with how to do it. I'll try to PM Bill Fury440 and see if he knows.
 
Thanks Big John. Looks like there's no clip. If it is black mastic, see Bill's comment below, should I get some kind of thin gage bare wire, 2 pieces of wood and try to cut thru it like removing a windshield?

I have a small propane torch for soldering. I could also try that, if it would not damage the trim.


Bill said the following: I don't remember if I did that or Paul. However if all the screws are out it's probable "stuck" in with black mastic. I'd pry on it keeping the force just short of bending anything. Failing that, mask the heck out of it and spray it in place.

Cheers
Bill
 
Phew! Everything removed. Some pics and procedures
· Mirror, remove from arm: 1/8 inch Allen wrench. After remove bolt from arm, mirror comes off of arm easily
· Header trim: tried getting a 18 gage wire, then a ground strap between it and the wind shield frame. Didn’t seem to help. Ending up grabbing either end of the trim and just wiggling it back and forth until it eventually loosened and popped off. It did not have any black mastic. It just had been in place for 47 years and didn’t want to move.
· Mirror arm and base: remove single Phillips head screw and remove arm with base.
· Thank you to FCBO. Big John, as usual , Big Help! Bill Fury440 & Gary Wollfen, as well!
20171204_145633.jpg

20171204_145646.jpg

20171204_150009.jpg

20171204_150538.jpg

20171204_150559.jpg

20171204_150609.jpg

20171204_150658.jpg

20171204_151434.jpg
 
So, it's a green interior car?
Hi Tom, It was a green interior car. The dash and windshield trim are the last step in an ongoing change to white/black. My digital camera makes this picture look better than reality. The green color is more dull and brownish than it appears. Also, the hole in the dash pad above the speaker is big. Dash and surrounding trim are now becoming black. Just personal taste, and I got a 1969 black dash pad in pretty good shape for $110. Big savings over having this one redone by Just Dashes. Ben
11-22-16-10.JPG
 
I finally got done with the header trim. The key was draping a towel over the top of the windshield frame and over top of the partially installed header trim, then pushing forward hard to get the header trim to seat in the clip above the rearview mirror mount. Everything else was just installing screws.
Before
20171204_151434.jpg

After
20171219_175446.jpg

20171219_175526.jpg

20171219_175709.jpg

Install Mirror Arm 1st, Test fit mirror
20171220_164443.jpg

20171220_165904.jpg

20171222_133007.jpg
 
Back
Top