1966 Plymouth Sport Fury 383 4 Barrel 4 Speed Restoration Thread

The Horvaths

Young man with a cowboy hat
Joined
Jan 2, 2015
Messages
2,581
Reaction score
2,152
Location
DFW
So I have decided to post all of my progress on the '66 to this thread for my convenience and that of the viewer. The first few posts on here will be copies of my other threads, while newer ones will be coming shortly (you know... like 15 minutes). So here we go!
:yaayy:
 
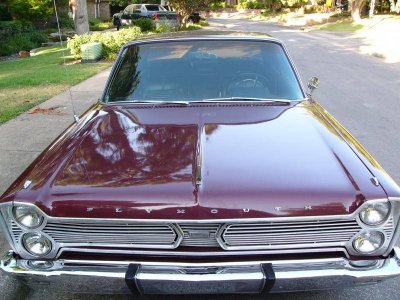
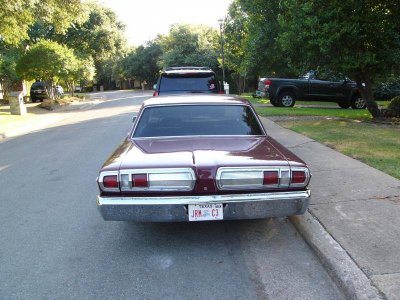
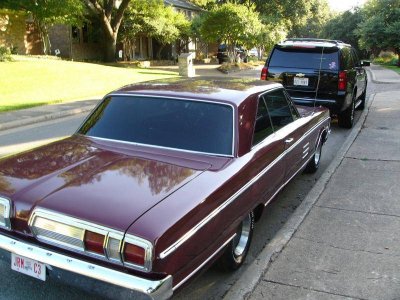
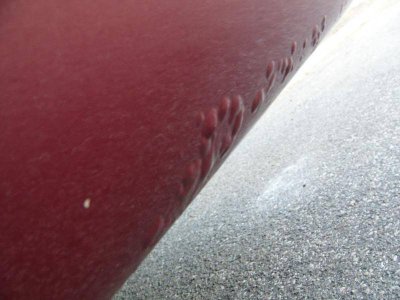
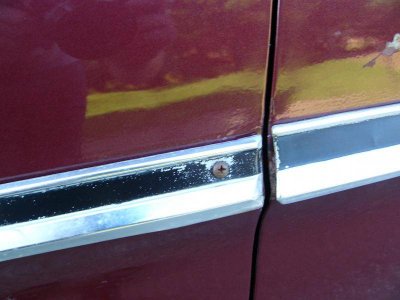
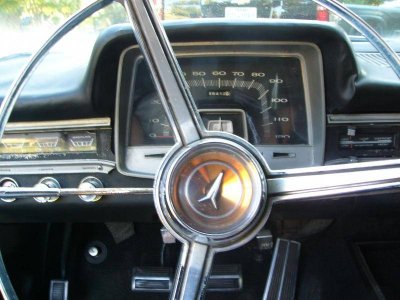
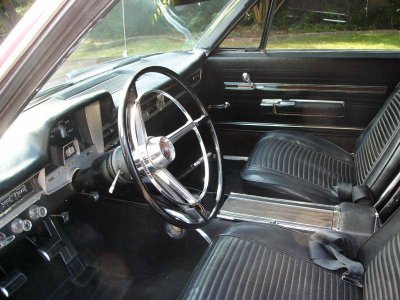
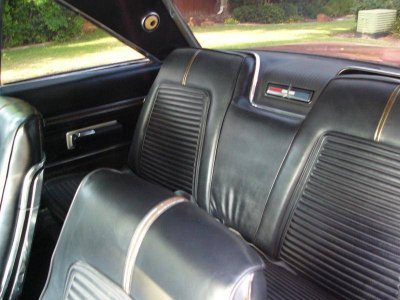
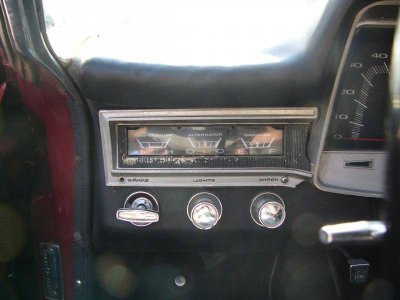
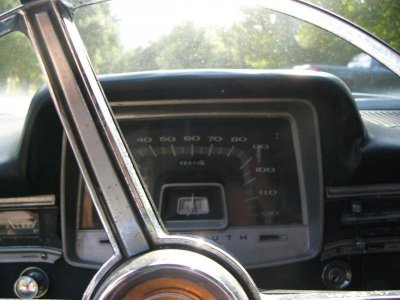
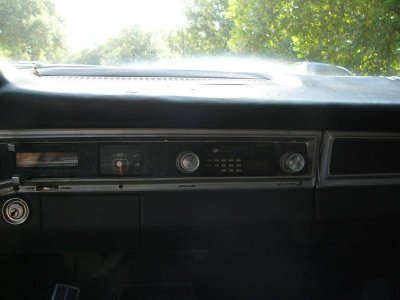
A few pictures of the car for starters:
1.jpg2.jpg3.jpg4.jpg5.jpg6.jpg7.jpg8.jpg9.jpg10.jpg

1.jpg


2.jpg


3.jpg


4.jpg


5.jpg


6.jpg


7.jpg


8.jpg


9.jpg


10.jpg
 
OK... now my fender tag:
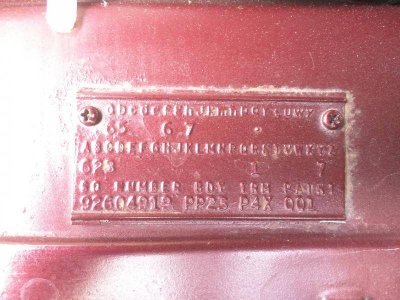
17.jpg

[SIZE=+1]1966[/SIZE]
Production dateSeptember 26, 1965
Shipping order04919
Car linePLYMOUTH Fury
Price classPremium
Body type2 door hardtop
Trim GradePremium [32P]
Seat typeBucket vinyl [334]
Trim colorBlack [34X]
Paint 1Red metallic [27Q]
Paint 2Red metallic [28Q]
Paint schemeMono tone paint [291]
Upper door frame paint(UNKNOWN)
Engine383 4bbl HP 8cyl 325hp B [376/382]
TransmissionTransmission-4speed manual floor shift [393]
RadioRadio-AM Music Master/economy 2 W [421]
Bucket seat accessoriesConsole [486]
Front bucket seatsRear armrests and ash tray [565]
Police accessoriesHeater-DELETE [416]
-OR- Speaker-reat seat [426]
Fender mounted turn signalsLight-turn indicator hood/fender mounted [517]

17.jpg
 
The shifter...
attachment.php
attachment.php
attachment.php
attachment.php

The original shifter to the car had a popped weld and a few fractures, so we decided it would be best to just get a new one (pictured above).
It is the same Inland Shifter that came with the car.

We took the new shifter, and put it in an ultrasonic parts washer for about an hour. Then we put it in the oven to dry quickly. It cleaned it up really well!
attachment.php
attachment.php
attachment.php
attachment.php
attachment.php


The next step, was to remove the shifter handle so it would not be damaged. Also, it is important that you replace the grommets where the handle mounts! The grommets for the Sport Fury are different than those from B-Bodies!
attachment.php
 
After the shifter handle is removed, we can start work under the car. I put mine up on a pair of ramps to do this. To demonstrate what I was doing under the car, I will use the old shifter.
There are 3 "rods", (represented by the straw), which connect to the transmission via a "lever". The "rods" are connected to the shifter by 3 "fingers".

To start, I disconnected all the "rods" from the "fingers" and let them dangle from the transmission. I then took the shifter off the frame, which was connected by three bolts.
attachment.php
attachment.php
The red circles represent where the bolts went.
Afterthe old shifter is removed, you can put the new shifter on in the same orientation, via it's three bolts. When you go to put the new shifter in the car MAKE SURE that you put the large center bolt in it's slot BEFORE you start with the other bolts. It will not fit otherwise! Tighten the shifter to the car. This will take time. Reattach the shift handle with it's 3 nuts. Next comes the fun part of "tuning" it.

You first need to make a special tool to align the fingers.
attachment.php
It measures: 2.5 in. (length) by 9/16 in. (height). Length and height relative to picture.
You must do this with one person in the car and one person underneath. The levers must be in the position demonstrated by the Shop Manual.
attachment.php
attachment.php

With the shift handle in the neutral gate move it all the way towards the "reverse" position, but do not put it in the reverse gear. The goal is to engage the reverse "finger". Have the person underneath align the Low and High gear "fingers" so that the slot lines up. The special tool will only go in about 1/2 in. into those two "fingers". It will not go into the reverse "finger". Then connect the Low and High gear "rods" to the "fingers". Adjust the "nut thing", (I don't know what it is called), on the end of the "rod", until it just slips through the hole without interference. Make one turn adjustments until this is achieved. Put the washers back in place, and then clip it down to the "fingers". Remove the tool from the shifter. We now need to adjust the reverse "finger" and "rod". Have the person in the car move the shifter through the neutral gate, and then hold the lever in the reverse position very carefully (to the far left, but in the "neutral gate" position - this aligns the reverse finger without tearing the shifter further apart). The "finger" down below should be very tight (not wiggly) as judged by the person under the car. Once the "finger" is tight, follow the same process of putting the "rod" back on. Once all this is completed, have the person in the car shift through each gear as the person below watches. Make sure the correct "rod" is moving, and that each "lever" is engaging. Make sure that the shift across the neutral gate is buttery smooth, and has no binding. If it is not, check your "rod" lengths, (especially reverse), and try again. This entire process should take a little over an hour (if you are not as hopelessly inept as I am!):eek:s_dancing2:
attachment.php
attachment.php
attachment.php
attachment.php


An added note: We should note that after baking the cleaned shifter to dry-as-a-bone status, and letting it cool down, we hit it with a very liberal dose of ptfe-based dry lube. You don't want it to be greasy or it will pick up road dirt like nobody's business.
 
The C Pillar discovery:

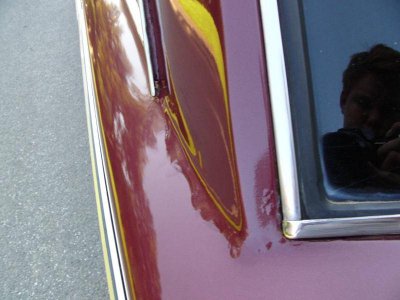
So I decided to face my problems head-on last night and remove some of the paint to let whatever was under the bondo on my '66 rear it's ugly head. I used 80 grit sandpaper, a sanding block, and a little elbow grease to work my way through a QUARTER INCH of bondo! The pictures I took tell the story.

This is what I started with:
attachment.php


When I got the base coat of paint off, I could peel the bondo off in chunks! Gross!
attachment.php


I thought this was rusted, but...
attachment.php


Nope! I did some more sanding towards the top of this area and it was clean as well! There wasn't even surface rust. My phone died before I could take pictures of that.
attachment.php


My guess is that a previous owner did not like the body line, and decided to bondo over it in the most sloppy manner possible.:BangHead:

After finishing all this sanding, I coated the bare metal with a substance similar to Ospho (I can't recall the name off the top of my head) to protect it. I will be taking the car to the body shop after I finish removing the engine and the rest of the driveline (yes, there will be a thread on this, and some more on rebuilding the transmission!). Anyways, I thought I would share my
 
And the final repeat... The Carburetor:

Here are the pictures from the eBay ad. Sorry for the poor quality, I had to take screen shots on my phone. The inside was filled with carbon. I think that the buildups were caused by the floats being mis-adjusted and creating a lean condition, causing the car to backfire out the carburetor.
attachment.php

attachment.php

attachment.php

attachment.php


I rebuilt my first carburetor yesterday for my Sport Fury. Notice that it is the correct carburetor (4130s) for a '66 383 4 barrel 4 speed car. It was really rough, but I think it turned out well.
attachment.php

attachment.php
 
OK! Now for the recent stuff!

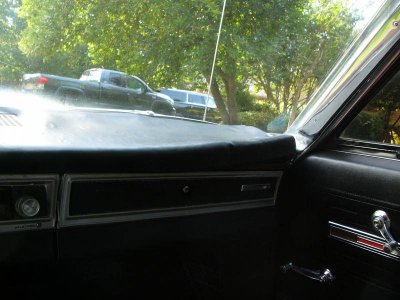
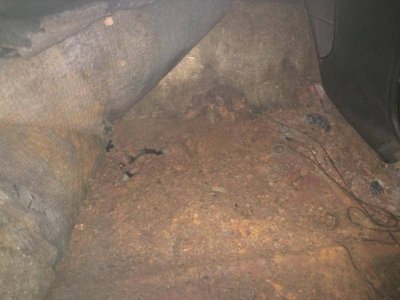
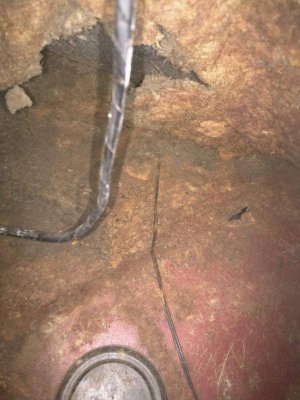
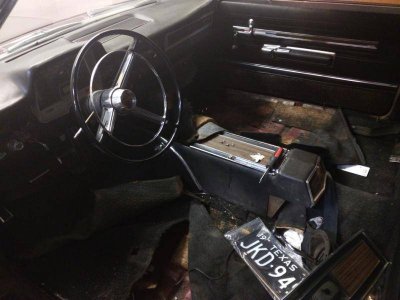
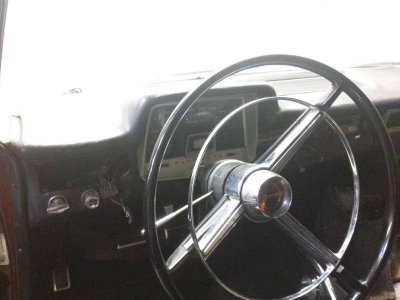
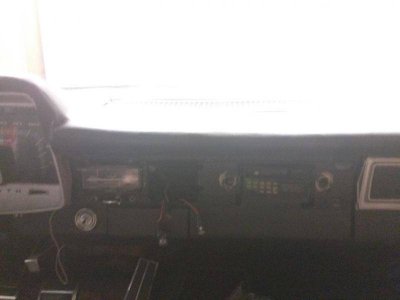
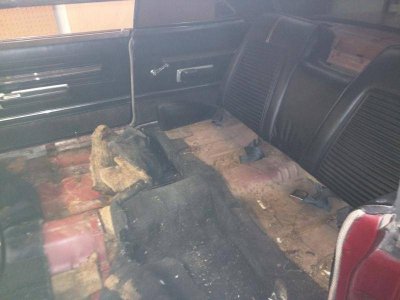
I stripped out most of the interior today and last night, including most of the dash, the front seats, package tray, shifter, most of the transmission, and some of the carpet. Unfortunately, I could not find a build sheet, but will still look under the rear seat. The passenger floors were roasted...

18.jpg
19.jpg
20.jpg
21.jpg

22.jpg
23.jpg
24.jpg
25.jpg
I still need to remove the torsion bars, remove the console, finish the dash, finish removing the trans, and remove the engine, then it can go to the body shop!
:yaayy:

18.jpg


19.jpg


20.jpg


21.jpg


22.jpg


23.jpg


24.jpg


25.jpg
 
Small Update:
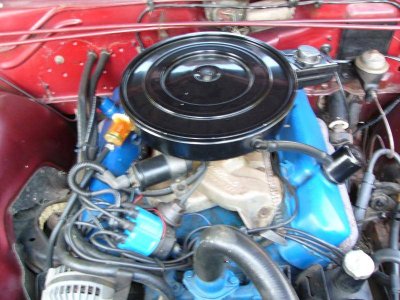
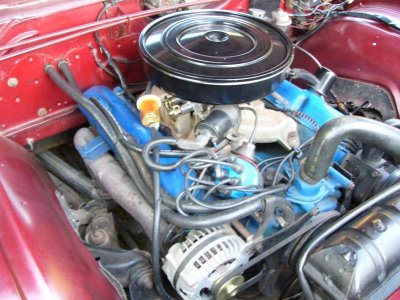
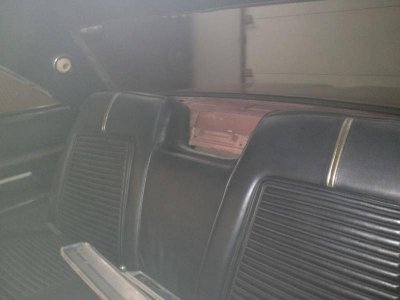
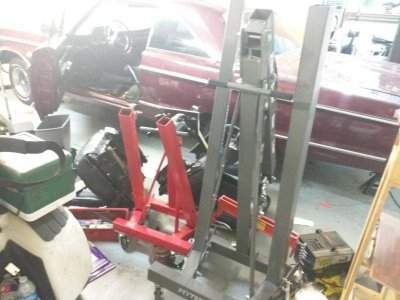
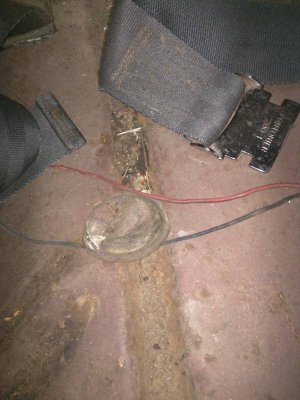
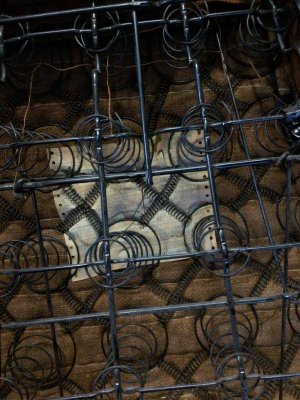
I have all of the wiring in the engine bay disconnected, most fluids drained, carb removed, and finally removed the rear seat. To remove the rear seat, you need to grab the front of it and roll it backwards. All that's left to do is remove the engine, finish removing the trans, strip the rest of the interior, and exterior, and go to the body shop.
Pics:
IMG_20151220_133903.jpg
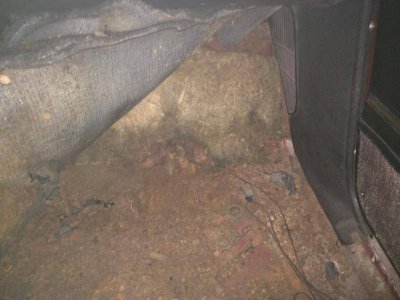
You know, I was fearing finding a dead rat or something in my car... Silly me.
IMG_20151220_132922.jpg
And now I'm off to solve the mystery of why there is pie crust in my engine bay!

IMG_20151220_133903.jpg


IMG_20151220_132922.jpg
 
You never cooked a frozen turkey pot pie on the engine?
You haven't lived.
CUMMINS slow roasted chicken. Unbelievable.....
 
Back
Top