Fratzog
Old Man with a Hat
A lot of talent being displayed. Thanks for the regular updates.
Wow, I'm impressed you are sewing your own headliner! Very cool.
cool thread side_show
It would be awesome if your name is Bob by they way
Please tell us it is View attachment 42101
")
A lot of talent being displayed. Thanks for the regular updates.
Incredible work, thanks for sharing it with us.
Ok I have a few concerns.
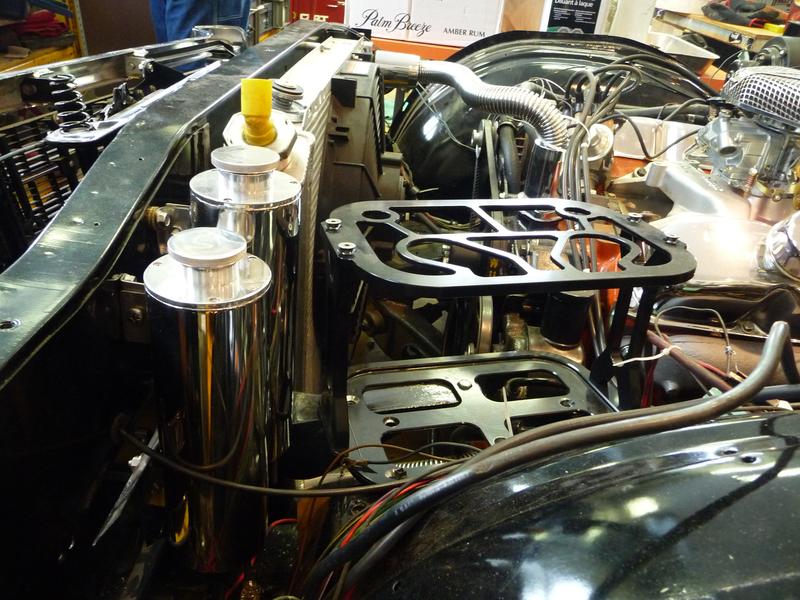
One the hoses on the transmission. I think over time if they don't pop off they're going to swell and fail.
Two the wheel spacers. First I think you should have been able to get away with 1/4" spacer. If those are AR26's any. All of the AR machined wheels (23, 26, 61,62) will be about that range. And that they're so thick and you cut off the hub centric ring. It's not going to to do anything to help front-end vibration at all. But.. WDIK.


Great build! Cant wait to see the finished product!
Thank you very much!!
I was taking a look at your posts .... I LOVE that lace roof you pulled off! looks stellar! I'm trying to sort out what I want to do with the roof of my car .... whether or not to paint it straight up the same colour as the body or go a little wild like you did. I guess I can always go wild once I have it on the road ...... but I'm always thinking
One thing is for sure .... no vinyl.
also .... how is your car lowered? is it bagged? or just static?
Yes, Thank you! Hydro's was the best way for me to get it down with out doing all of the crazy frame work up front for the bags. My roof was the same color as the car, but decided to go a different direction. No regrets at all. Depending on what your style is, just run with it!