side_show
New Member
Alright! Lets do this!
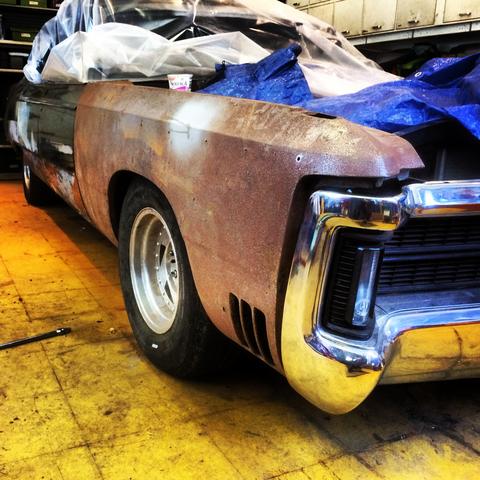
I'm well under way for this build ... been at it for years. Finally decided to do a build thread instead of just asking quesitons!!!
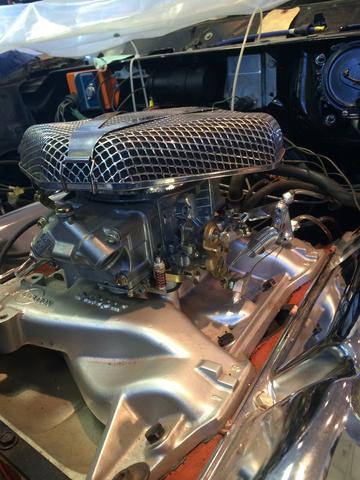
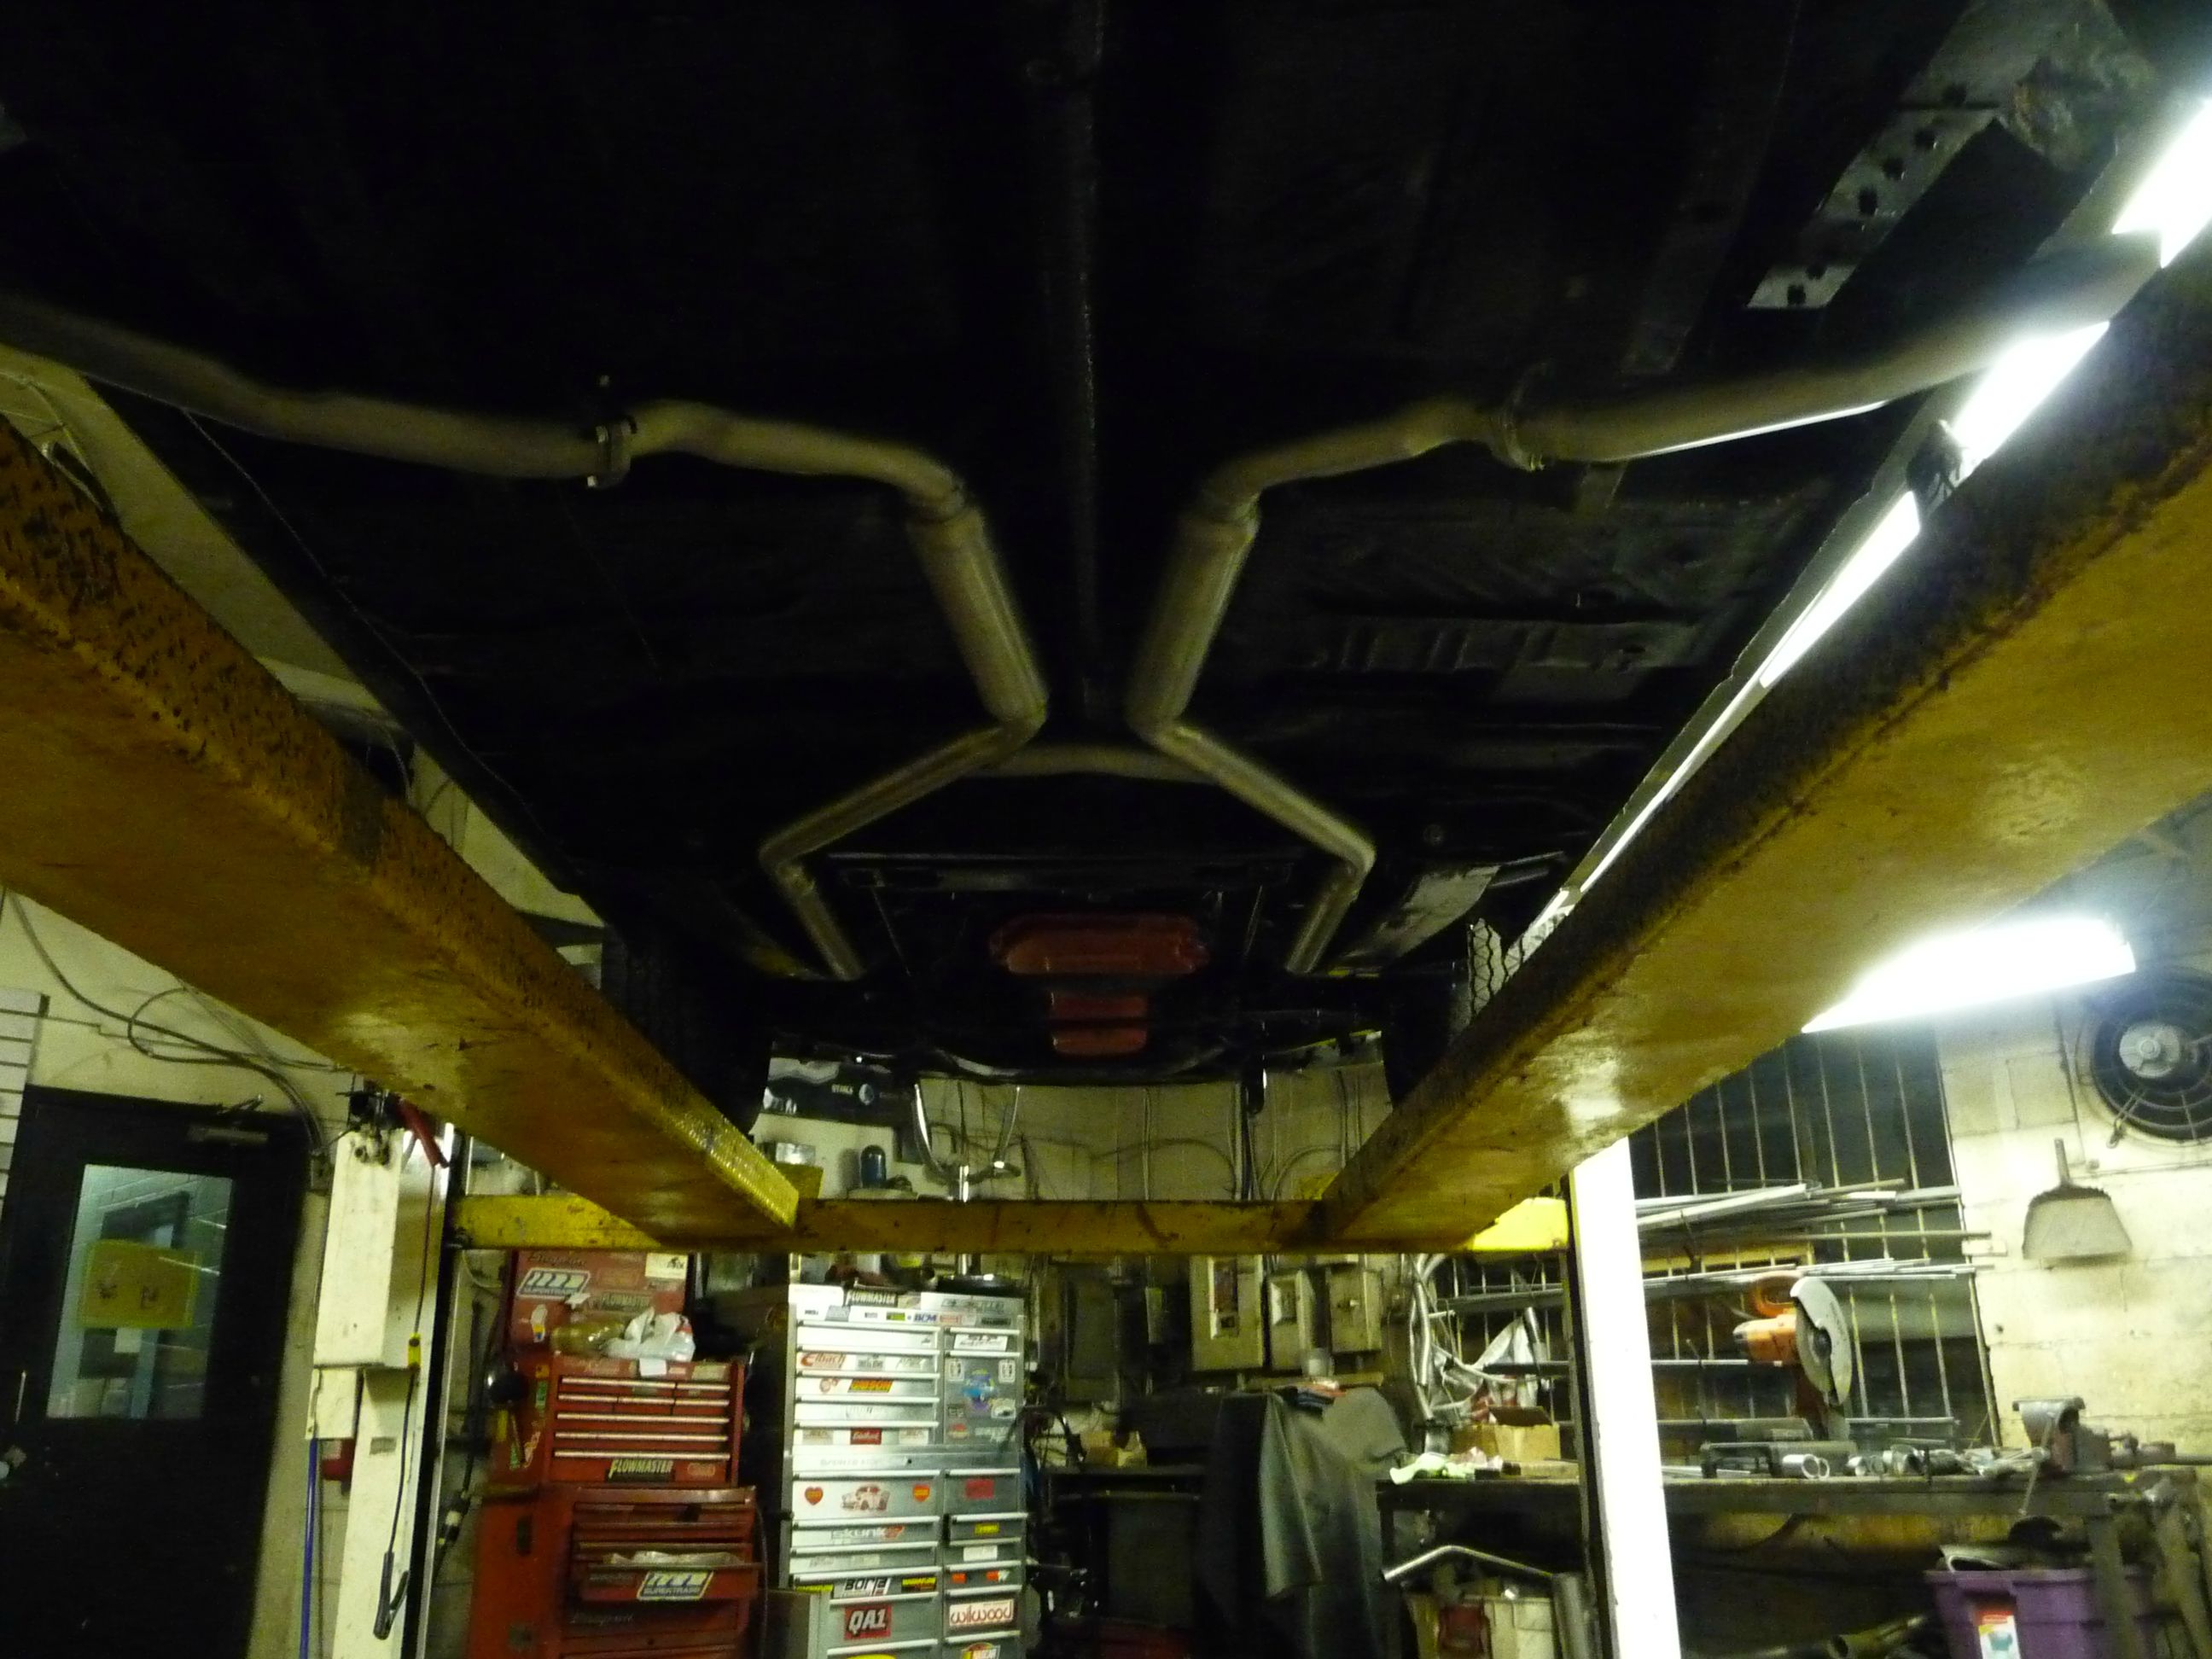
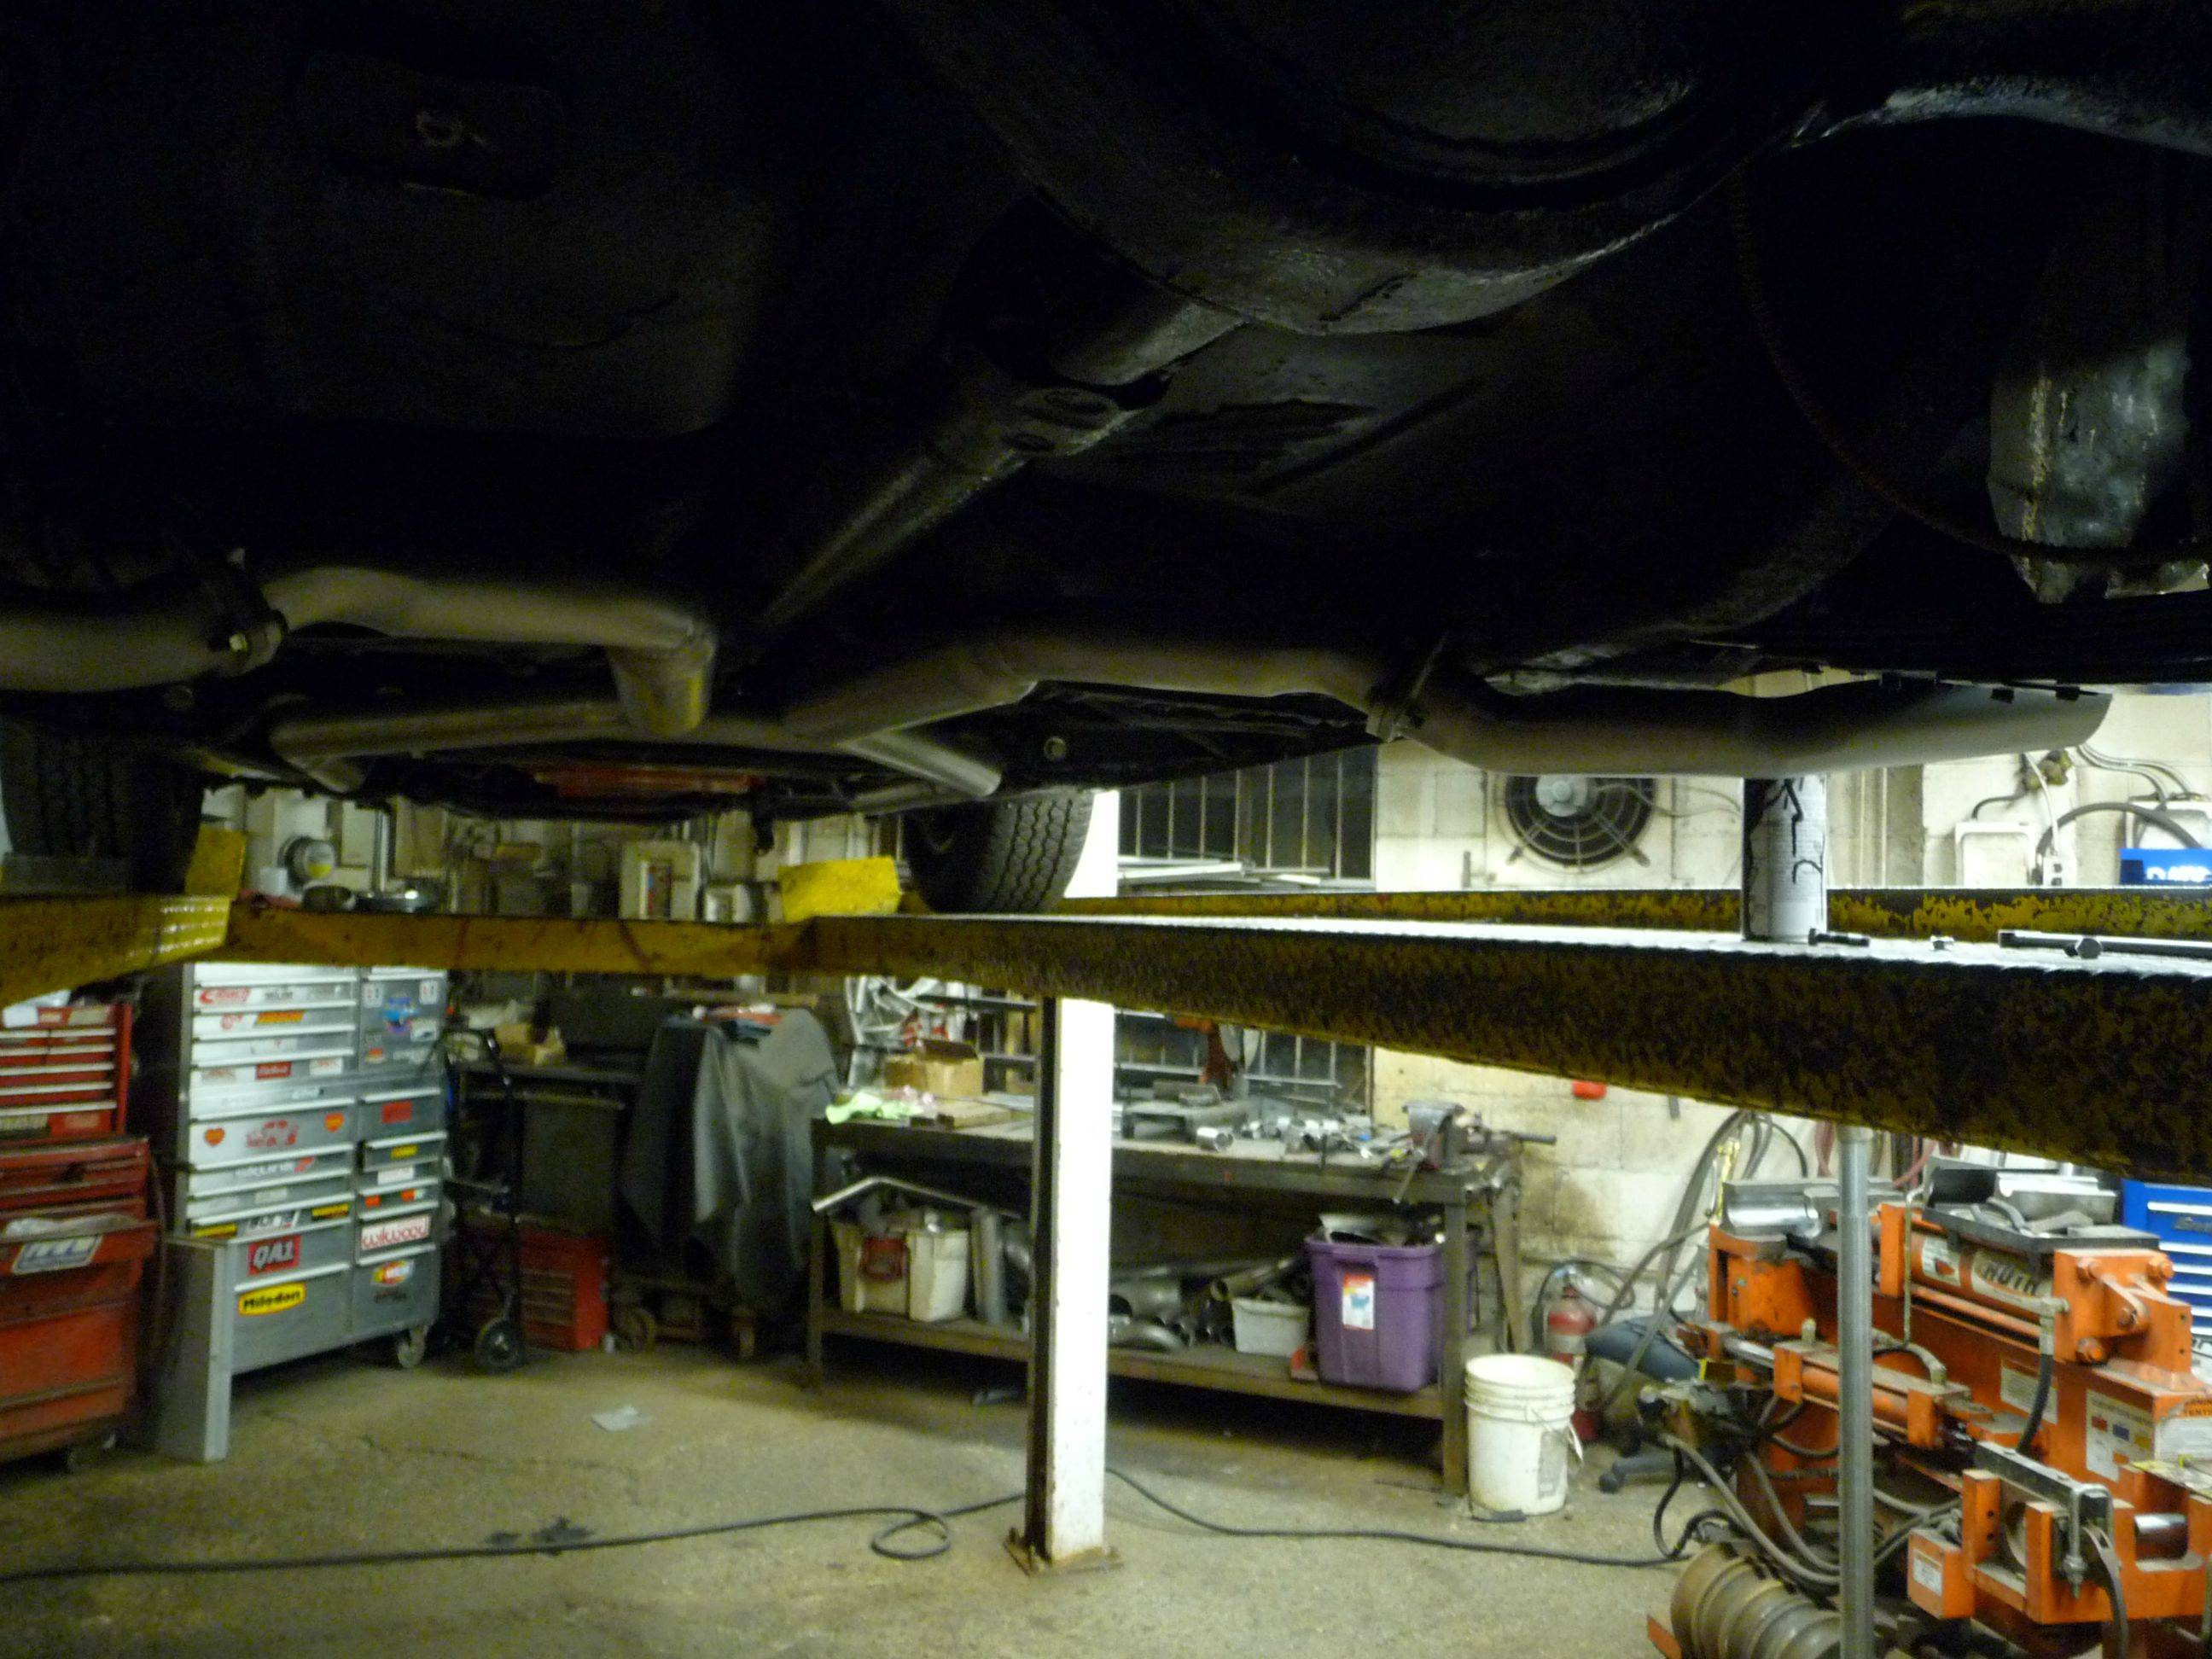
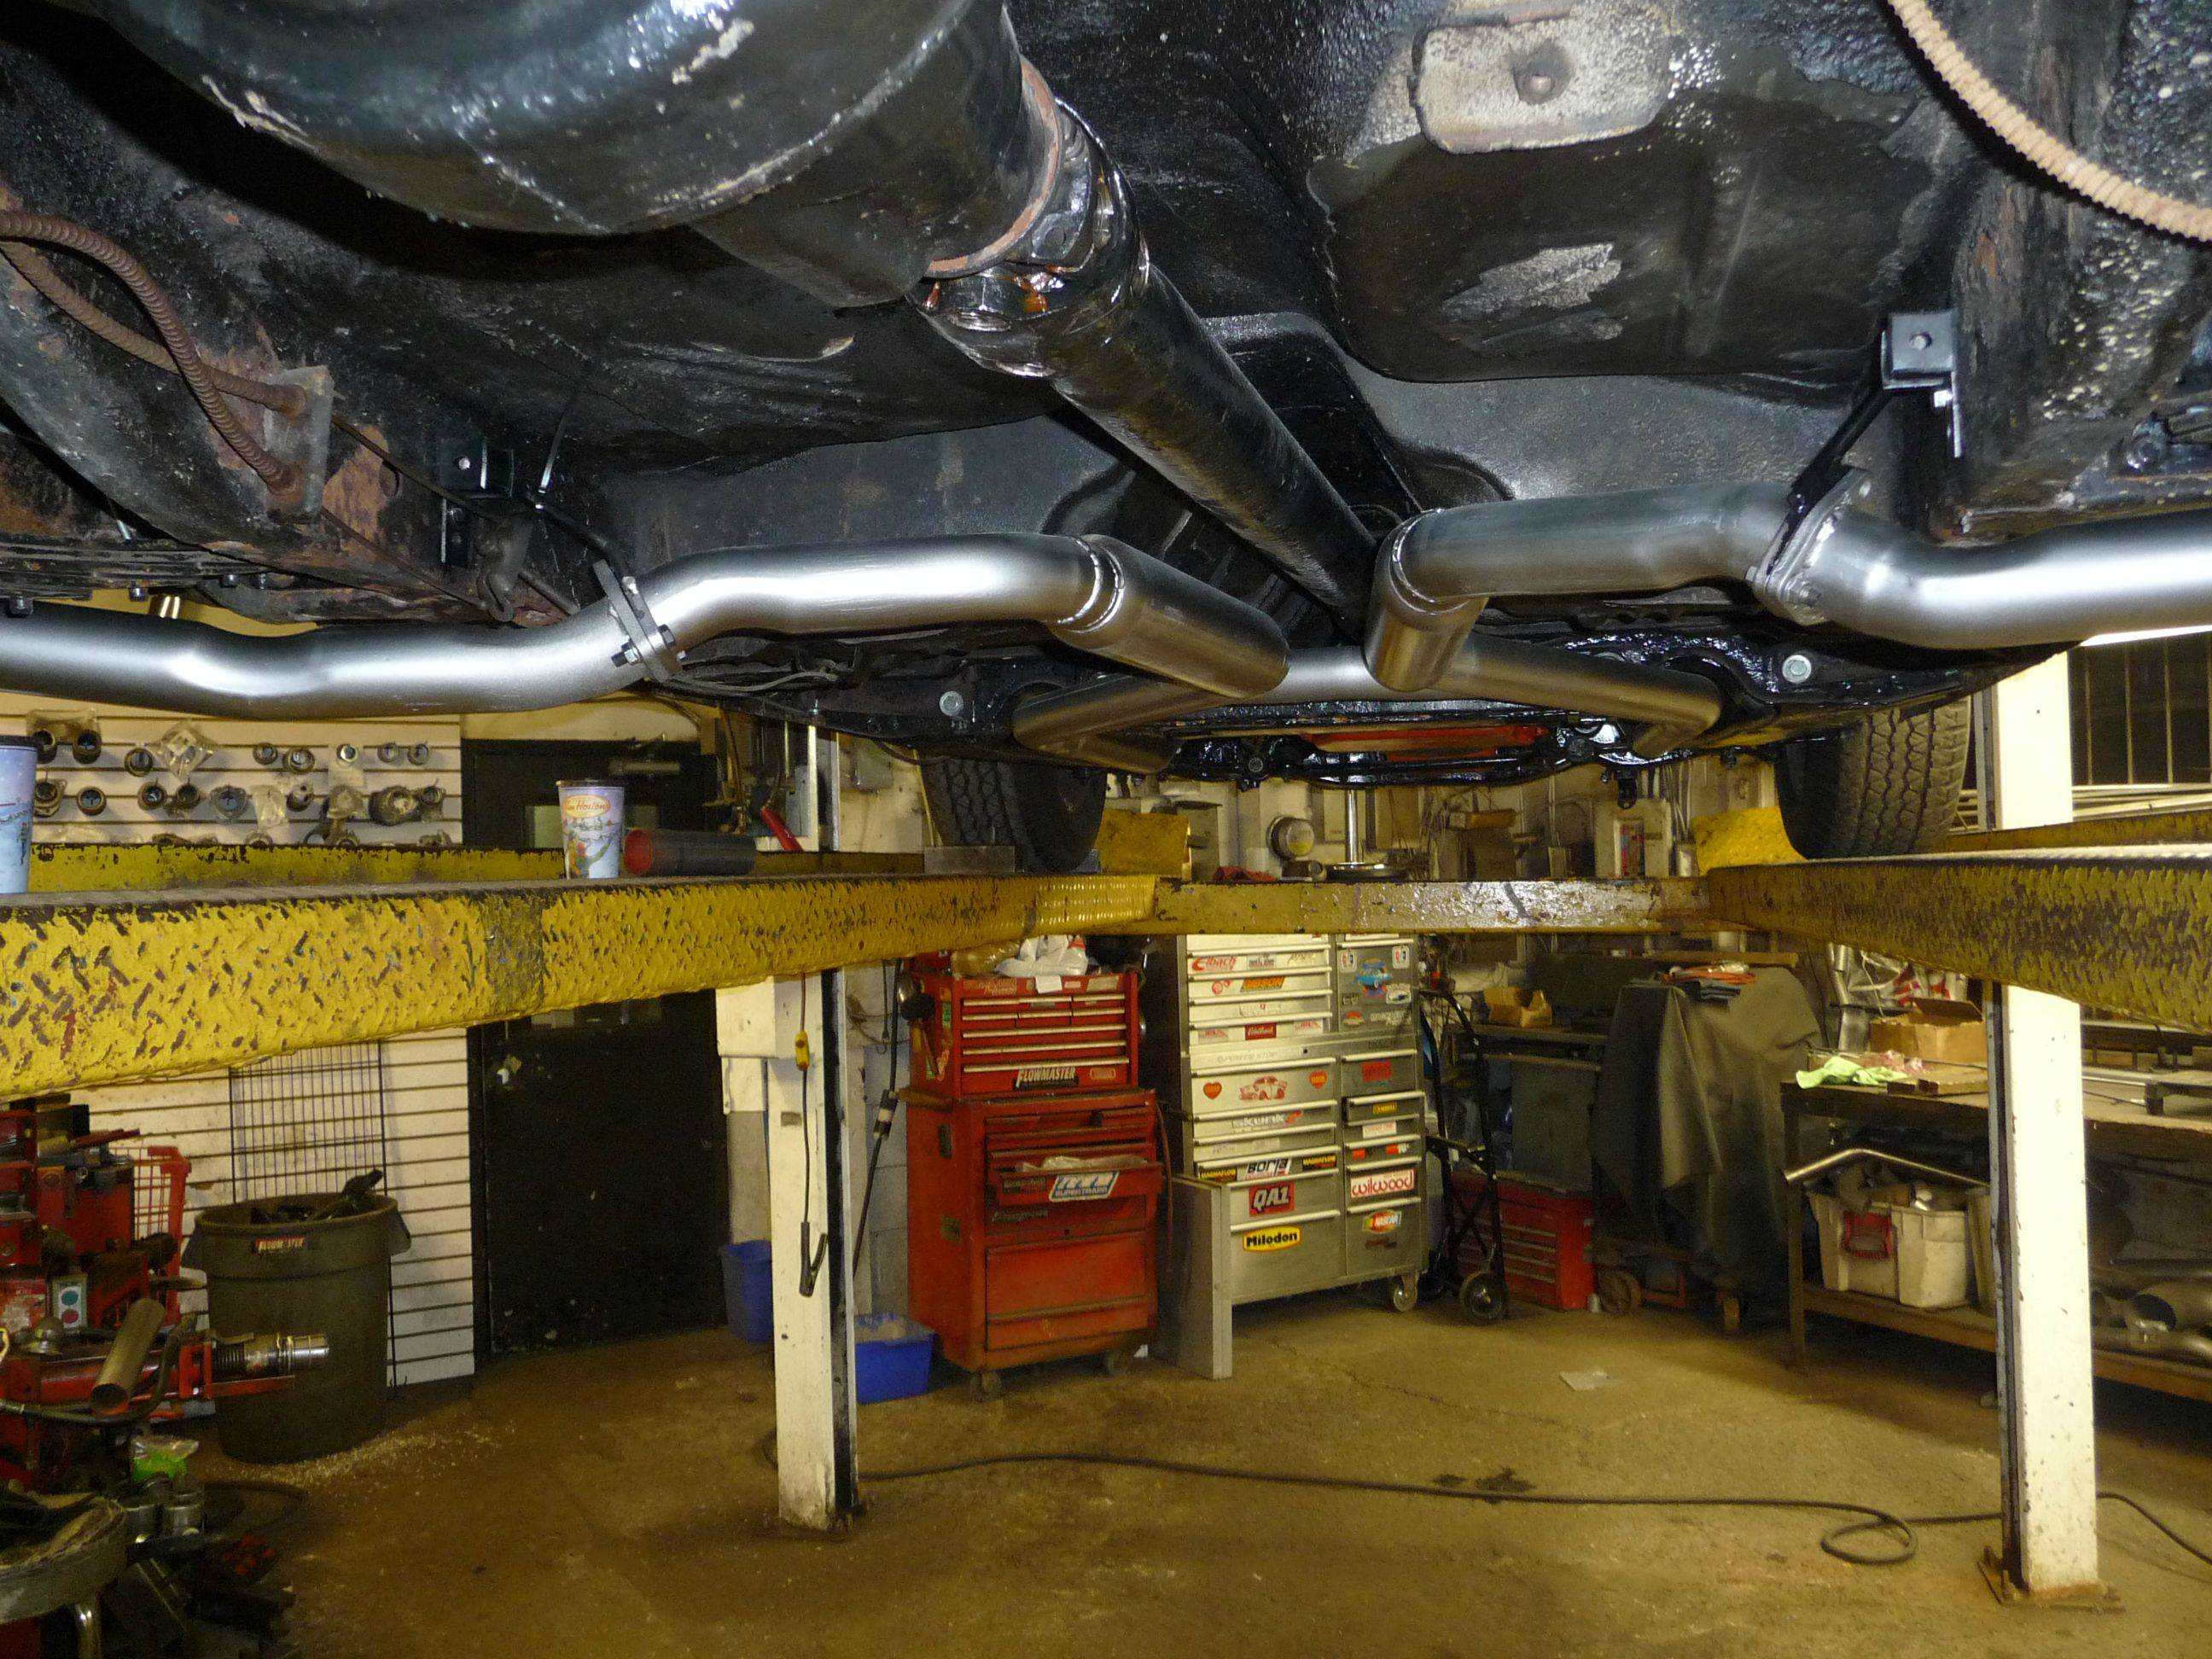
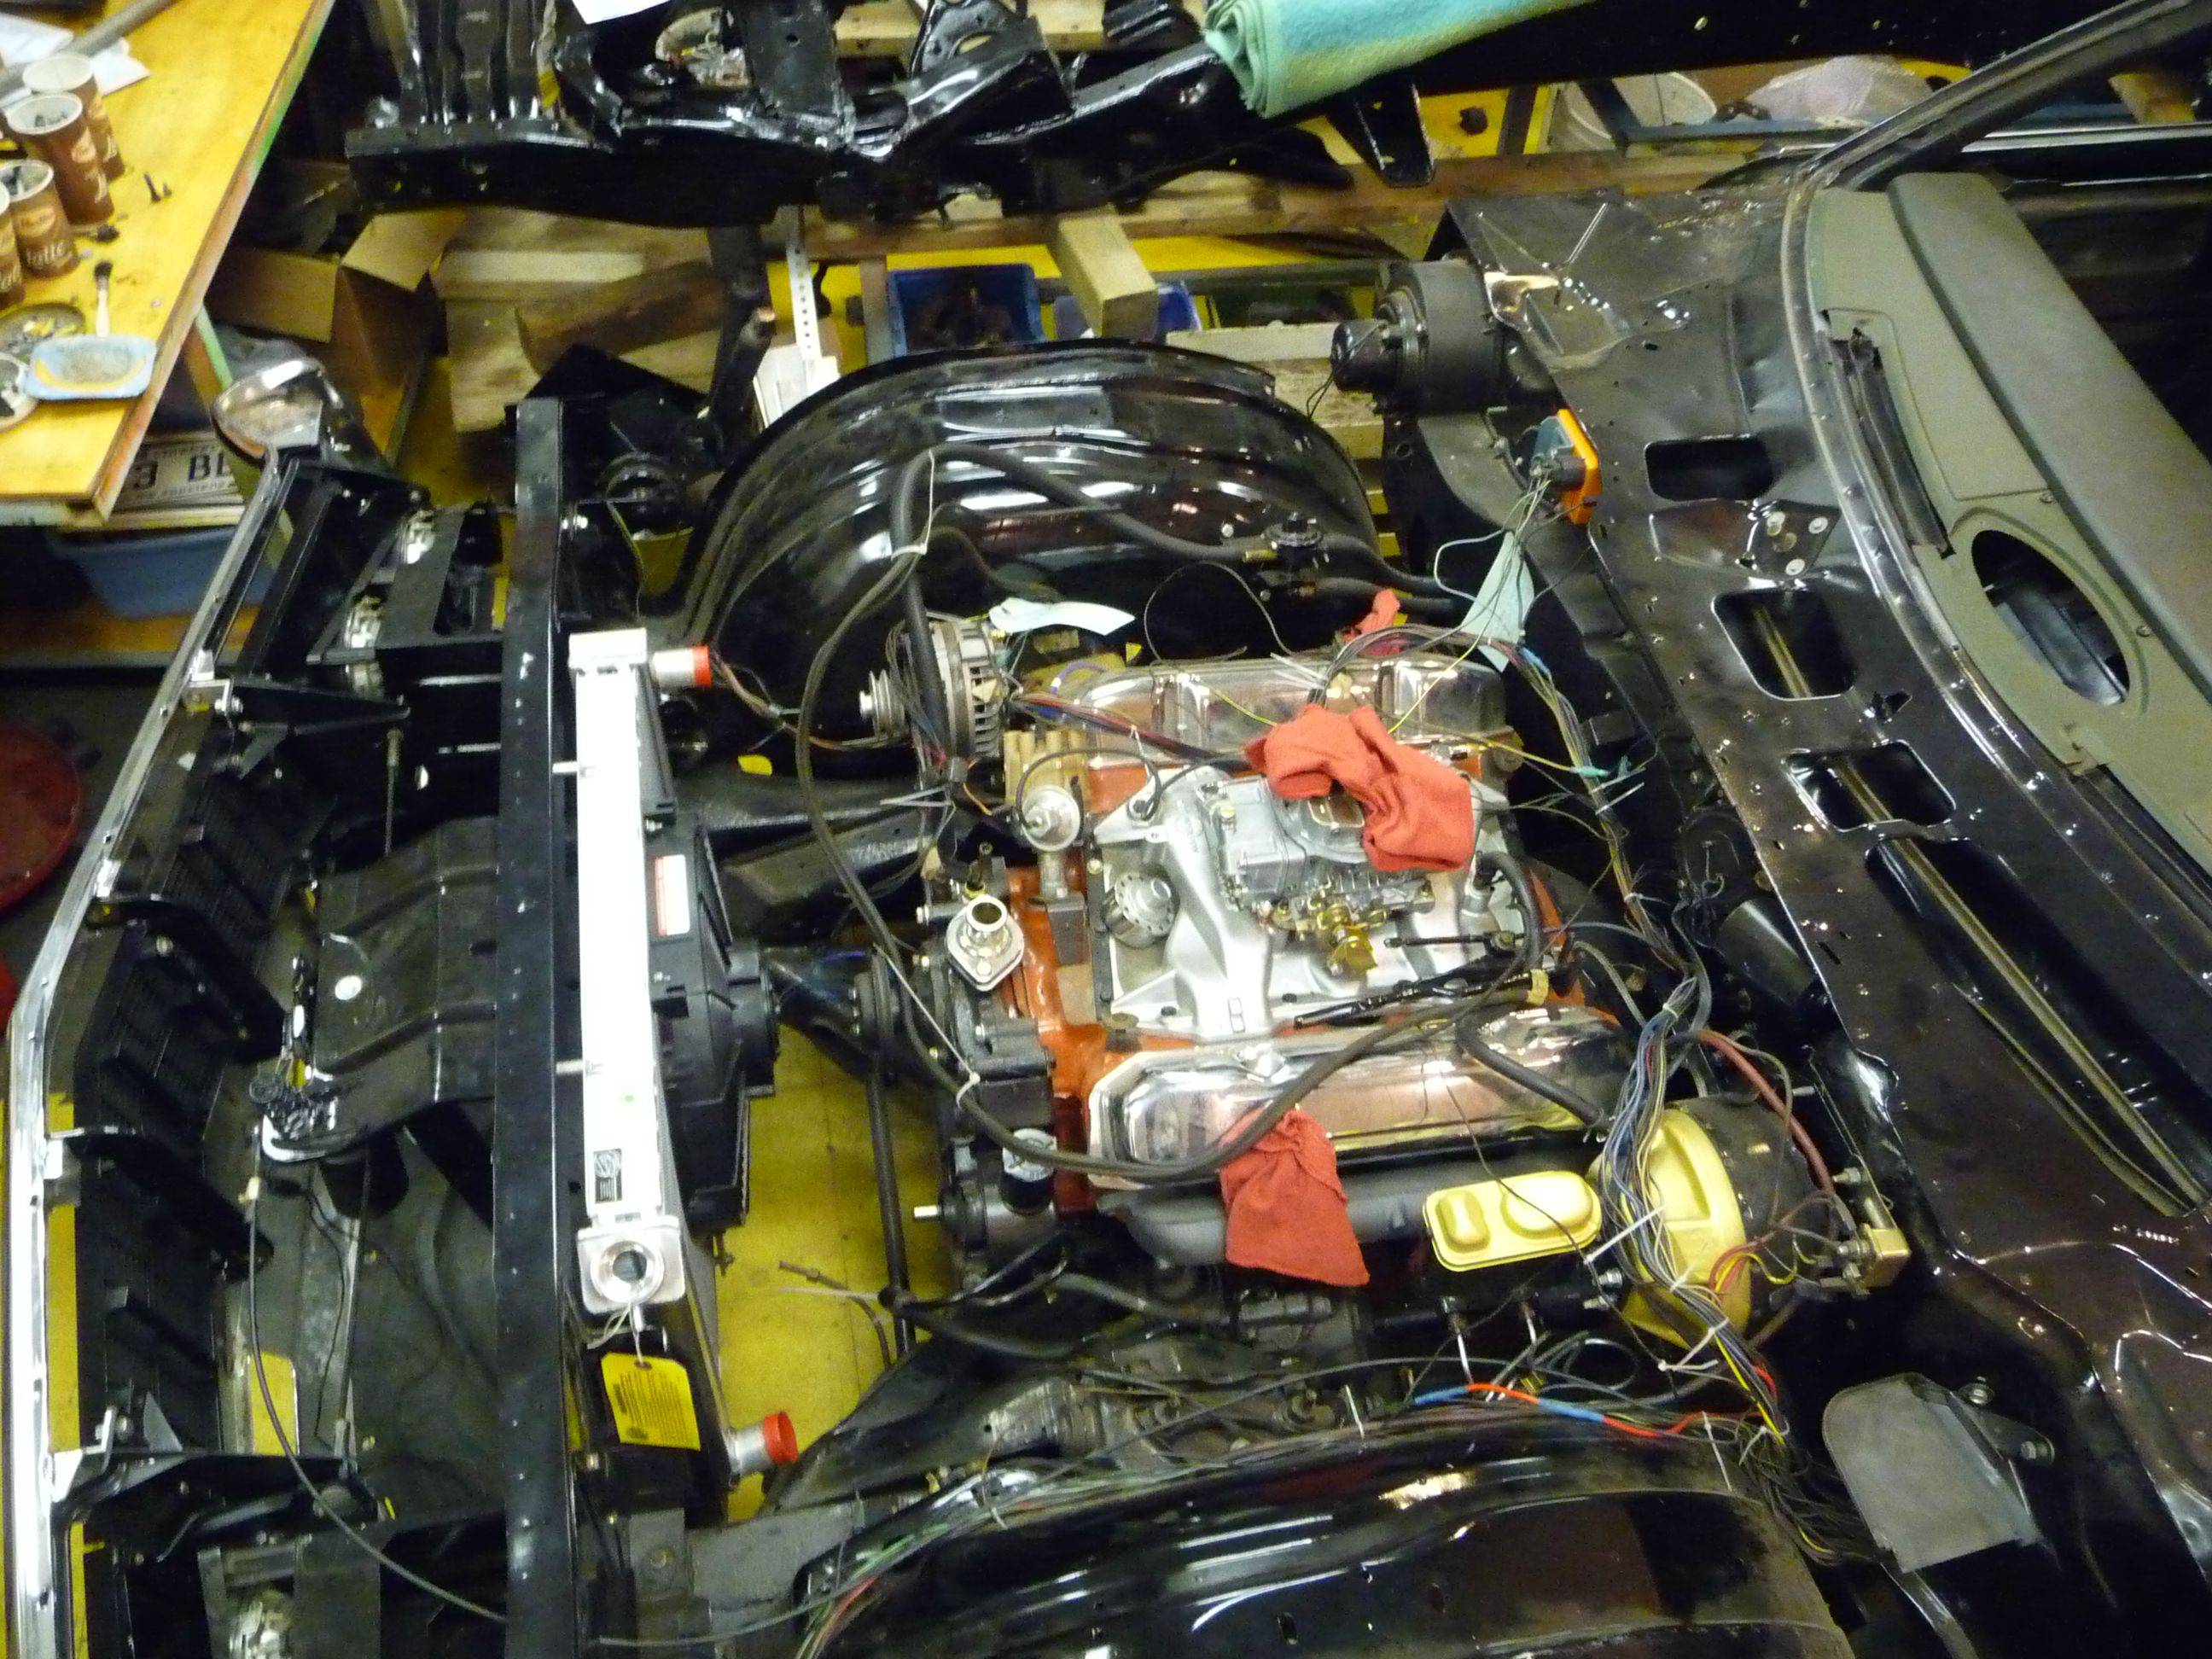
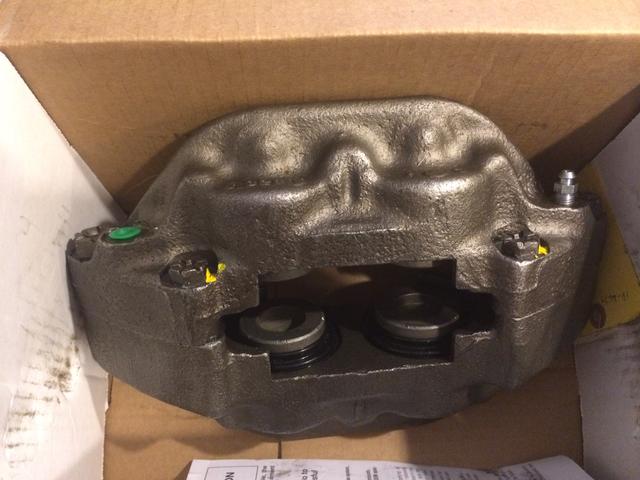
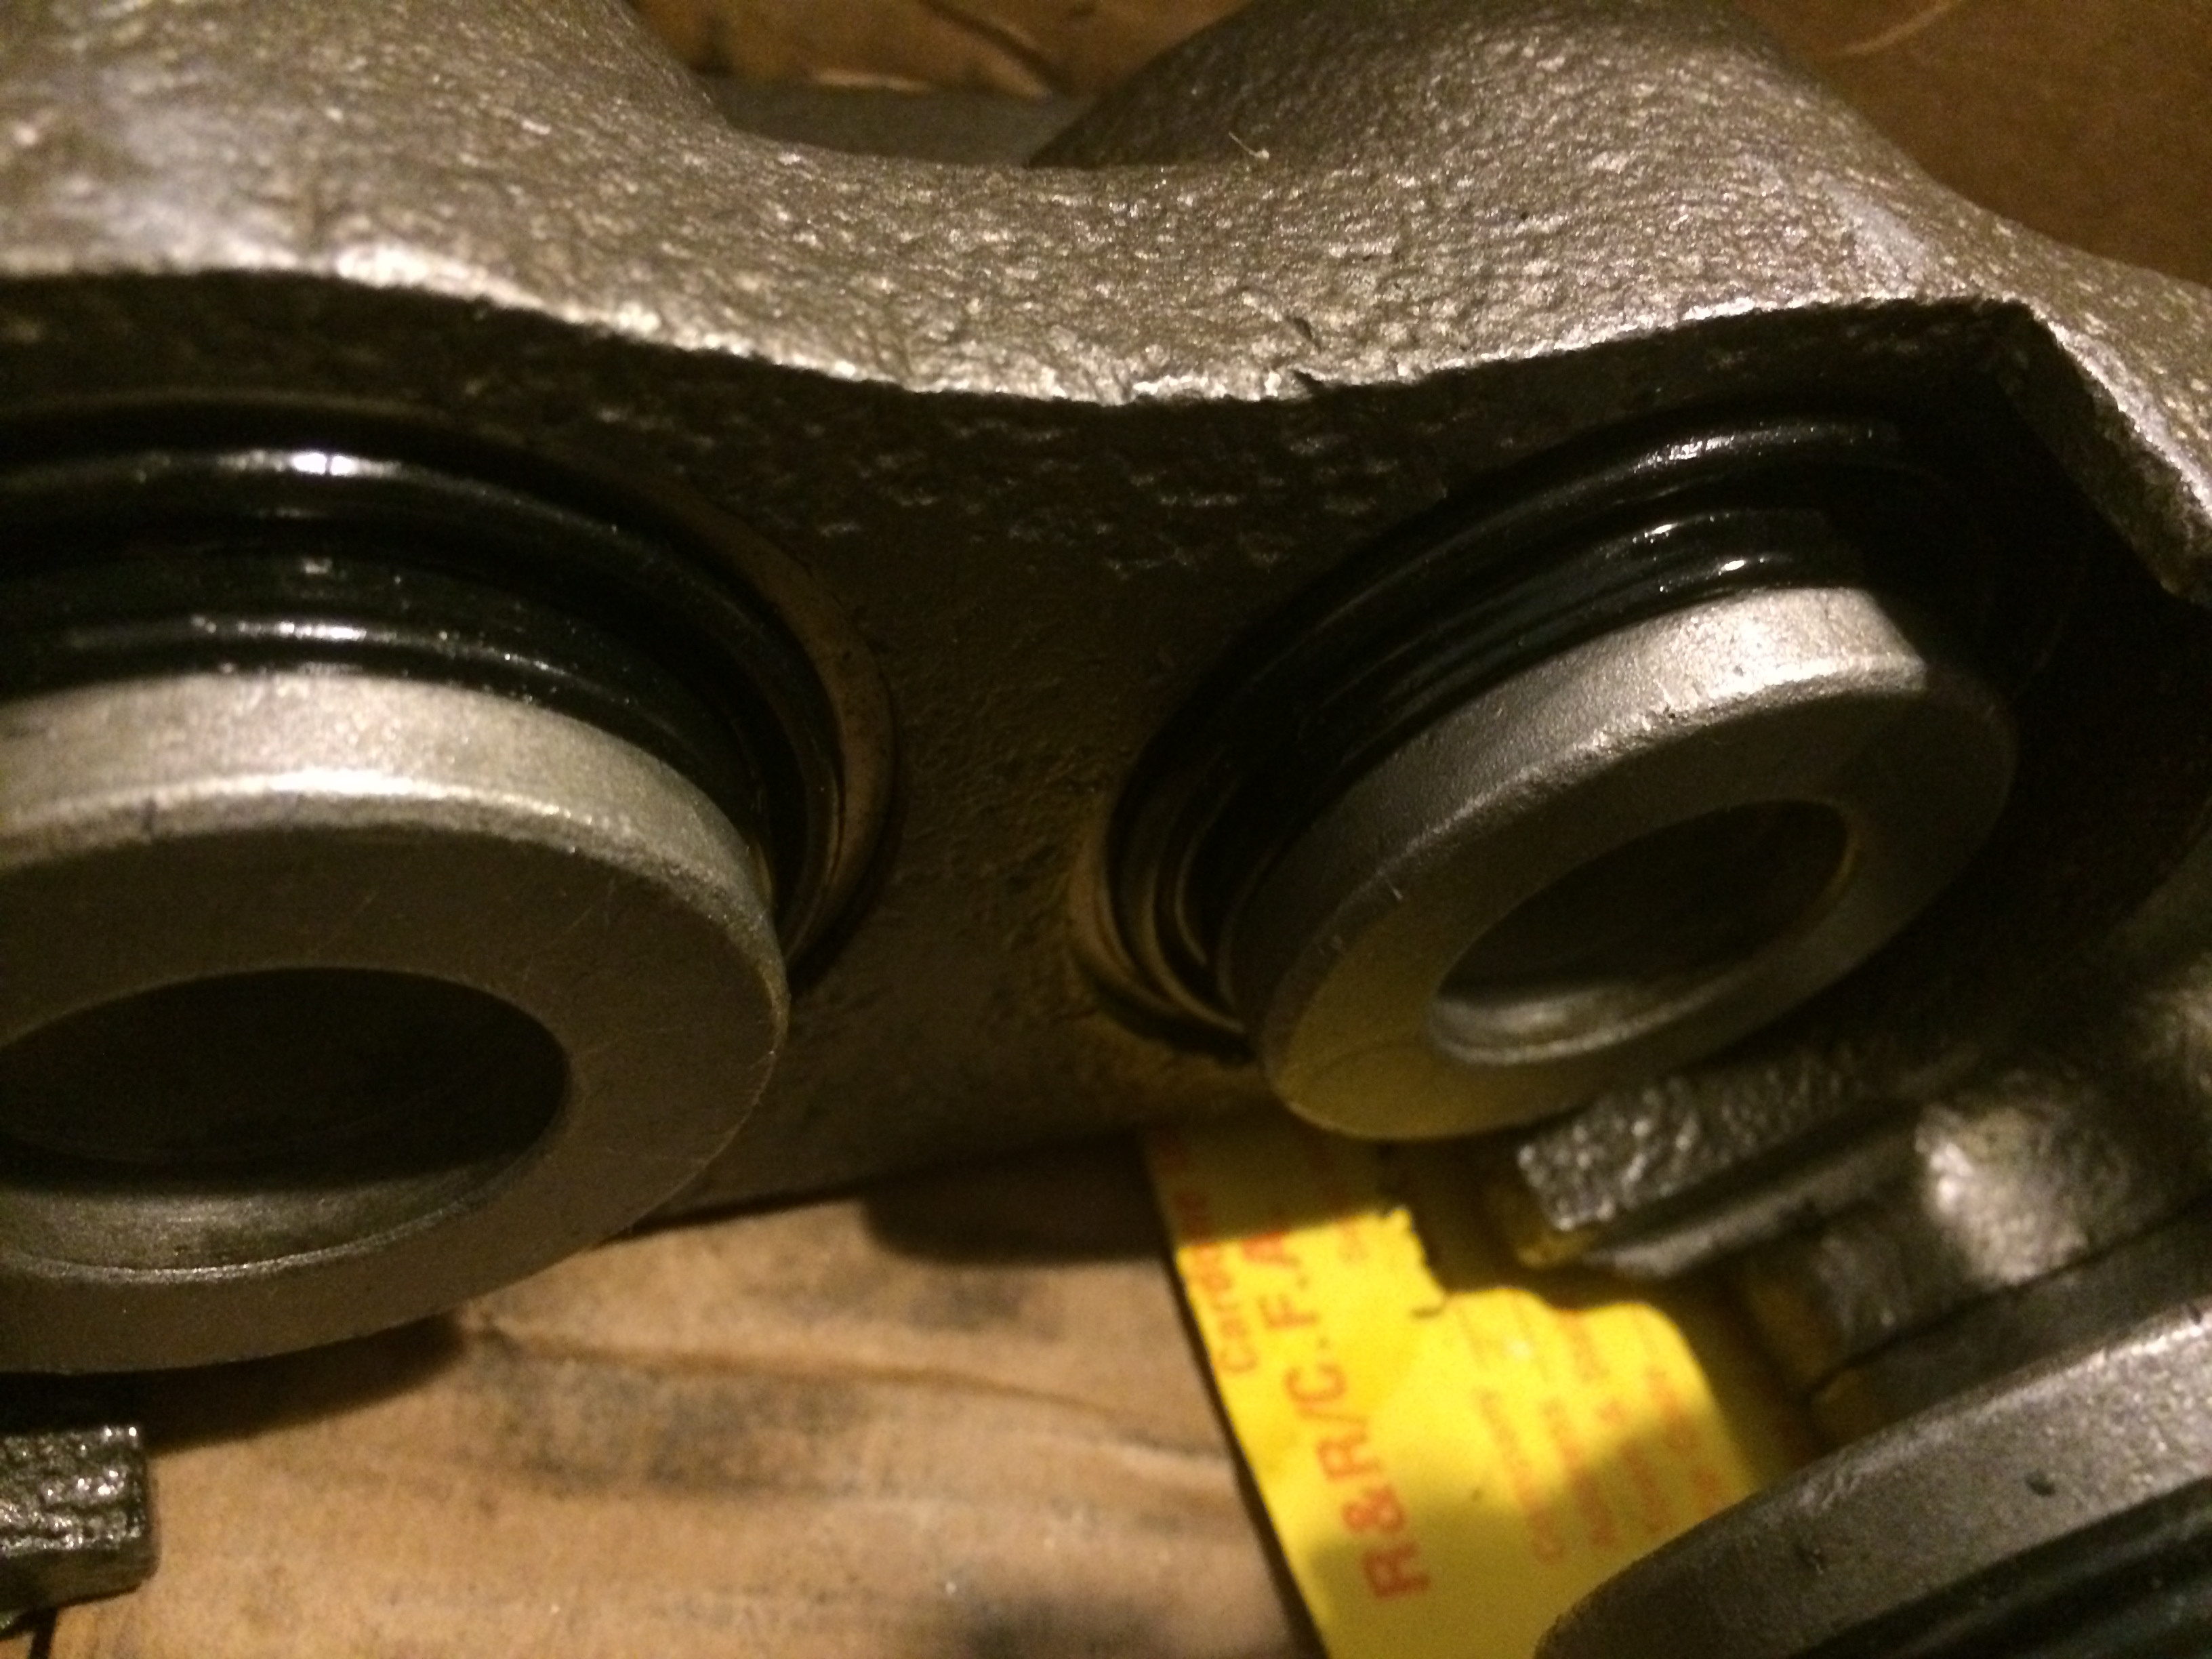
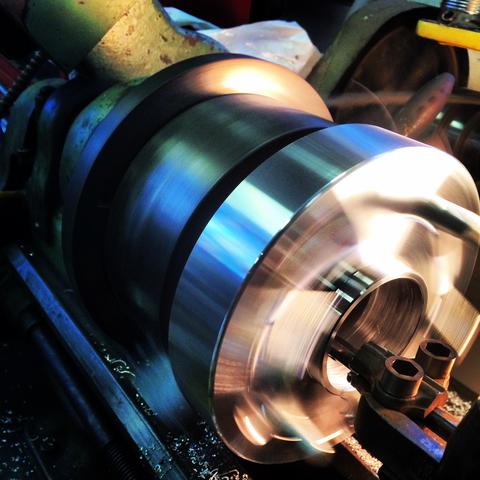
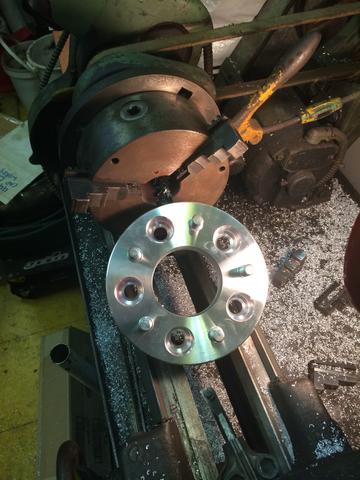
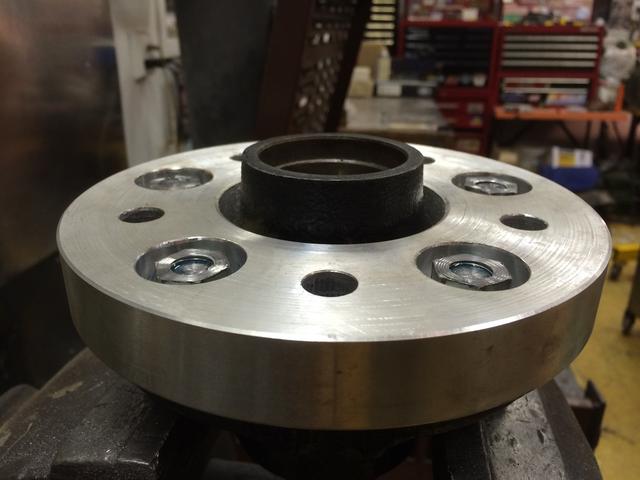
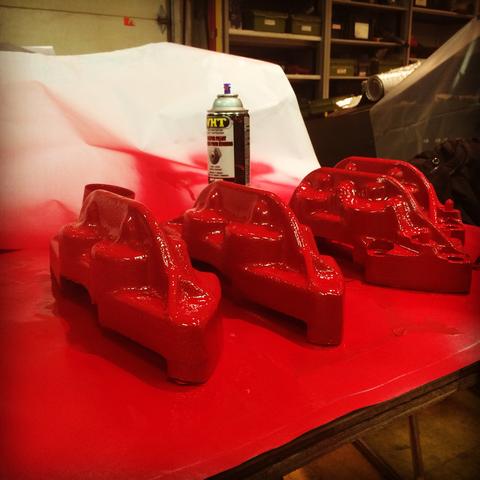
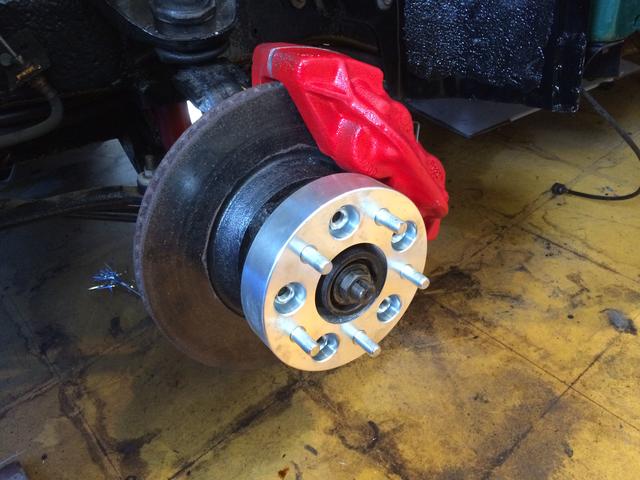
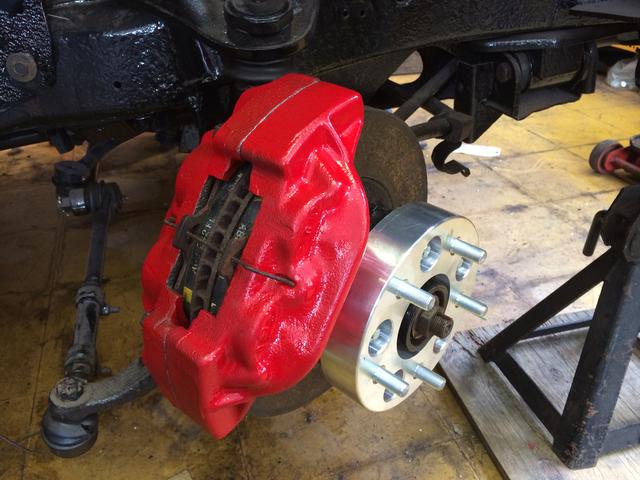
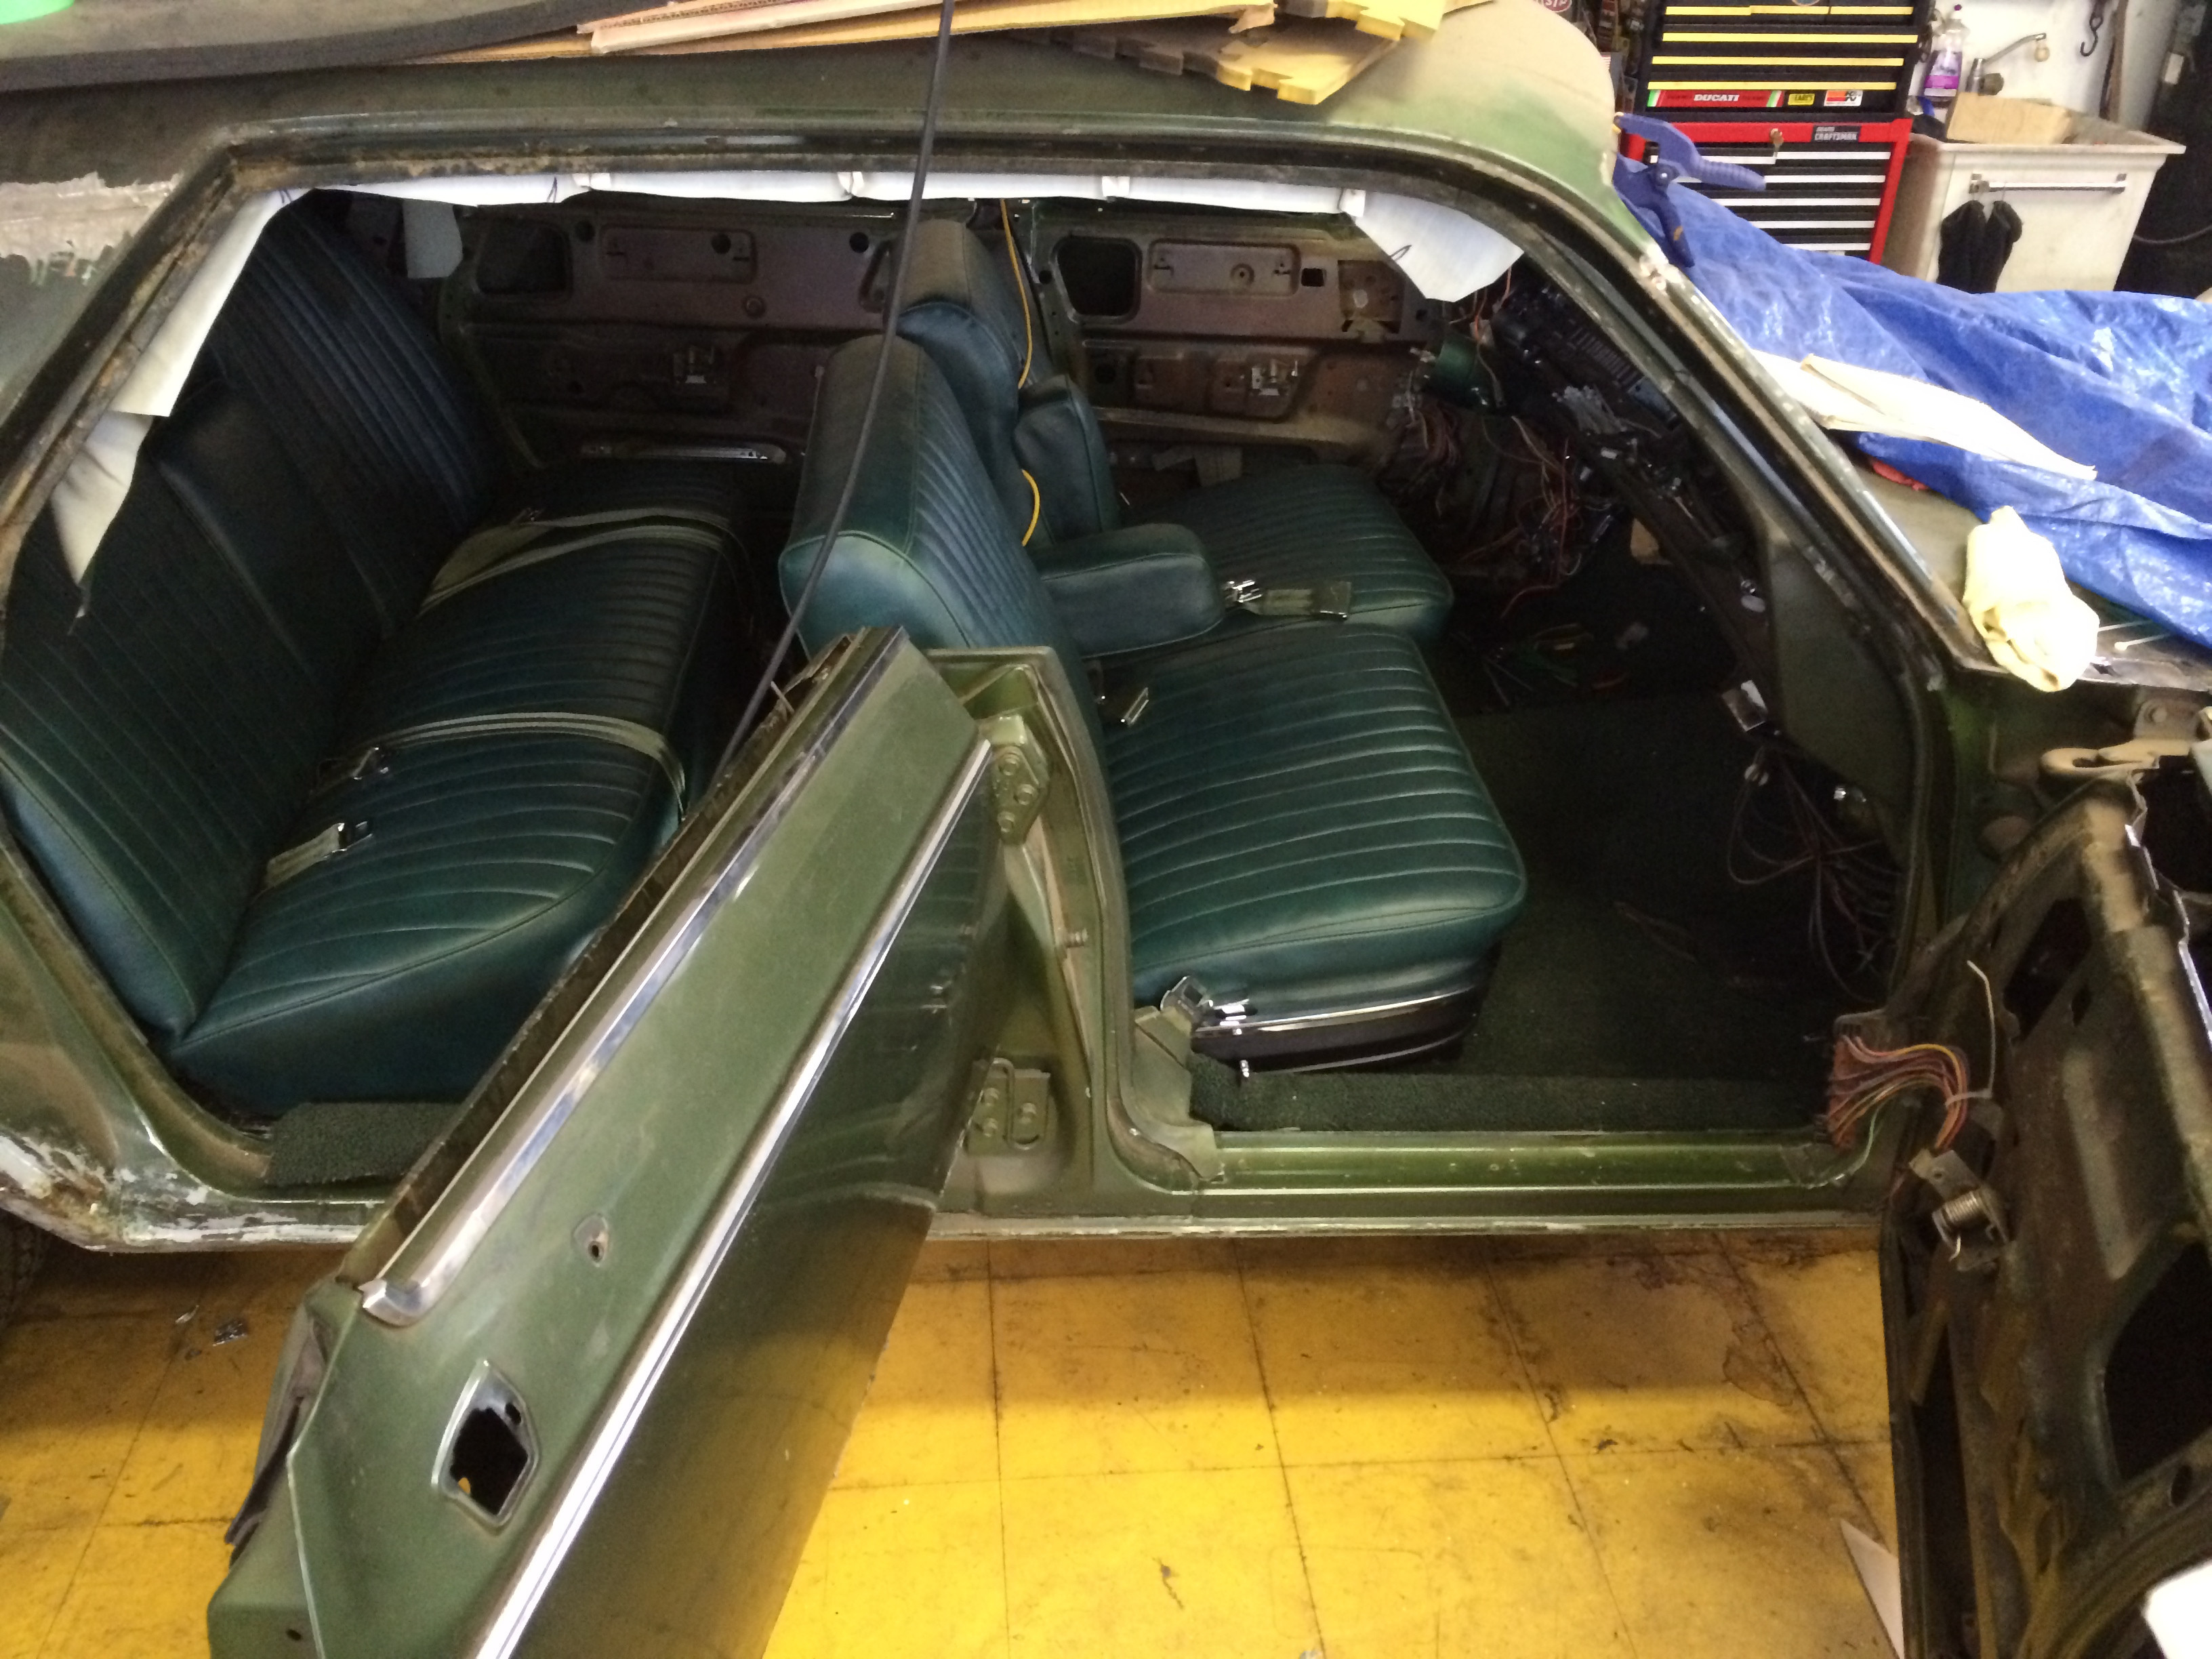
Right now My focus is on Body Work! Ive also just finished Brakes!!! which was a Big milestone .... I'm talking from a rebuilt master cylinder to re-sleeved calipers ... new lines all around ... stainless flexible lines for the drops from the frame .... I have one leak in a wheel cylinder at the rear that needs replacing, but thats all! (It took me a while to track down all the leaks I had while bleeding it! hahaha so glad its done!
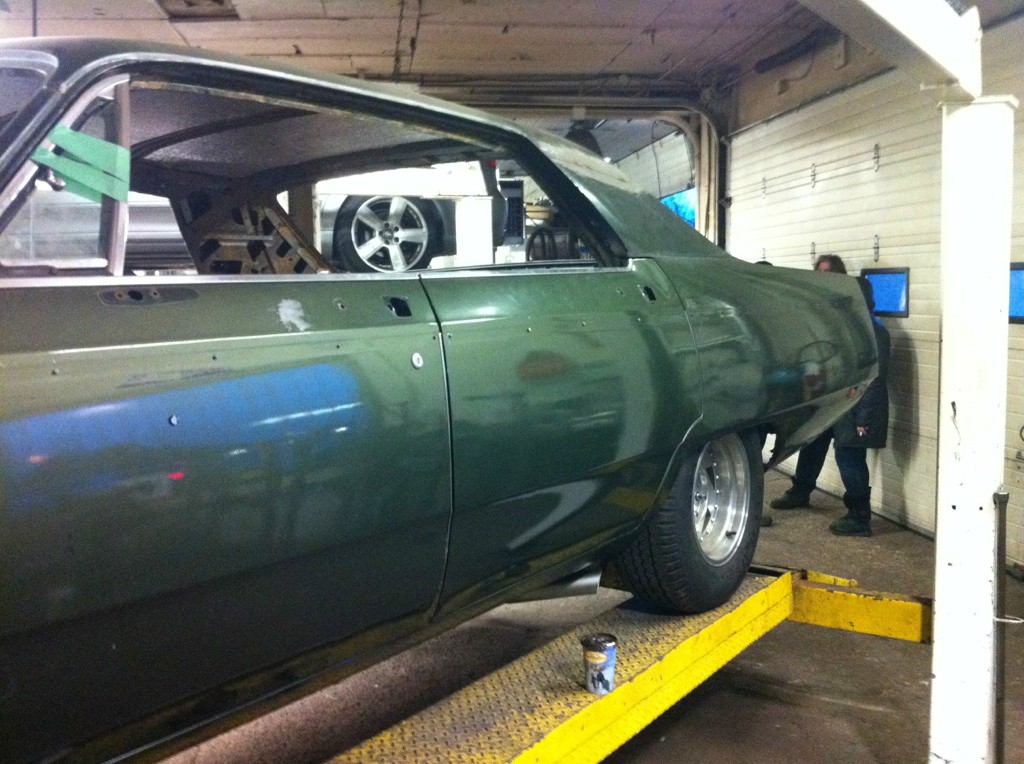
I just took the past week off work and brought my car to a family friends body shop. He's a friend of my fathers and we always go to him for work and have refer'd a TON of work to him ... he has always been extremely nice to me and has also done a bunch of work on my stuff and my friends cars. Plus his guys are artists with metal and finishing work.
He wanted me to leave the car there at the end of the week for his guys to finish for me ... he would have done it free of charge ... but I couldnt live with not paying him and I dont have the cash to let him do it ... so I brought it home at the end of the week to finish it off with what I learned while I was there!!
If you're in the Toronto and need some work Bill is honest ... fair ... and old school as ****.
McKeown Collision
8470 Regional Road 25, Milton, ON L9T 2X5
905 875 1811
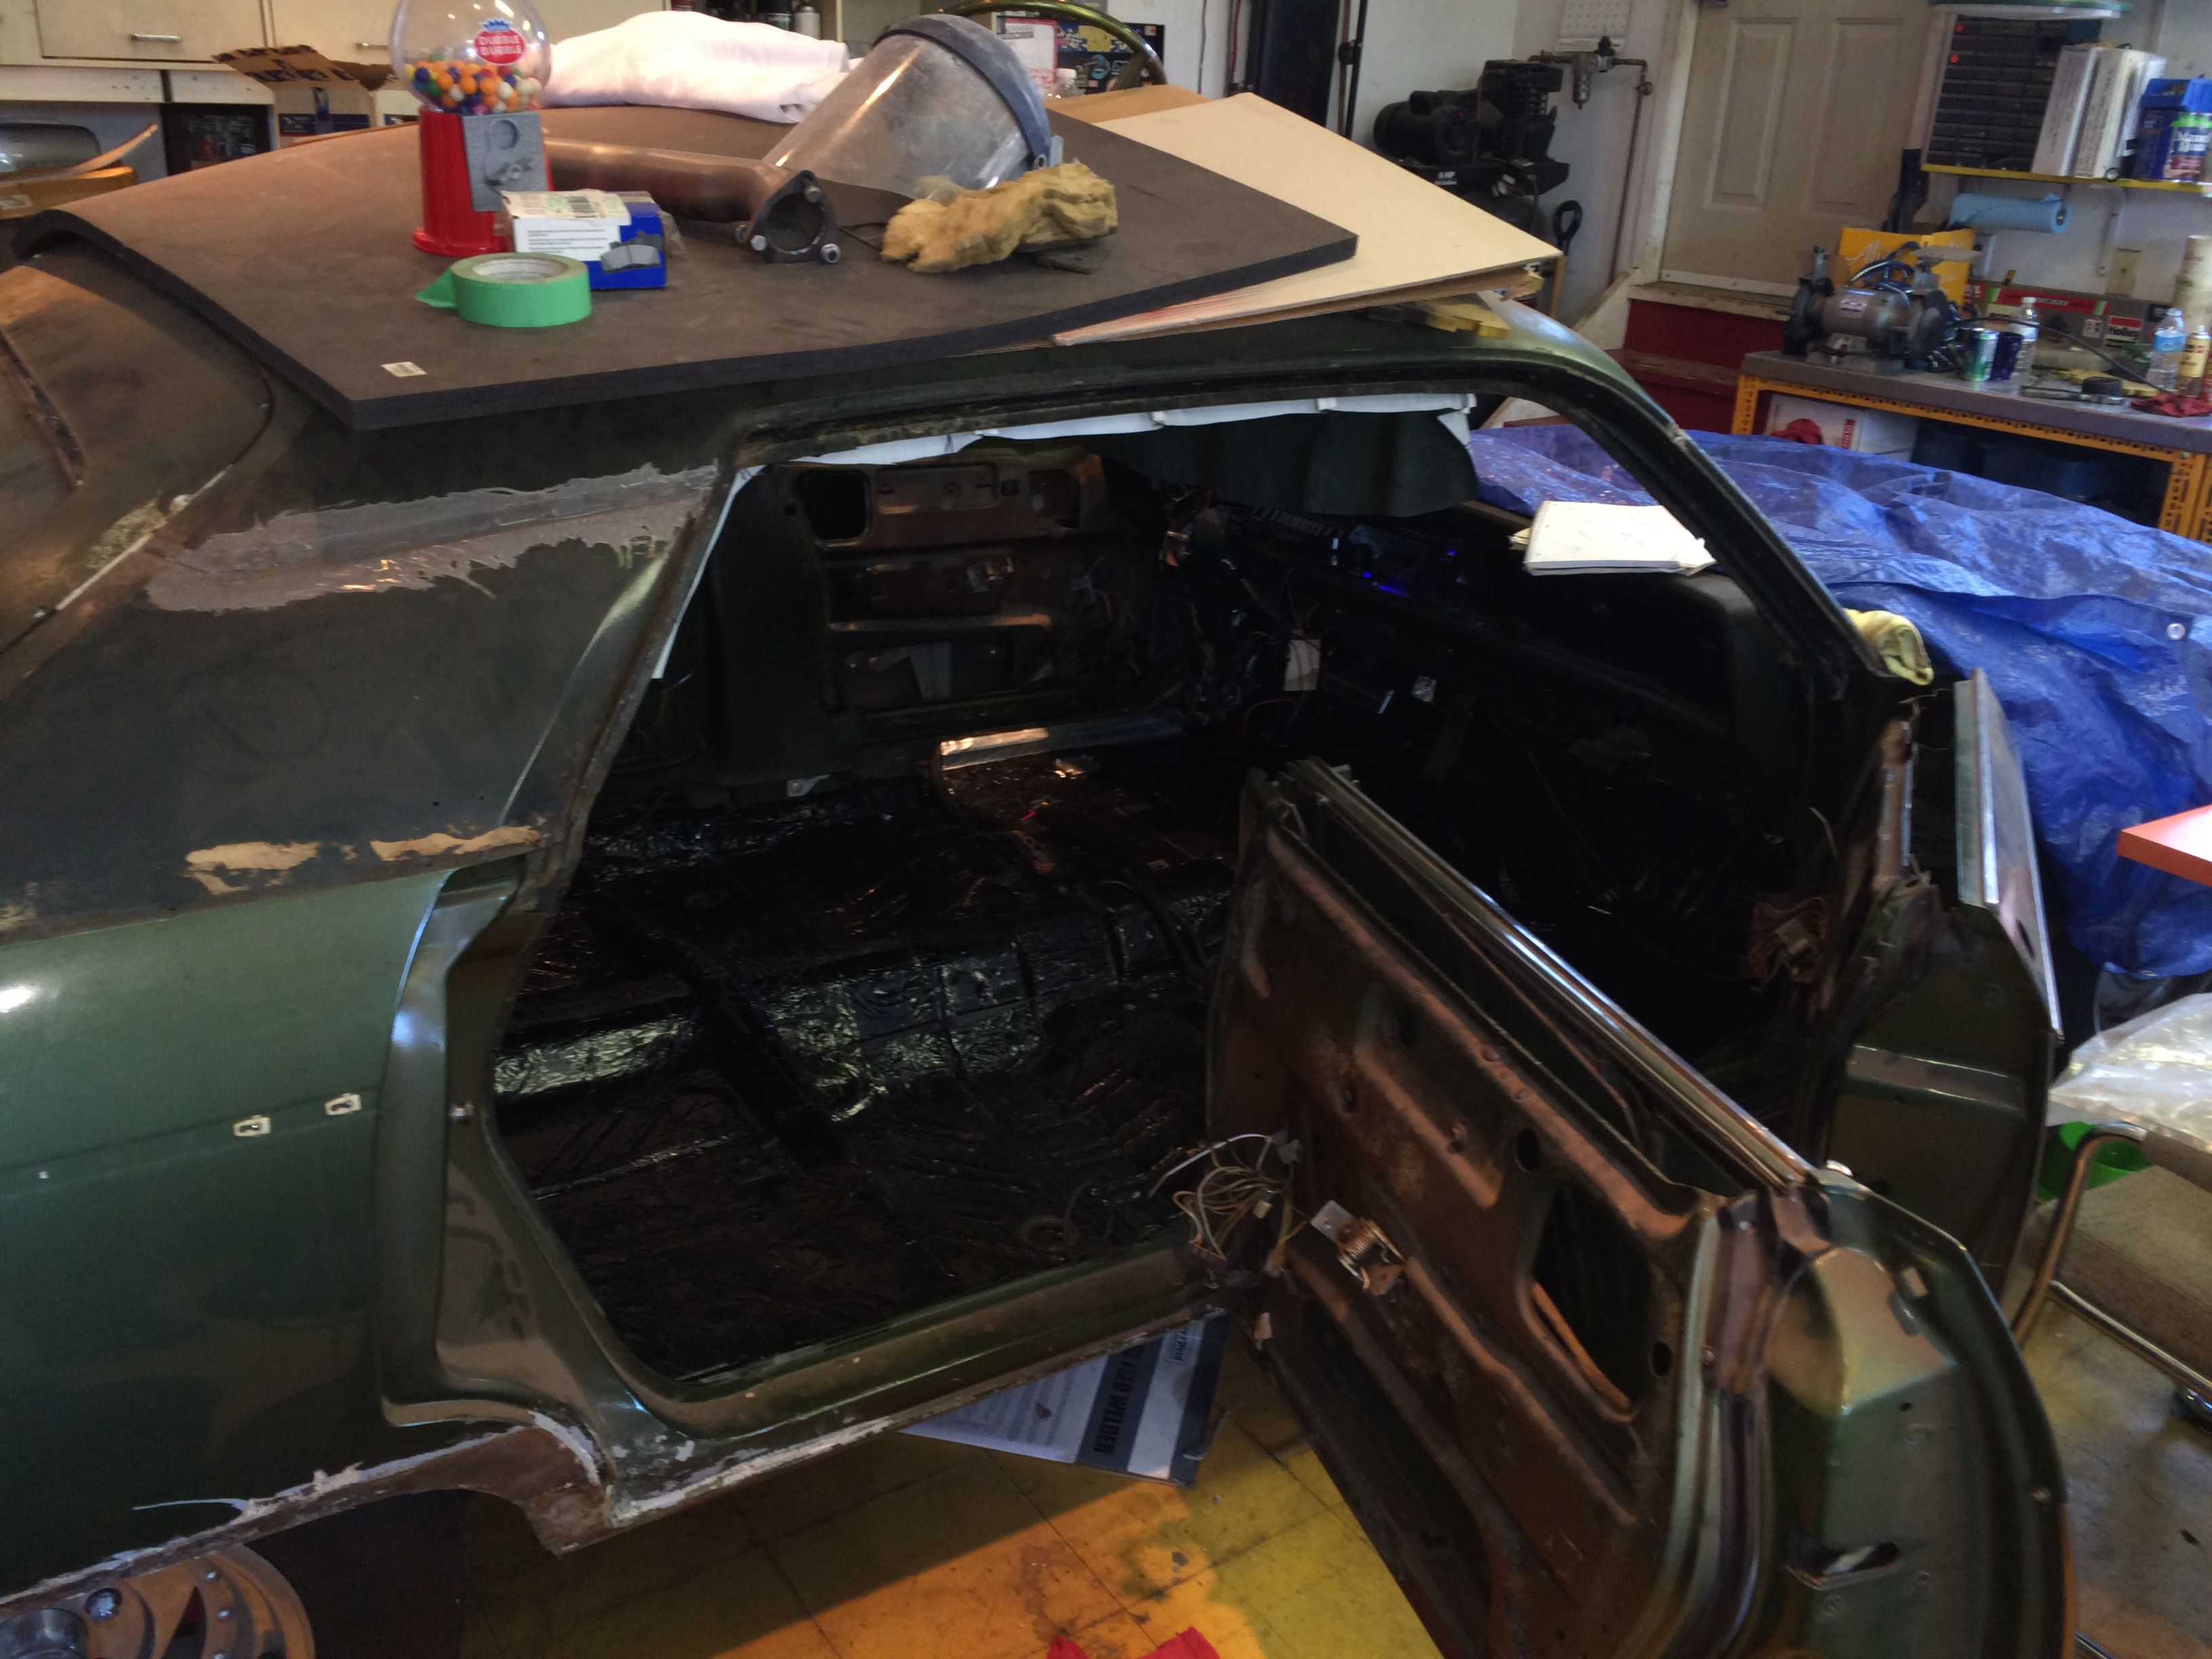
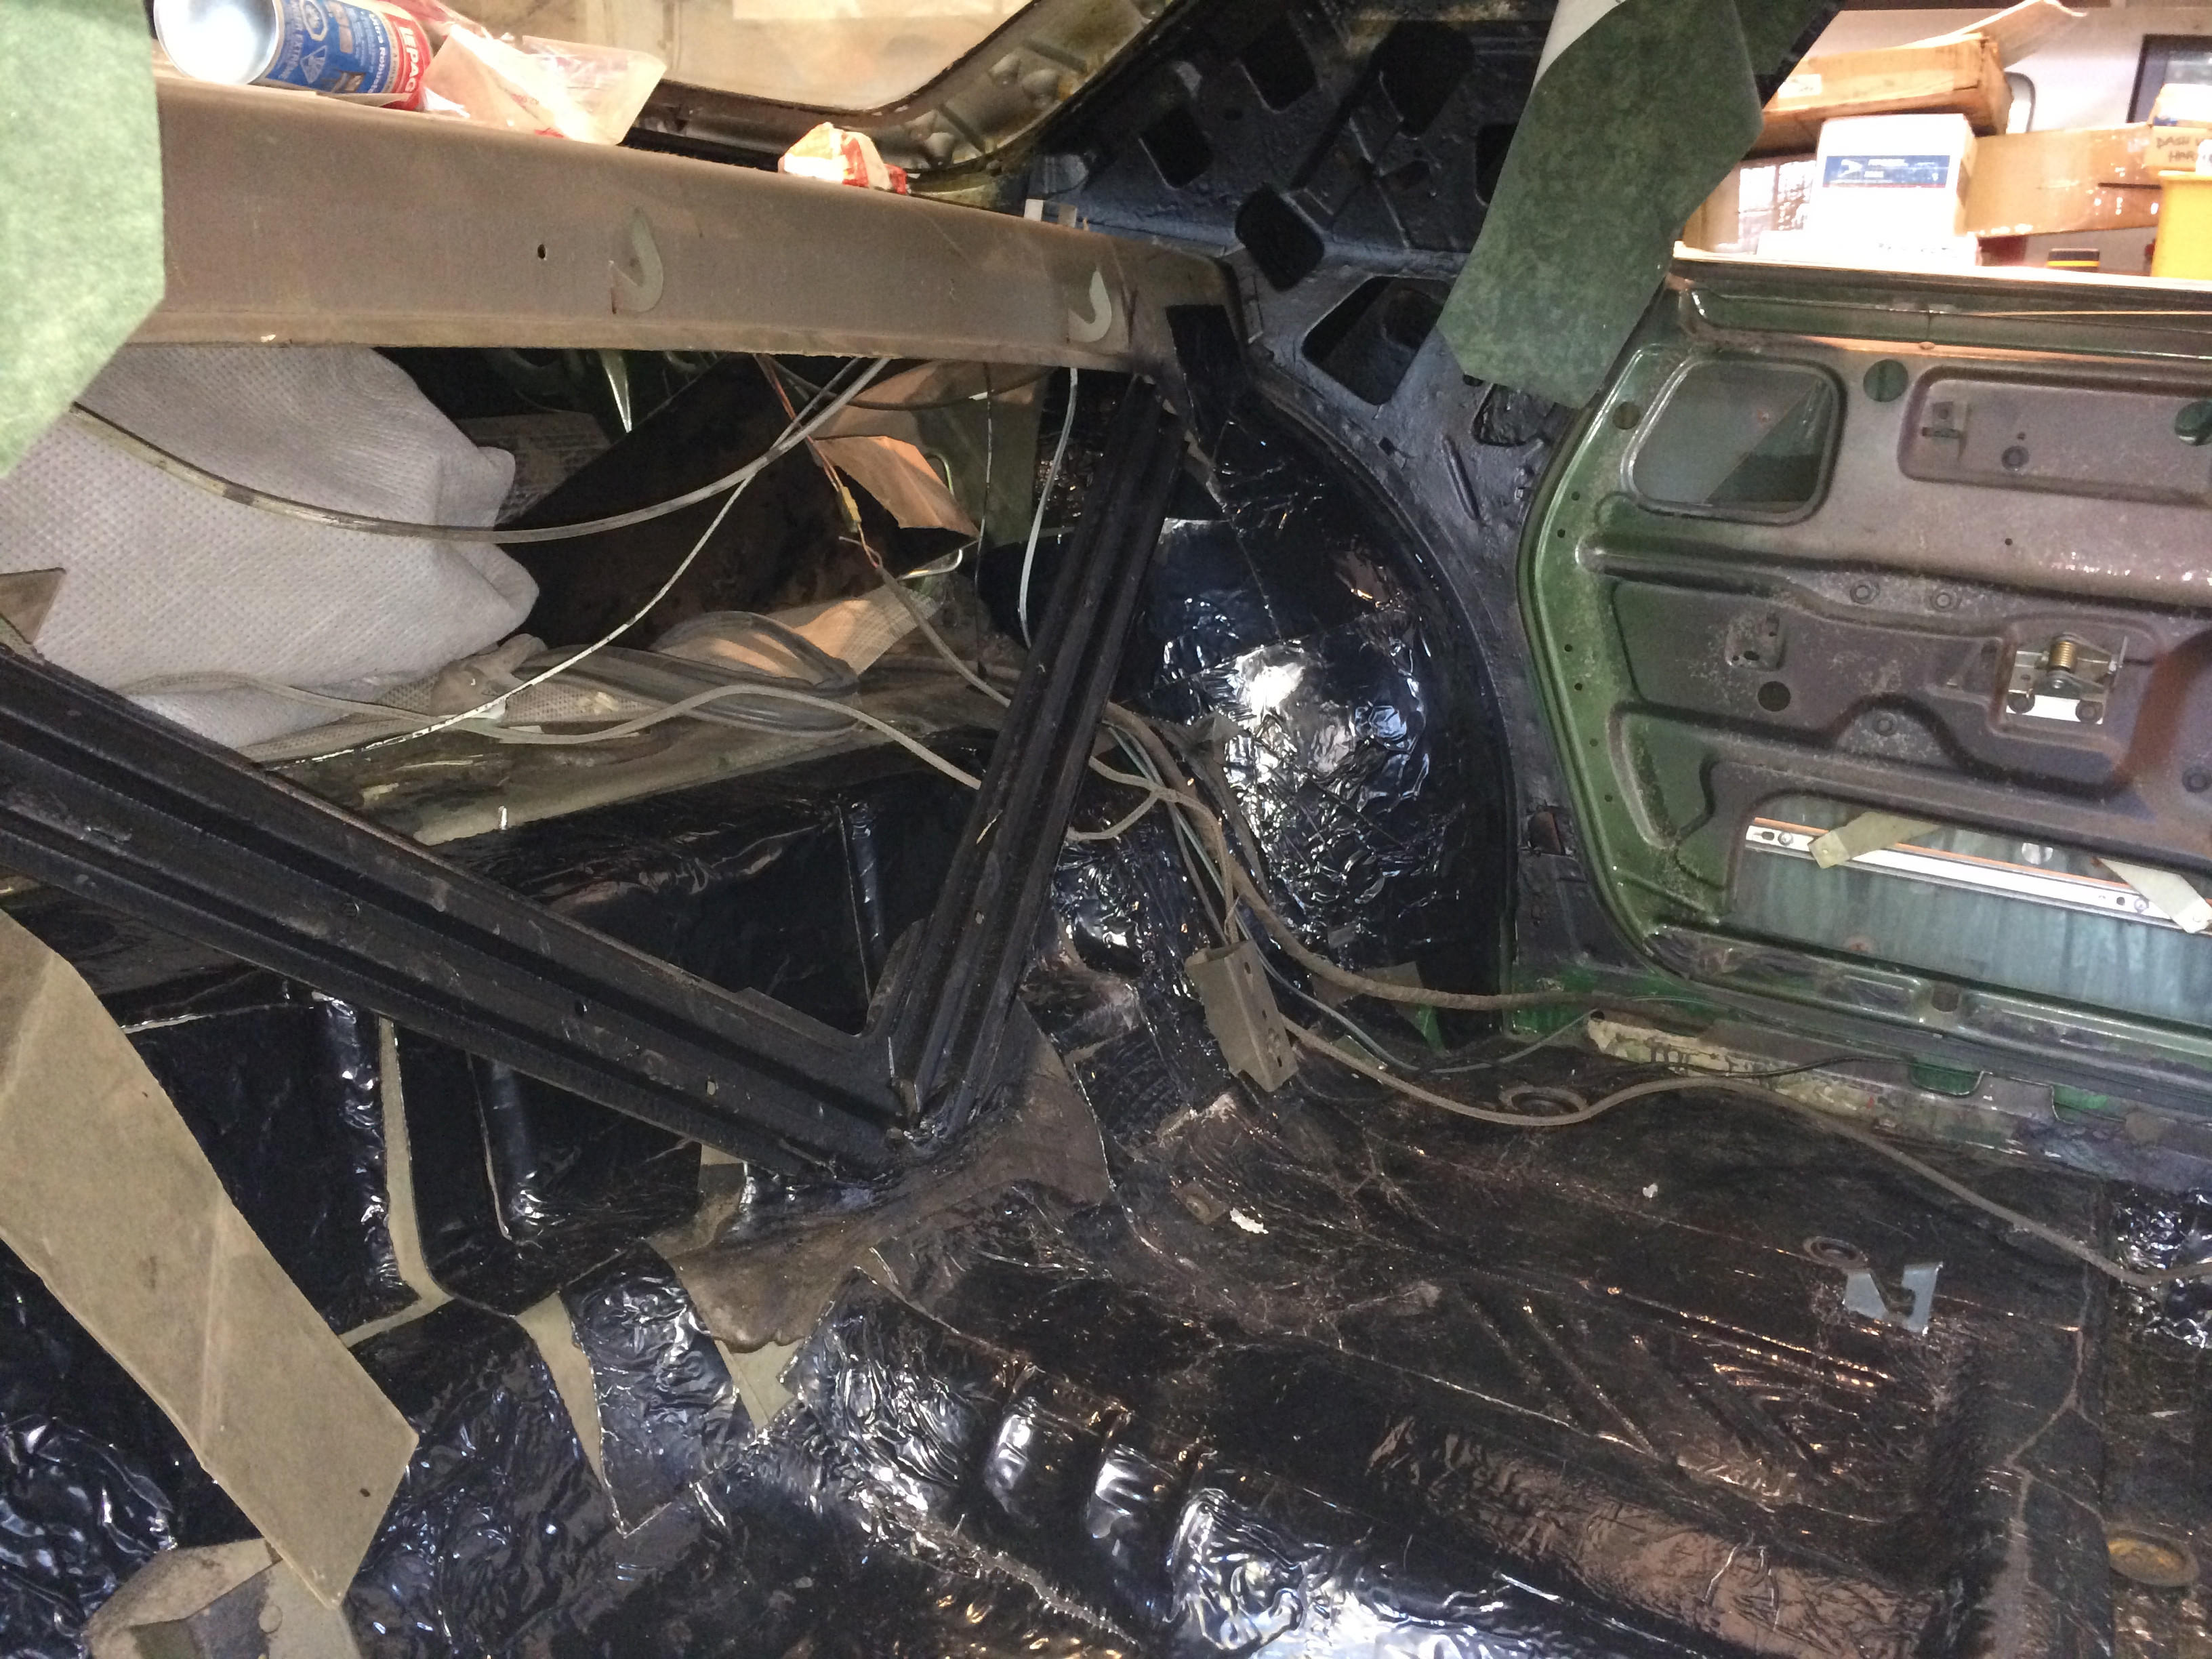
anyway! I brought the car there and set up in a corner of the shop and basically got advise from the guys working there about how to do body work I have never done body work before ... I understand the basics, but this week off of work was basically a crash course at their body shop on how to replace quarter panels and patch doors properly.
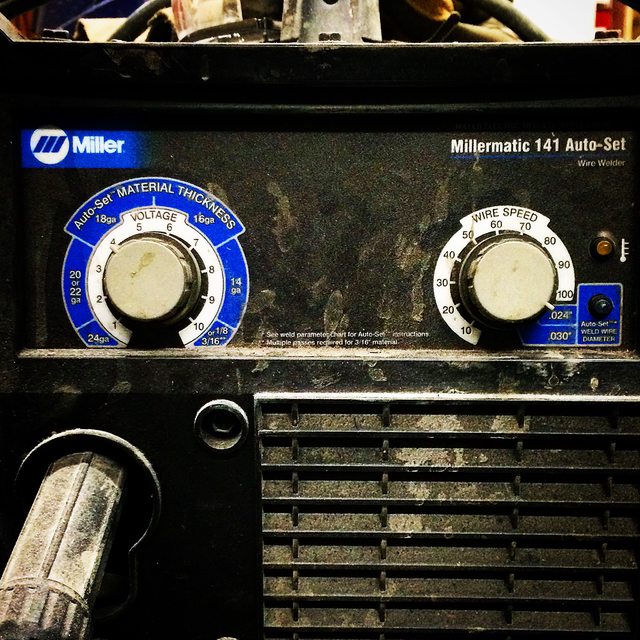
I am a fairly proficient welder ... all self taught on this car! A lot of reading and practice is what it took! Welding body work is very tricky though; and extremely time consuming .... I now realize why taking a car to a shop and getting them to do it properly can reach astronomical costs. This **** takes TIME .... lots and lots of time.
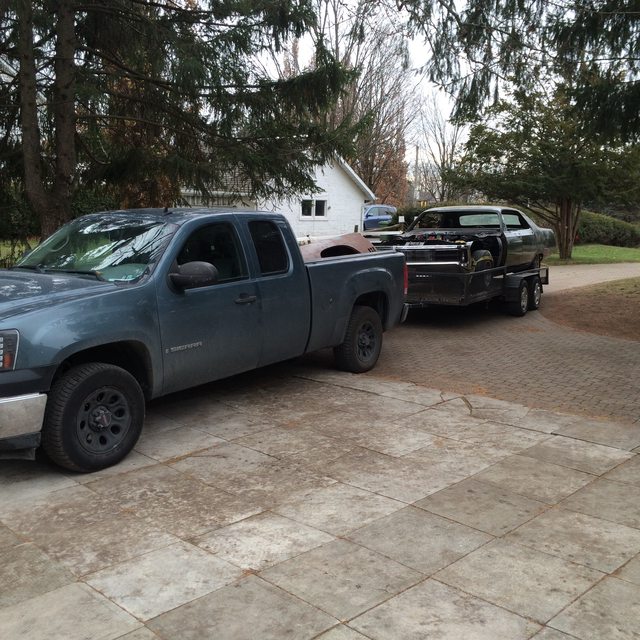
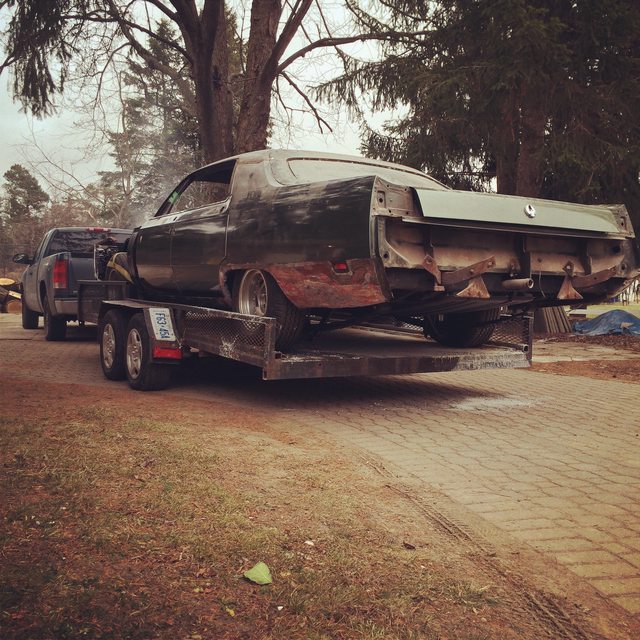
Loaded up on the trailer and ready to go to the shop!
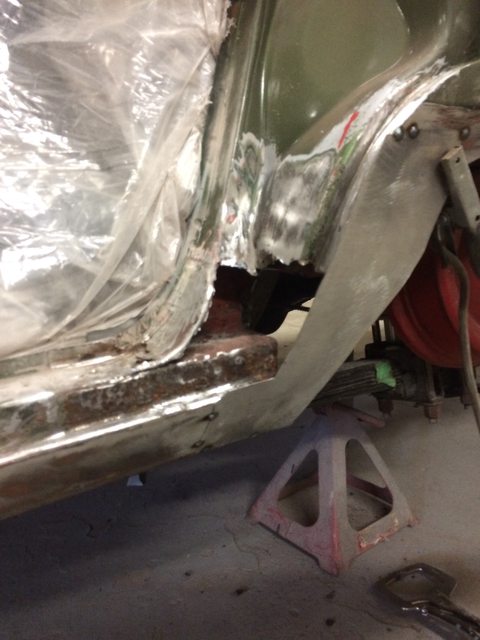
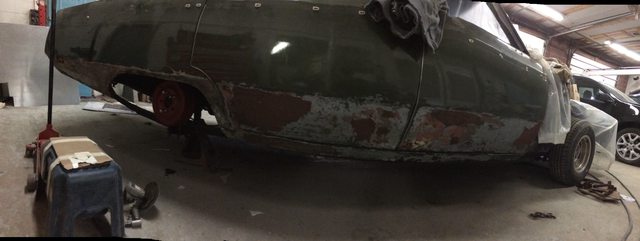
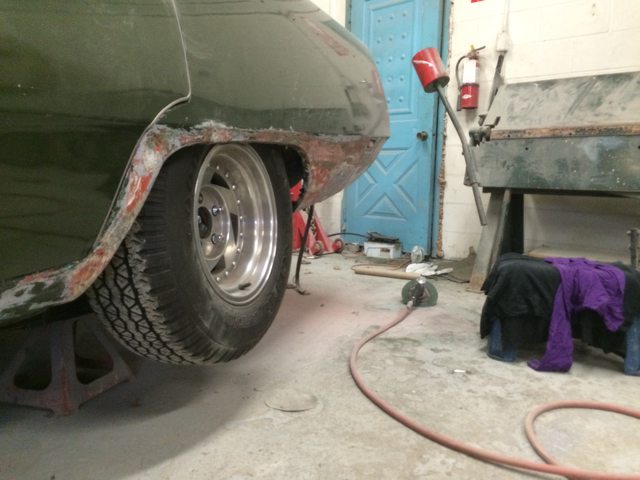
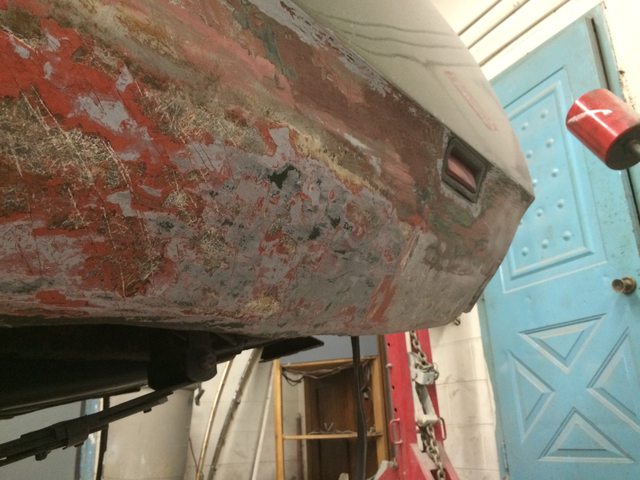
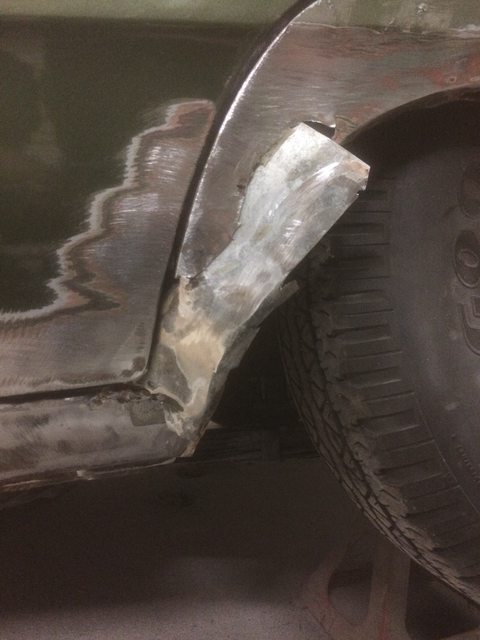
So here is the drivers side ... there are previous poorly done repairs (patches that were brazed in ... and not very well) with lots and lots of fiber glass ontop about half and inch to an inch of BS on there.
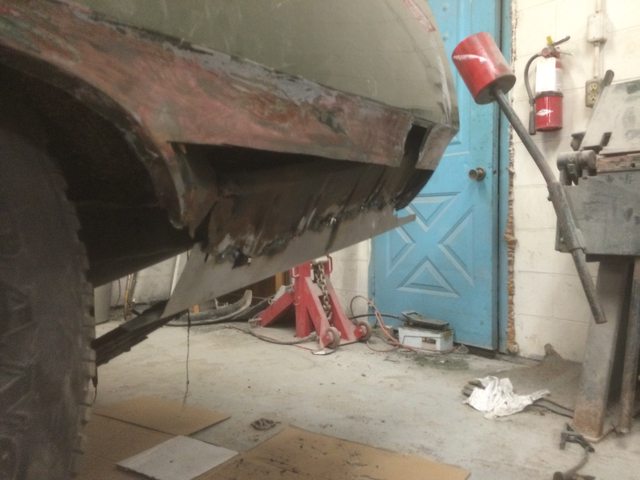
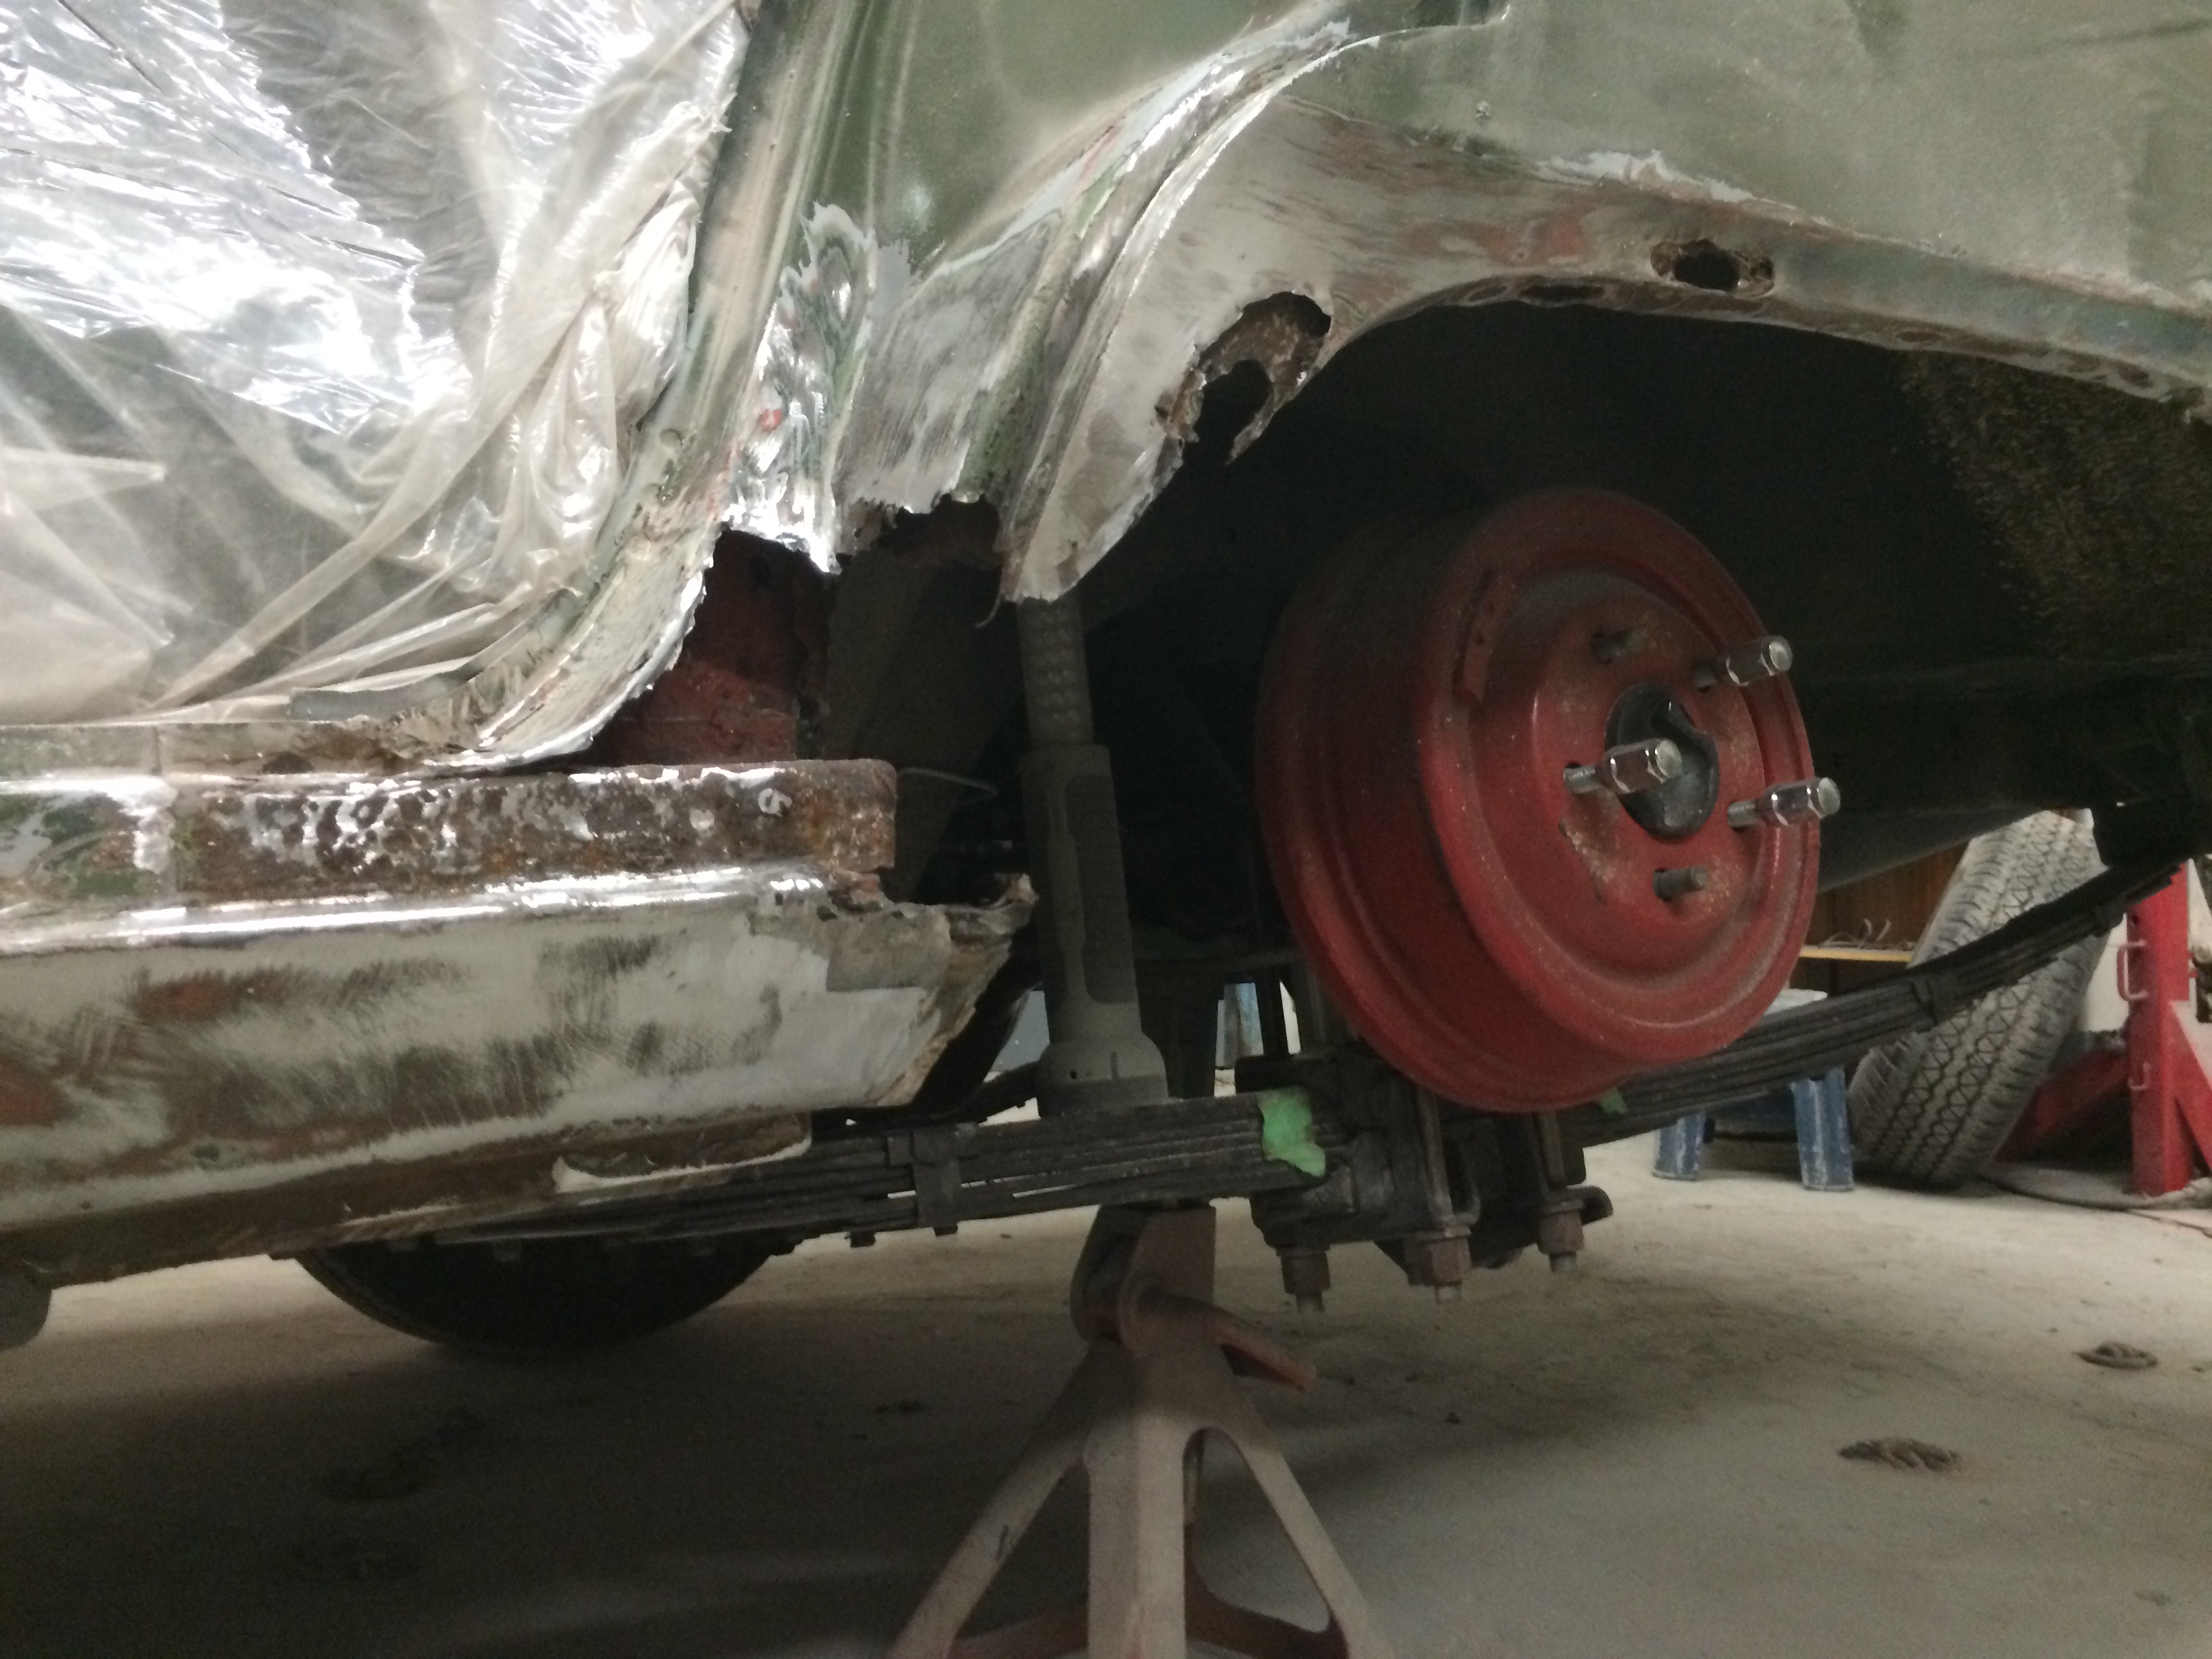
The "dog leg area" (bottom/behind the rear door) was also pretty bad too.
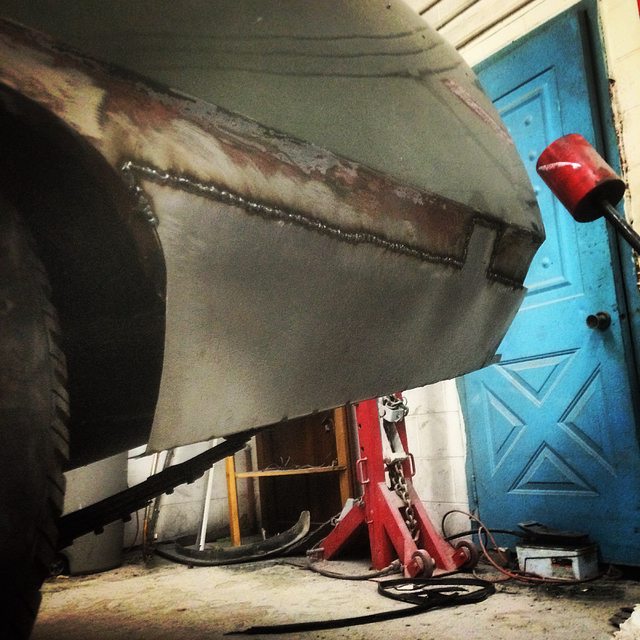
Step #1: The inner fender was also rotten .... so I I cut off the outer fender I wouldnt have the line at the bottom ... so step 1 is the make a flat piece with a angle at the bottom and tack it in on the inside ... that way I have the line to line up the outer patch! (*you can see the inside piece welded in the picture below)
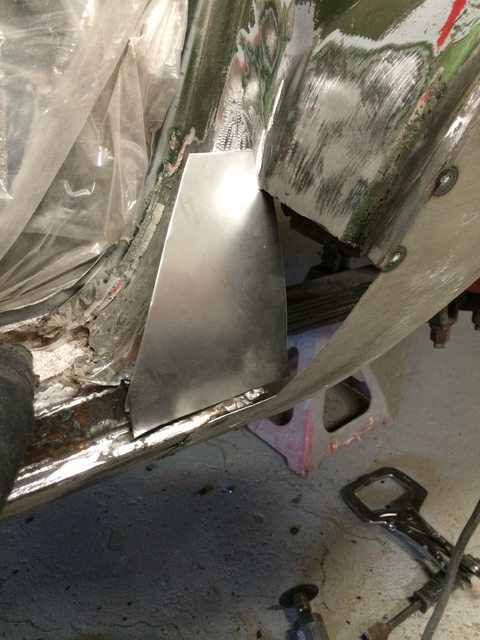
Step #2: figure out roughly where to cut and make a general patch of the outer area (leaving extra) and bend the bottom so that the inner and outer fender can be clamped together and you have a clean bottom line.
Step #3: cut that **** out!!
Step #4: Final cuts on the body (you want about 1/4" to 1/2" overlap) and final trimming of the patch. Drill some holes in the bottom lip part also to connect it to the inner fender!
Step #5: clamp ... fit ... trim .... clamp ... fit .... grind .... fit .... clamp ... trim ....

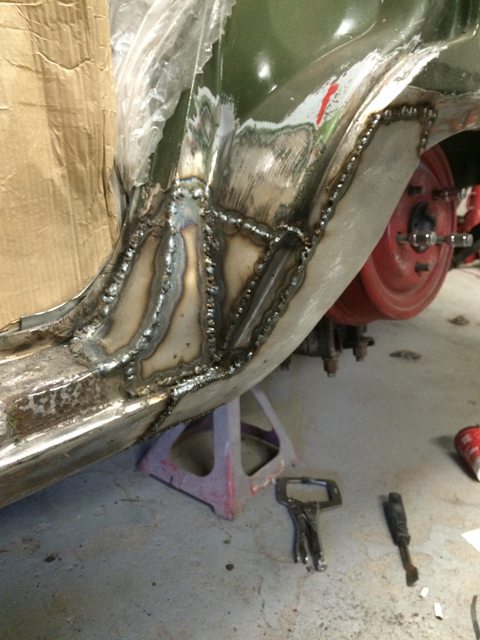
Step #6: TACK WELD! very time consuming process, start with tacks close to the centre of the piece about 6" apart and slowly move outwards .... small singular tacks. If the tacks are too big my big beautiful panels would warp in a second! so its hundreds of tiny tacks that eventually join everything together.
and yes .... I'm getting rid of the stupid reflectors at the bottom of the rear quarter panels.
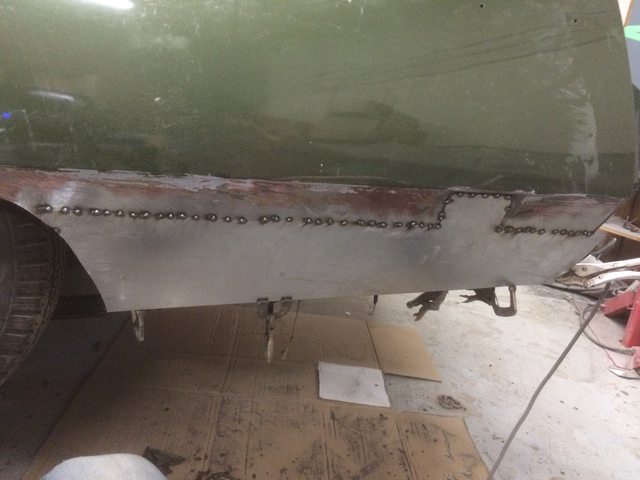
More and more tacks ... move around ... front .. .back ... bottom ... top etc. dont stay in one spot! If you do you will immediately warp the whole quarter panel.
Dog leg time!!!
lots of BS repair work here ... they basically took galvanized roofing metal ... cut shitty patches tacked them in and filled it full of fiber glass
heres one of the patches on the way out
more cutting and grinding later (I was so itchy after this ****)
I'll post more later!
-SS
I'm well under way for this build ... been at it for years. Finally decided to do a build thread instead of just asking quesitons!!!
Right now My focus is on Body Work! Ive also just finished Brakes!!! which was a Big milestone .... I'm talking from a rebuilt master cylinder to re-sleeved calipers ... new lines all around ... stainless flexible lines for the drops from the frame .... I have one leak in a wheel cylinder at the rear that needs replacing, but thats all! (It took me a while to track down all the leaks I had while bleeding it! hahaha so glad its done!
I just took the past week off work and brought my car to a family friends body shop. He's a friend of my fathers and we always go to him for work and have refer'd a TON of work to him ... he has always been extremely nice to me and has also done a bunch of work on my stuff and my friends cars. Plus his guys are artists with metal and finishing work.
He wanted me to leave the car there at the end of the week for his guys to finish for me ... he would have done it free of charge ... but I couldnt live with not paying him and I dont have the cash to let him do it ... so I brought it home at the end of the week to finish it off with what I learned while I was there!!
If you're in the Toronto and need some work Bill is honest ... fair ... and old school as ****.
McKeown Collision
8470 Regional Road 25, Milton, ON L9T 2X5
905 875 1811
anyway! I brought the car there and set up in a corner of the shop and basically got advise from the guys working there about how to do body work I have never done body work before ... I understand the basics, but this week off of work was basically a crash course at their body shop on how to replace quarter panels and patch doors properly.
I am a fairly proficient welder ... all self taught on this car! A lot of reading and practice is what it took! Welding body work is very tricky though; and extremely time consuming .... I now realize why taking a car to a shop and getting them to do it properly can reach astronomical costs. This **** takes TIME .... lots and lots of time.
Loaded up on the trailer and ready to go to the shop!
So here is the drivers side ... there are previous poorly done repairs (patches that were brazed in ... and not very well) with lots and lots of fiber glass ontop about half and inch to an inch of BS on there.
The "dog leg area" (bottom/behind the rear door) was also pretty bad too.
Step #1: The inner fender was also rotten .... so I I cut off the outer fender I wouldnt have the line at the bottom ... so step 1 is the make a flat piece with a angle at the bottom and tack it in on the inside ... that way I have the line to line up the outer patch! (*you can see the inside piece welded in the picture below)
Step #2: figure out roughly where to cut and make a general patch of the outer area (leaving extra) and bend the bottom so that the inner and outer fender can be clamped together and you have a clean bottom line.
Step #3: cut that **** out!!
Step #4: Final cuts on the body (you want about 1/4" to 1/2" overlap) and final trimming of the patch. Drill some holes in the bottom lip part also to connect it to the inner fender!
Step #5: clamp ... fit ... trim .... clamp ... fit .... grind .... fit .... clamp ... trim ....
Step #6: TACK WELD! very time consuming process, start with tacks close to the centre of the piece about 6" apart and slowly move outwards .... small singular tacks. If the tacks are too big my big beautiful panels would warp in a second! so its hundreds of tiny tacks that eventually join everything together.
and yes .... I'm getting rid of the stupid reflectors at the bottom of the rear quarter panels.
More and more tacks ... move around ... front .. .back ... bottom ... top etc. dont stay in one spot! If you do you will immediately warp the whole quarter panel.
Dog leg time!!!
lots of BS repair work here ... they basically took galvanized roofing metal ... cut shitty patches tacked them in and filled it full of fiber glass
heres one of the patches on the way out
more cutting and grinding later (I was so itchy after this ****)
I'll post more later!
-SS