Yea, but do they know how Stan uses it at home & blames it on his wife?Gimme a break.......
Lean Six Sigma is destroying the military.....
You are using an out of date browser. It may not display this or other websites correctly.
You should upgrade or use an alternative browser.
You should upgrade or use an alternative browser.
.W.S. Wiper Arm Removal on '76 NYB
- Thread starter commando1
- Start date
Mr C
Senior Member
75 LandYacht:
I prefer to remove the wiper arms first before diving into the cowl.
Step one: The wiper arm has two sections- The "hat" that sits on the splines and the arm. They are separated by a hinge and the arm is spring loaded. There is a tab for a sliding lock for each arm. Grab the arm and lift up and towards the drivers side. (In the pic you can see me applying pressure with my thumb as I lift it.)
This will unload the spring and the tab will become floppy. Here's the tricky bit: while lifting the arm, pry up on the loose tab with a screw driver.(The pic is fuzzy, but you can make out the screwdriver lifting the tab.)
Once the tab is lifted, ease the arm back down onto the lifted tab...the lifted tab locks the arm up and it will be on a 30 degree angle from the hat...this unlocks the wiper arm assembly from the splines. Wiggle the arm off the splines. Repeat the process for the other arm.
Note* The driver side has 2 arms- the little arm sits on a peg that is next to the spline gear- just make sure it's back on the peg when re-assembling.
Mr C
Senior Member
Step Two: Remove driver's side plastic cowl vent. Unbolt arm from wiper motor. Remove the 6 bolts holding in the wiper rods and spline assemblies. They will fall out easily.
Carefully remove the rods and replace each bushing...they should look like these: Dorman part number 49440.
I find it easier to assemble the passenger side rods, slide tehm into the cowl, and them assemble the drivers side through the cowl hole...however you do it, once the rods are in position, replace the 6 bolts and the wiper motor bolt.
Turn the ignition to "on" and turn on wipers and inspect operation through cowl hole.
Once satisfied, replace drivers side plastic cowl vent.
Replace arm assemblies "hat" on splines in a position that looks to be a good position for parked wipers. Lift arm, slide tab back down and inspect position...you may need to re-position the assemblies on the splines a couple of times to get them "right".
Turn ignition to "on" and run wipers- inspect operation.
You're done!
75LandYacht
Yank Tank
Thanks Mr. C, Your details are great and just what I need. I'll dive into once the weather here in NY warms up. I'll keep you posted though. If I get a break in the weather I may jump on it.
Thank again.
Thank again.
75LandYacht
Yank Tank
Mr. C and Cantflip.. You guys are FREAKING geniuses. I happen to be at work today, My car is parked in the loading dock out of the weather. (I Took my Lunch break) and said to myself! Self!!!! "lets go give these directions a go". and guess what? it all came apart without issue all in about 15 min. It was so damn easy! pics below of all the parts. I'll snap on the new Bushings later on and re-install. I certainly hope that putting it all back together goes as nice.
Thanks again guys.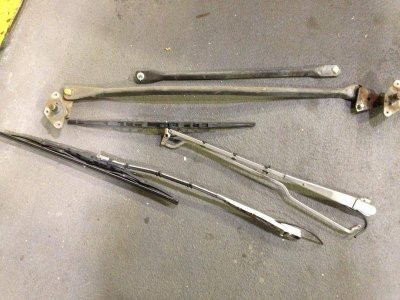
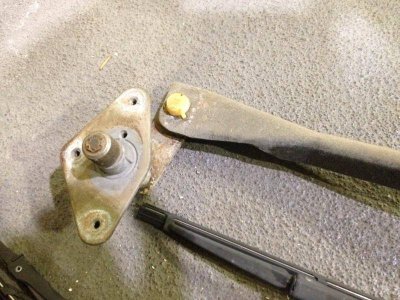

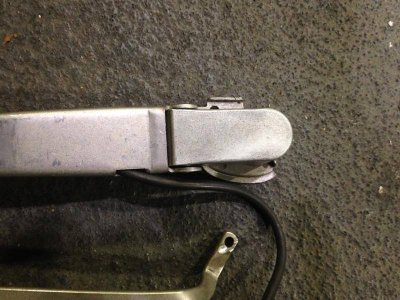
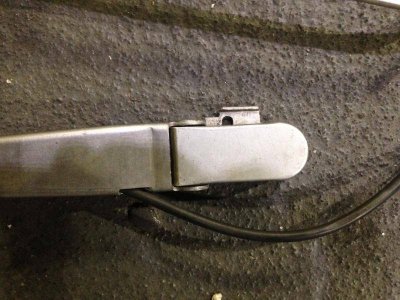
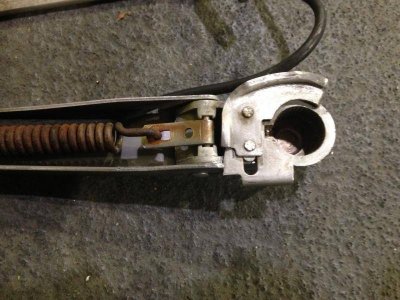
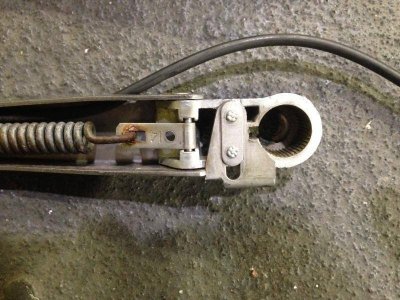
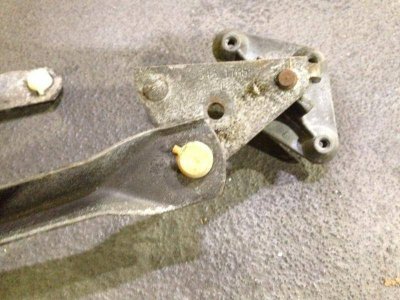
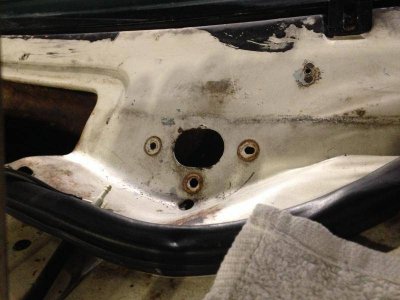
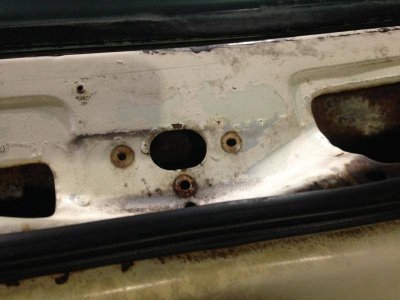


Thanks again guys.


75LandYacht
Yank Tank
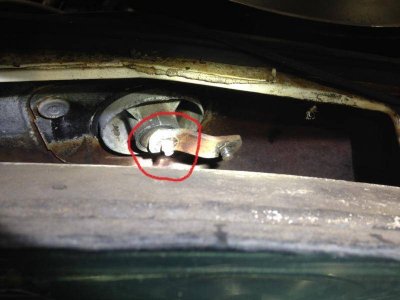
I do have another question though.. Is what I've circled in the pic a NUT that can be removed or is it pressed on? I'm asking because I thought it would be easier to install the new Bushing with the piece off the wiper motor, Then re-install once I have them all replaced. Anyone?View attachment 65391
It'll just pop out. Squirt with PB Blaster or I prefer Sea Foam Deep Creep and it may require a little tap and then just rock it a little and it will come off pretty easy.
Also since you working by the cowl....
Take a shop vac and vac out all the leaves and dirt and crap out of the cowl. The cowl is about 2 feet deep and collects all the leaves and stuff and will plug up and won't drain off the rain water out of the drain hole and will eventually rust out the cowl. MY NYB was parked outside untouched for 30 years and was full to the top of the cowl with leaves, acorns, and mouse crap.
Take a shop vac and vac out all the leaves and dirt and crap out of the cowl. The cowl is about 2 feet deep and collects all the leaves and stuff and will plug up and won't drain off the rain water out of the drain hole and will eventually rust out the cowl. MY NYB was parked outside untouched for 30 years and was full to the top of the cowl with leaves, acorns, and mouse crap.
Thanks for the clear photos... it should help someone else alot
75LandYacht
Yank Tank
DONE... that was one of the first things I did when I brought her home. I pulled the (2) plastic Cowl screens as well as the stainless windshield trim and cleaned out leaves, dirt and other stuff. Also cleaned the bottom of each front fender down by the rockers. Lots of leaves and dirt there too... No rust though. And of course there is through rust on driver and passenger side of the cowl. I have (2) pics, one from each side. The picture that has the GREEN circle is the driver’s side; the green circle shows the backside of the Driver’s side Wiper mount, just so you can reference what you’re looking at. The other pic with the single RED circle is of the passenger side.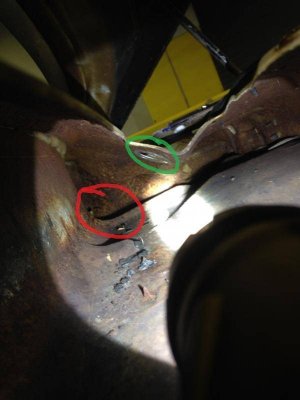
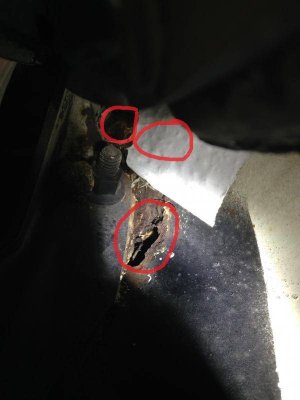


Similar threads
- Replies
- 14
- Views
- 3K
- Replies
- 1
- Views
- 1K
- Replies
- 4
- Views
- 3K

