1967 Plymouth Sport Fury convertible project

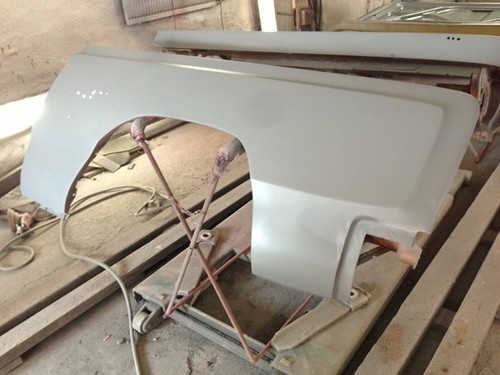
Heh, things proceed now that I am on summer vacation :) Last week I was sandblasting so heavily that the backpressure valve of the compressor laid itself off and finally today got the parts to fix it ;)

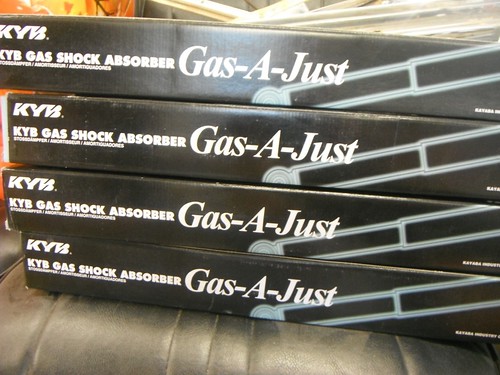
My carpart hunt usually goes first to ebay, then check the similar prices in couple of the US car parts shops in Finland (mainly South West Trade and US-parts) and finally compare the prices to Rockauto. If the part is extremely expensive or the shipping is challenging from US, then also Finnish forums are quite good sources.

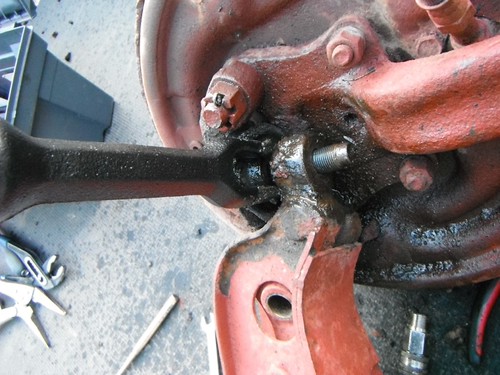
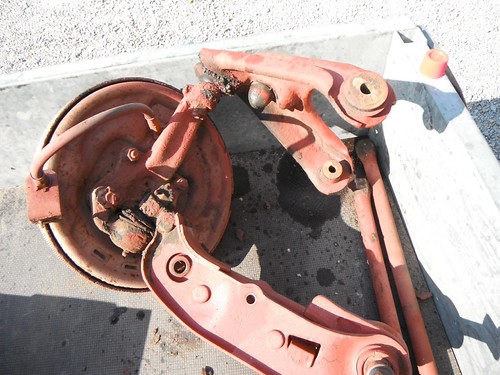
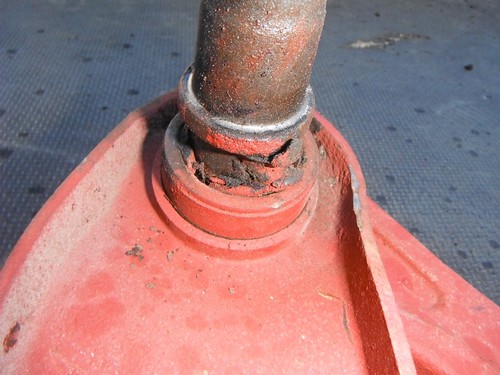
Today I learned the difference of strud rod and torsion bar :) Somehow I managed to mess up those in English and in Finnish. The strud rods were the ones I was looking for, now I have torsion bars :D :brainfart:
 
Front wheels removed, about to start removing the steering:


And then the front frame detached from the chassis.


Some primer on the fender:


Damn these joints are giving hard time...


All joints have served their time...


I guess these pushings should be changed:


These too :)


Strud rods worn a bit:


Make sure you get the KYB Gas-A-Just shocks.......big difference than the cheaper KYB shocks.

The fedex brought these today :)


No bushings on T-bars.
The torsion bar seals that are being sold these days are only good for T-bars up to .98" in diameter.
Over that, NO GO.
Ask me how I know.... :BangHead:
They still sell the Mopar Performance T-bar seal set with "C" clips.
Over 1", Bill Grissom came up with a beautiful solution:

http://www.forcbodiesonly.com/mopar...rsion-bars-photos-and-hints&highlight=torsion

His solution was a week too late for me. Of course...:rant:

Also got exactly the same CV joint boots, although different brand but same car (Isuzu...)
 
Finally got all the lower ball joints detached, here is the steering separated.


Then it was time to attack these:


And the end result, these brake shoes definitely need to be changed.


Then the big challenge, the upper ball joints..


And the we won the battle.


And then the upper control arm bushings...


You'll be very happy with those shocks.

Have fun getting the front ones in! LOL!!!
 
Have fun getting the front ones in! LOL!!!
Am I the only who has never had this problem???
There isn't a more basic unbolt-remove-install-rebolt item in the entire car.
Except license plates.
But I've seen people make that difficult, too.
 
Am I the only who has never had this problem???
There isn't a more basic unbolt-remove-install-rebolt item in the entire car.
Except license plates.
But I've seen people make that difficult, too.

You are not going to hold the piston down on KYB Gas-A-Just front shocks long enough to get them in place. You'll have to wire tie them in the compressed position to get them in place.
 
Well, let's see, I might have the advantage of having everything apart so if I put them in correct order... might just get lucky ;)
 
Finally getting to phase of putting things back together and not just disassembling all the time. Today the post lady brought the heater core, now it was time to put the heater box back together.

The old blower motor was also full of mice nest material (as well as the whole box) so this needed to be changed:


For some reason I have some special model of the heater box. I could not find any motor, where the cooling hole would be directed to same direction as my original motor. Well, there was one NOS with ridiculous price, but all the spare motors' cooling hole is pointed to another direction. I even bought 2 different motors. As mentioned in the other thread, I bought the DMT "65-68 C Body Non A/C AC Heater Box Resto Kit" and it was also a bit different than mine, not much but e.g. the picture of the motor cooling was exactly as the spare motors and not my original :S Well, in Finland we have mainly so cool weather that the cooling of the motor is not necessary :D

This went in now.


The heating core:


The box was all full of mice nest (did not find any mouse though) and of course quite rusted. I decided to remove the rust and paint all black, in Fury the whole box is hidden so that you cannot see it. The DMT restore kit was excellent.


great work !

lovely pics, similar to my resto!

:eek:ccasion14:
 
Some updates again, it has been a while since the last update, altough something has proceed (even though the work seems to take all time now...)

The steering parts under sandblasting.


Notice the duplicate torsion bars, eventually noticed that the originals WERE a bit bent, so the purchase was not waste of money after all :)

And in the same time some parts already getting some new paint...


For some parts I decided to try out something else for the color:


For torsion bars I decided to do the thing in this article:

http://www.moparmusclemagazine.com/...p_9910_torsion_bar_restoration_and_detailing/

According to that, the right color is Brown. But I had no idea which shade of brown, so I went just by feeling which color might be nice. Don't know yet the end result, seems that the paint I chose has some challenges with air bubbles. But let's see now then the second dip.


Last week I got the totally restored door panels as well as the dash top back. These are now made out of leather, new MDF sheet and notice the new door panel retainers... ;) and of course the new window felt weatherstrip by Steele Rubber.


Last weekend I started to put the steering parts back together, upper control arm and the bushings going together:
 
Back
Top