Help me spend some $$

I'll pass on yours. Thanks anyway, Zac. I have a set on the shelf. Just seeing if there were some better ones around.
 
Been a productive day. Spent the day off in the garage.. Pulled the old cam out last night.


Was cleaning the block a bit more after. Turned the engine over, to find there was still a bit of water in it. Everything got soaked.. Uhggg. :BangHead:

So quickly dried everything off. Cleaned the cylinders out, and put a coat of oil on em to be safe, wrapped the engine up and called it a night. Came back out this morning to find a couple spots starting to surface rust.. Cleaned em up, and put a coat of oil on the inside front of the block (where the timing chain goes).

Installed the new cam, and timing chain set. Along with the fuel pump. Cleaned the timing cover up, as well as the damper, and all bolts. Tomarrow should have the oil pan, and pump on. As well as the heads hopefully.....


Nice work Zak! Gotta love that!!
 
Thank you guys!! Appreciate it! Helps keep the motivation going. Hopefully somtime soon I'll finally be able to hear this big block roar to life. I'm getting excited for it! Still have a couple "big" buys to do before hand though.

I left the oil slinger on, Stan. Good/bad?

Today could have gone better, but still got what I wanted done.. Finished cleaning the oil pan, and all the bolts.


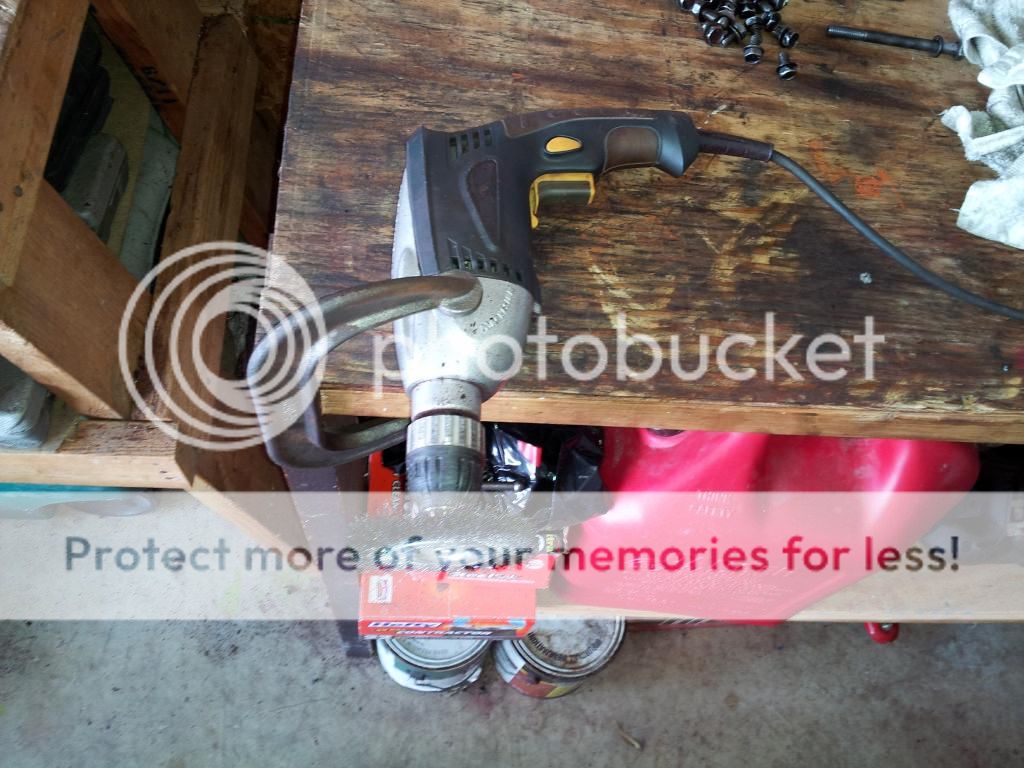
My hillbilly bench grinder, to clean the bolts... :uwelcome: Ran outa $$ for more tools!! Ha!


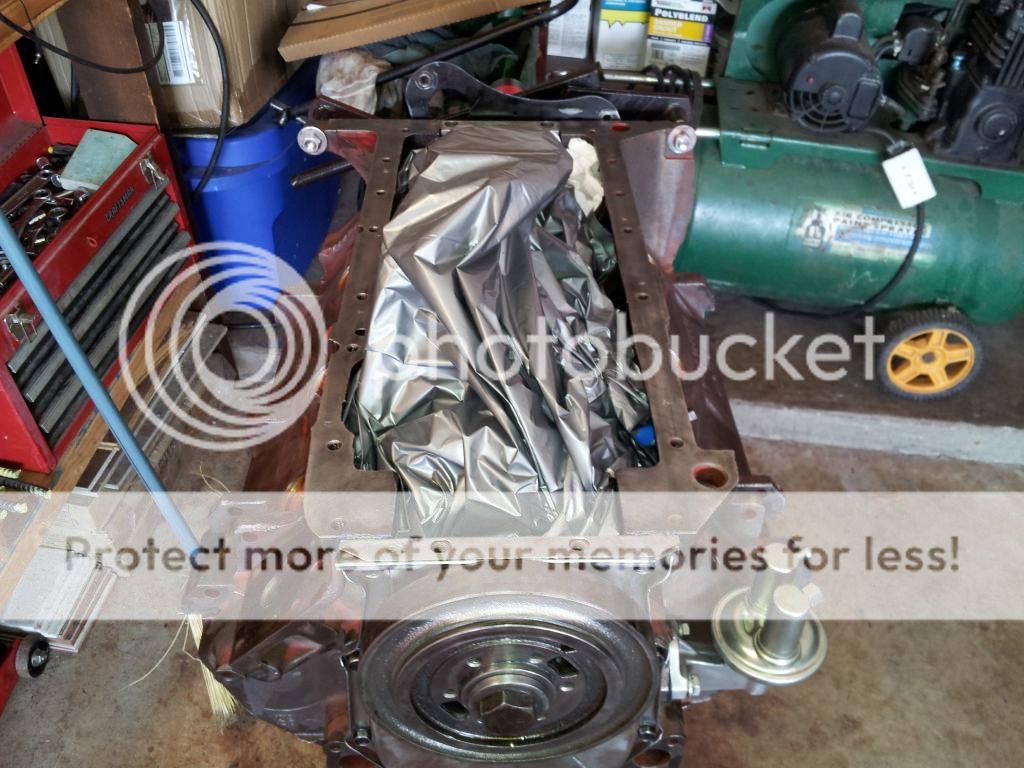
Cleaned and prepped the block


Then the fun came.. Following the instructions in the rebuild book, took the cork oil pan gasket, and put some RTV on it, and placed it on the pan. Then some more RTV, then place on the block. Torque bolts down to 15ft ibs. Well 3/4 the way through, my gasket squished, and tore apart.:icon_hang: Seems like a common occurrence. After looking around on a couple other mopar boards, people say not to use sealant, but adheasive with cork. Also do not torque down, just snug em up. After a trip up to town, and a couple stores finally back with another gasket, and adheasive. Re cleaned the pan, block, and bolts, and installed.


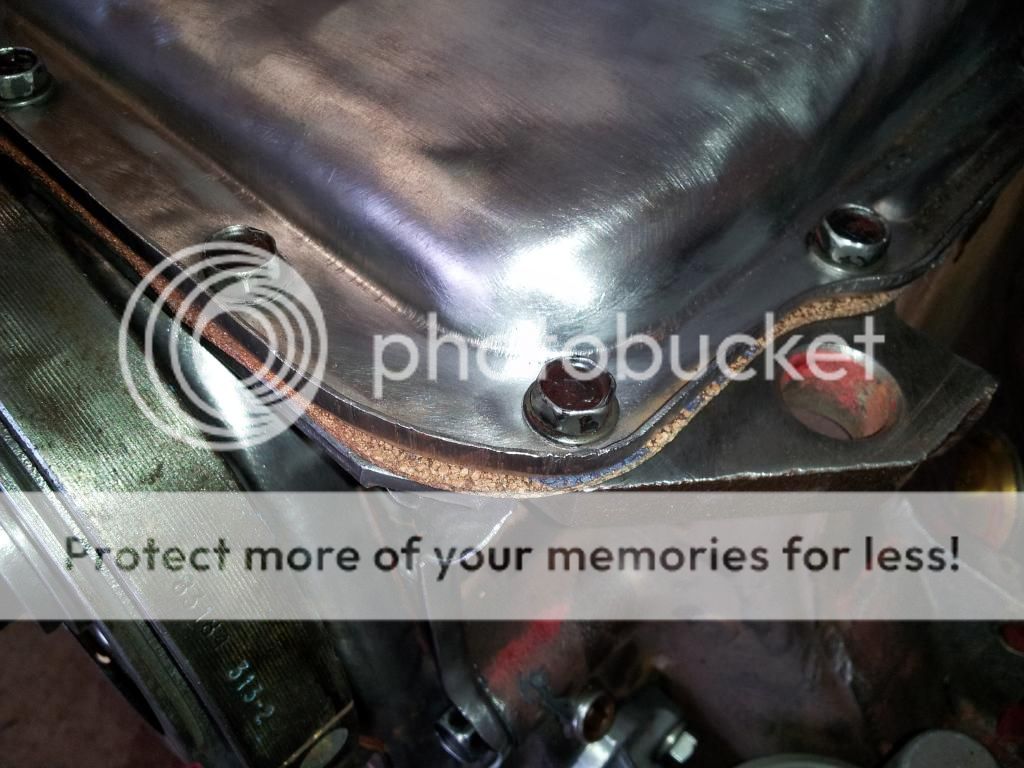
This time I set the torque wrench to 5ft ibs. Didint even make it to that before I noticed the gasket was starting to "squish". Do you guys think I'm alright with this? Its still on there tight, just no where near 15 ft ibs...
 
After the fun with the oil pan, installed the new oil pump.


The block shifted on the stand, had to do some man-handleing, but got her back up right, and more leveled.


Heads were last on the list today. All torqued down to 70ft ibs.


Looking like an engine again!
 
15 ft lbs. is way over tight. Be careful with the oil pump bolts, if you are using a ''high volume'' pump. The bolts will end up to short, and will ''strip'' easily. Leave the ''slinger'' on.
 
Just a friendly reminder to put the rockers on the shaft correctly so the holes line up for oiling properly. It's in the FSM.
 
15 ft lbs. is way over tight. Be careful with the oil pump bolts, if you are using a ''high volume'' pump. The bolts will end up to short, and will ''strip'' easily. Leave the ''slinger'' on.

Thanks Mike! Yea I learned the hard way about the oil pan gasket. My heart sank when I saw the ripped gasket slip out from the pan, and block.

Also thanks for the heads up on the pump. I've got the HV pump on, with the bolts that were previously on the engine.. They seemed to thread fine, and torqued down to 30/35ft ibs with no problems. Maybe there was a HV pump on it before...
 
PM sent......

Got it, thanks Bob!

Had to play with some of the toys after work today.. Dropped the intake on.


Looks like all the bolt holes line up perfectly. Good deal! Now question time.. I ordered a felpro intake kit, with valley pan, and 4 gaskets. I've seen people use just the valley pan, the valley pan and one gasket, and both gaskets with the pan in between.. What do you guys recommend? If I can get it all in together, I'd like to do it that way..


All the other top end goodies..


I use a paper gasket and 3M Blue on each side of the valley pan.
Any thicker and the holes won't be 100% in alignment.
 
I changed my valley pan, and read a lot of posts before I did it. the thing I took away is you only need the extra gaskets if your stuff has been milled or if you have an aftermarket aluminum intake you may need them. I used the pan by itself on stock intake/stock heads. put blue pookey on like commando ^^ said. Around the ports and whatnot. I put black pookey at the front/back rails. don't be shy with the pookey. intake bolts spec 40lb torque I think - but that is with an iron intake. there is also a pattern to tighten down.

id dry fit it with/without gaskets and see if the stuff lines up on your motor. the felpro pan is a crush gasket, so don't max it down until you are ready to put it on for real. I did read about several ppl reusing the pan itself and being OK.
 
BTW that motor is looking good.

one more thing - fit your exhaust manifolds up with the valve covers on... mine rubbed like 1/32" - just barely touched....have to give a little love to the valve cover in a spot on the front edge, and it fit on nicely.
 
I just use a new valley pan and a little blue on the front and rear rails with an Eddie manifold. I've never re-used a valley pan even though I know plenty of people that have with no problems. Have to be careful when using aluminum valve covers so you have clearance all the way around.
 
Back
Top