live4theking
Old Man with a Hat
- Joined
- Nov 24, 2014
- Messages
- 12,425
- Reaction score
- 8,476
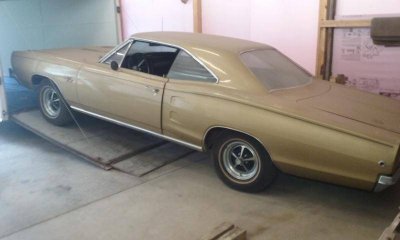
In early June I took a two hour drive with an older gentleman (Jim age 75) that I know to look at a couple of cars; ’67 Imperial 4 door sedan and a ’68 New Yorker 4 door sedan. Jim has restored many cars personally he owns a 34 Plymouth, a 47 Plymouth, and a 69 Roadrunner. When I was in my 20’s Jim was always willing to lend a hand with the 68 New Yorker that I had previously. he used to manage the parts room at one of the local Dodge garages for years. Anyway he came along because he likes to look at these old cars and is extremely knowledgeable. We had a great ride and a good time checking out the cars.
It was presented to me by the seller’s daughter that it was a package deal. By the time I spent about 2 hours looking them over and getting the engines to roll over we had come to an agreement for me to purchase both cars. The only disappointment of the evening was that the Imperial is so much nicer than the NYer, my personal preference. The Imperial is listed for sale if interested,http://www.forcbodiesonly.com/mopar-forum/showthread.php?20678-67-Imperial-4-Dr-Sedan.
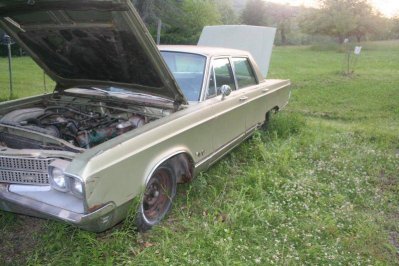
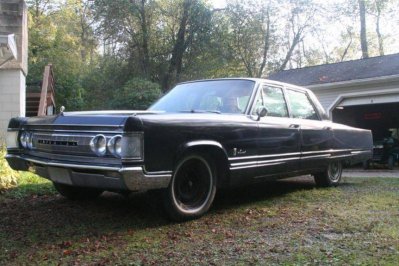
She got the name the ugly duckling not because of her looks, but because of the weather the day we went to get the cars. It rained from the time we left, the whole time we loaded the cars, the drive home and much of the time while we unloaded them.
The Imperial was a breeze to load. Due to a broken relay to starter wire we winched it up on the trailer. The NYer we drove it up on one fuel bowl of gas at a time. For some reason the pump wasn’t drawing fuel that day, it works fine now. Due to all of the rain the ramps and trailer decks were soaked. At one point I spun the rear wheels and slide the car off the ramps and the left ramp came off and was under the rear wheel of the car. In an attempt to reposition the car to get the ramp out the exhaust was pulled loose.
Neither car had much in the line of brakes. I and the guy driving the truck that hauled the Imperial had to catch it to keep it from going off the front of the trailer. That makes you realize just how heavy these cars are, remember it was being winched not driven. The driving back with the cars was fairly uneventful except the guy in front of me that decided to stop short when coming up to some construction which caused me to brake real hard.
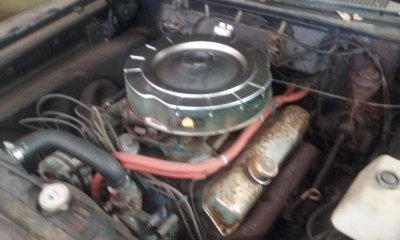
The first order of business was to rebuild both carbs which resulted in cars that would sit and idle nicely. I fashioned auxiliary fuel tanks from 2 pound peanut butter jars. It sure doesn’t take long for a 440 to drink that much fuel, less than 10 minutes. The best part of rebuilding the carbs was my 7 year old daughter sitting on the stool by the work bench asking what the different parts were.
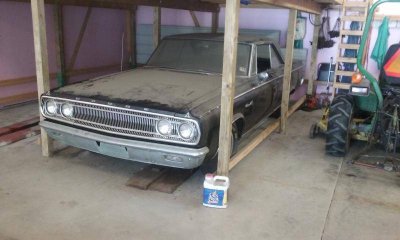
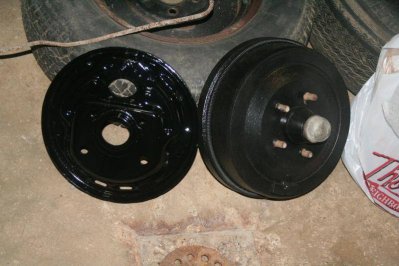
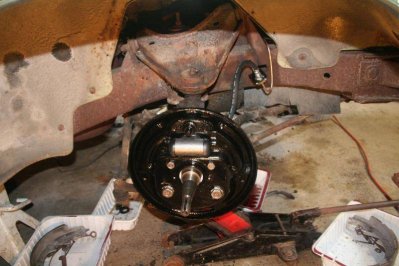
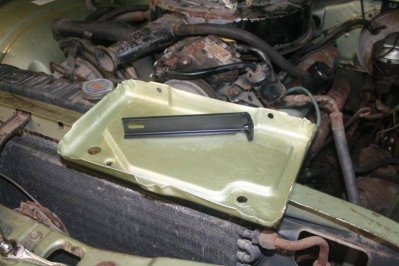
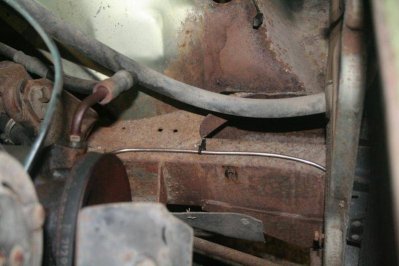
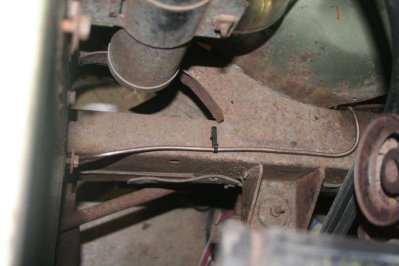
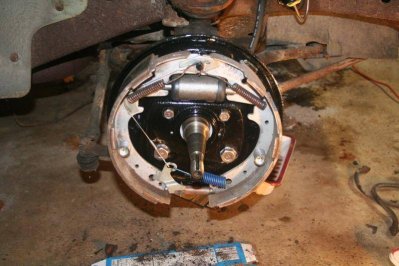
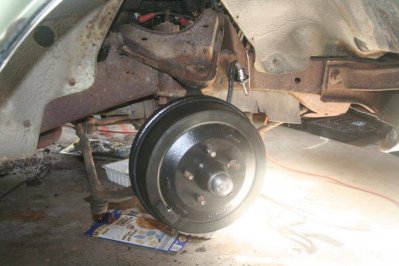
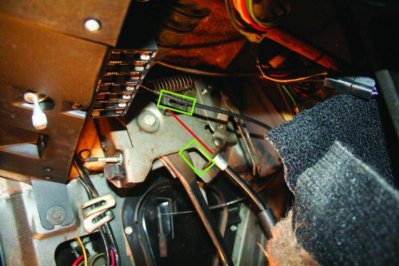
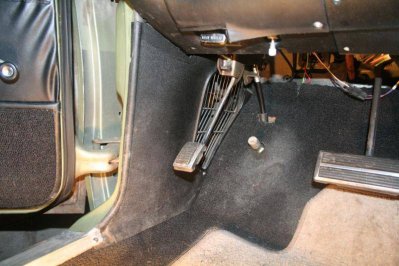
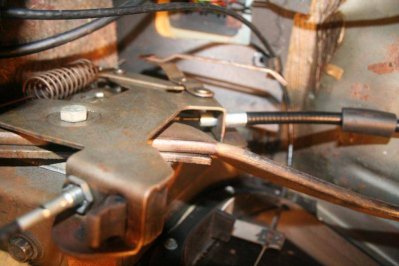
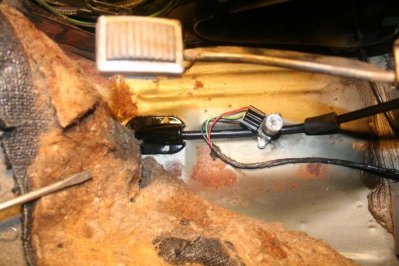
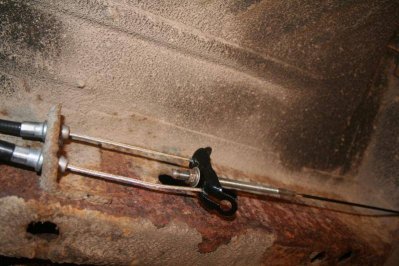
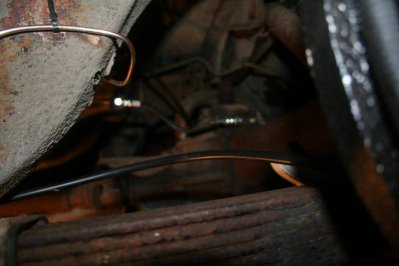
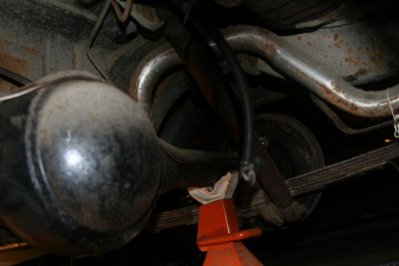
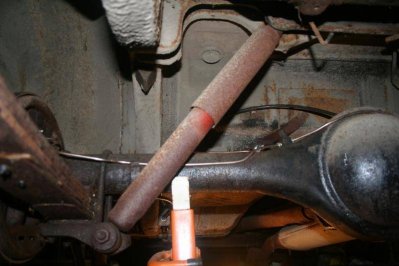
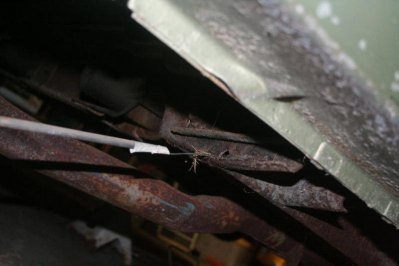
Currently the NYer is in the garage having the brakes reworked. It will be receiving new wheel cylinders, new brake hoses, new brake lines, and new parking brake cables. I’m using the Ni-Copp brake line to make the new lines. It’s a bit pricier than the regular steel or stainless steel line, but real easy to work with. Most of the bends I’ve none by hand with ease. It is forgiving enough that if you don’t like your bend you can straighten it and do it again. You do have to be careful when flaring it, not to over tighten it when doing the last step or you can ruin the flare. To do the front passenger line I had to remove the battery tray and radiator. If you’re considering replacing your brake line that runs the length of the car be forewarned that you have to remove the inner fender or splash shield (I’m not sure what it is called.) to get it out. I took this opportunity to clean up the tray and paint it. (I should say that this is not going to be a restoration. I hope to put a couple thousand miles a year on it.)
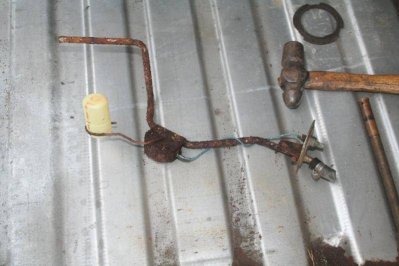
Once the brakes are done I’ll put the new fuel tank, sending unit, and fuel lines in. I’m working with the car on jack stands so having the tank out of the back of it right now gives a bit more room to move around when working on the brakes. Oh my, when I dropped the tank I thought that I was getting lucky because there was no “fuel” in the tank. When I lowered the front of the tank though it sounded like gravel sliding inside the tank, yikes. I sucked ½ gallon of rust and crude out of the tank with the shop vac. When I took the bucket of rust and the tank to the local radiator shop he advised that I could probably buy a new tank for less than he would charge to clean it. Thanks to all the guys here that gave input to help me in making the decision as to what to do about the tank. Below is a picture of what the sending unit looked like. It's a good indication of what the inside of the tank looked like.
Tomorrow I hope to get some of the new hard lines for the brakes installed. I'll see how things go I've got things around the house that need done also.


It was presented to me by the seller’s daughter that it was a package deal. By the time I spent about 2 hours looking them over and getting the engines to roll over we had come to an agreement for me to purchase both cars. The only disappointment of the evening was that the Imperial is so much nicer than the NYer, my personal preference. The Imperial is listed for sale if interested,http://www.forcbodiesonly.com/mopar-forum/showthread.php?20678-67-Imperial-4-Dr-Sedan.


She got the name the ugly duckling not because of her looks, but because of the weather the day we went to get the cars. It rained from the time we left, the whole time we loaded the cars, the drive home and much of the time while we unloaded them.
The Imperial was a breeze to load. Due to a broken relay to starter wire we winched it up on the trailer. The NYer we drove it up on one fuel bowl of gas at a time. For some reason the pump wasn’t drawing fuel that day, it works fine now. Due to all of the rain the ramps and trailer decks were soaked. At one point I spun the rear wheels and slide the car off the ramps and the left ramp came off and was under the rear wheel of the car. In an attempt to reposition the car to get the ramp out the exhaust was pulled loose.
Neither car had much in the line of brakes. I and the guy driving the truck that hauled the Imperial had to catch it to keep it from going off the front of the trailer. That makes you realize just how heavy these cars are, remember it was being winched not driven. The driving back with the cars was fairly uneventful except the guy in front of me that decided to stop short when coming up to some construction which caused me to brake real hard.
The first order of business was to rebuild both carbs which resulted in cars that would sit and idle nicely. I fashioned auxiliary fuel tanks from 2 pound peanut butter jars. It sure doesn’t take long for a 440 to drink that much fuel, less than 10 minutes. The best part of rebuilding the carbs was my 7 year old daughter sitting on the stool by the work bench asking what the different parts were.
Currently the NYer is in the garage having the brakes reworked. It will be receiving new wheel cylinders, new brake hoses, new brake lines, and new parking brake cables. I’m using the Ni-Copp brake line to make the new lines. It’s a bit pricier than the regular steel or stainless steel line, but real easy to work with. Most of the bends I’ve none by hand with ease. It is forgiving enough that if you don’t like your bend you can straighten it and do it again. You do have to be careful when flaring it, not to over tighten it when doing the last step or you can ruin the flare. To do the front passenger line I had to remove the battery tray and radiator. If you’re considering replacing your brake line that runs the length of the car be forewarned that you have to remove the inner fender or splash shield (I’m not sure what it is called.) to get it out. I took this opportunity to clean up the tray and paint it. (I should say that this is not going to be a restoration. I hope to put a couple thousand miles a year on it.)
Once the brakes are done I’ll put the new fuel tank, sending unit, and fuel lines in. I’m working with the car on jack stands so having the tank out of the back of it right now gives a bit more room to move around when working on the brakes. Oh my, when I dropped the tank I thought that I was getting lucky because there was no “fuel” in the tank. When I lowered the front of the tank though it sounded like gravel sliding inside the tank, yikes. I sucked ½ gallon of rust and crude out of the tank with the shop vac. When I took the bucket of rust and the tank to the local radiator shop he advised that I could probably buy a new tank for less than he would charge to clean it. Thanks to all the guys here that gave input to help me in making the decision as to what to do about the tank. Below is a picture of what the sending unit looked like. It's a good indication of what the inside of the tank looked like.

Tomorrow I hope to get some of the new hard lines for the brakes installed. I'll see how things go I've got things around the house that need done also.

